How to Decorate Christmas Nesting Dolls
Level
Beginner
Time
1/2 day
Budget
10 - 30
Looking for a fun Christmas project to make this season? These adorable nesting dolls make a cute dècor item that will bring joy year after year.
Using our wooden nesting dolls set you can create these Christmas characters and display them on your mantelpiece, or why not gift them to a special someone?
Project and instructions by Caroline Shard
You will need


Craft with us at our workshops


Related Products

How to Make Christmas Mache Tree Decorations
Bauble Step-1 Paint the bauble with a base coat of white and leave to dry. Cut or tear the decoupage paper into small squares. View More {{#pagination}} {{/pagination}} Step-2 Glue googly eyes onto the face and add a little smile ...

24 Quick & Easy Naughty Christmas Elf Ideas
24 Quick & Easy Naughty Christmas Elf Ideas You Will Need Craft Supplies: * Giant box of craft * Pom poms * Coloured paper/card * Coloured felt * Split pin * Glue gun Other Supplies: * Elves Behavin Badly Dolls ...
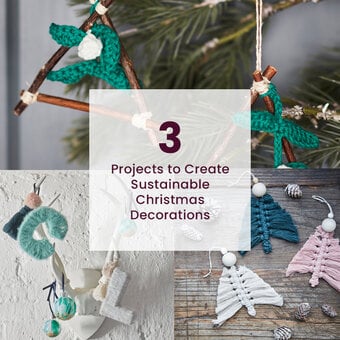
3 Sustainable Christmas Decoration Ideas
Wrapped Letters with Yarn Add something fun to decorate your mantle or the top of a statement present. It'll add something personal to your space and you can make them as mix and change the yarns to suit the time ...

14 Projects to Make for a Boho Christmas
How to Make a Boho Stocking If you’re looking to add a contemporary touch to your festive décor, why not create a collection of colourful boho stockings? Perfect for beginners, this step-by-step tutorial guide is ideal for using up scrap ...
.jpg?sw=340&q=85)
9 Crafts to Get Started in This Christmas
Get Started In Brush Lettering Brush lettering is the perfect way to start personalising - whether you're crafting homemade decor, unique papercrafts or thoughtful gifts! View Project View More Get Started In Cake Decorating Transform simple bakes into memorable showstoppers ...

How to Make a Christmas Hamper
How to make You will also need: Gold Coins Step 1 Fill hamper with Cream and Gold Shredded Paper or a filling of your choice. View More {{#pagination}} {{/pagination}} Step 2 Use the Kraft Gift Tags and Uppercase Alphabet Stamps ...