How to Sew a Mini Beanbag Pouf
There's nothing more fun than a squishy little pouf to sit on and this one is perfect for little bottoms! Curl up with a good book or pop them down for extra guests as something comfy to sit on.
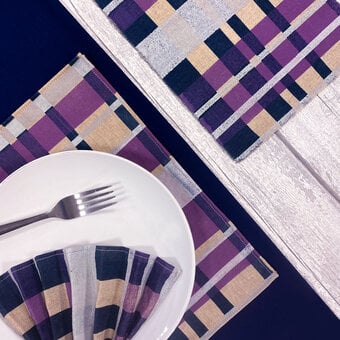
You will need


How to make
Pattern (below) – printed onto A4 paper
Take 4 pieces from your fat quarter pack. Fold one piece lengthwise and lay the pattern piece on the fold, then pin and cut around. Repeat three more times for your other fat quarter pieces.
Lay two pieces right sides together, then pin. Stitch along one side only (one half of your hexagon shape).
Open up the piece, flip it over and lay another piece over the single side (the other should be doubled over) right sides together. Pin and sew down this new side.
Remove pins, open and flip excess to one side again. Repeat step three.
For the final side, sew up the final unsewn side, leaving the bottom open. Leave a small gap at the top if you want to add a ribbon handle.
Put the velcro in the final length unsewn at the bottom. Cut velcro to the length of the opening and place on the wrong side of one of the open sides. Pin in place.
Do a box stitch around your velcro side to keep in place.
Place the remaining piece of velcro on the right side of the opposite side of the opening and repeat steps 6-7.
At the top of the beanbag where you left a gap, insert your ribbon or bias binding to make a loop long enough for you to hold/carry your beanbag.
Pin in place and cut off the excess on the wrong side. Stitch across to secure.
Turn right side out and fill with bean bag filling. If you want to make an insert, repeat the above process using a muslin fabric. When it comes to the velcro step simply miss this out and turn your muslin right side out, fill with beanbag filling and stitch up. Insert your beanbag insert into the beanbag cover and do up the velcro.


Craft with us at our workshops


Related Products