Cricut: How to Make a Wooden Cake Stand
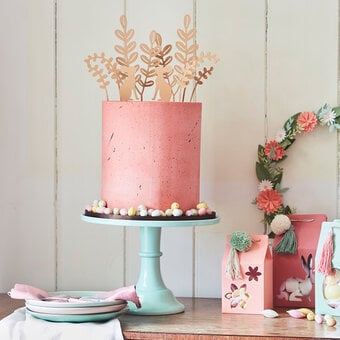
Show off every bake in style with a handmade cake stand, made and designed with your Cricut Maker. Your showstoppers will have the perfect display stand!
To complete this project, you'll need to use a desktop version of Designs Space and a Cricut Maker. You will also need a Cricut Knife Blade and 12 x 12” basswood sheets.
Project and instructions by Nerrisa Pratt
Please note: This project contains paid-for content from Cricut's Design Space app. Screen reference images are taken from the desktop version of Design Space.
You will need
How to make
You will also need:
* Cricut Design Space app installed on a laptop, PC, tablet or mobile device
Start by gathering your supplies.

Open up the Cricut Design Space desktop app and search 'Cake Stand'.
Open the wooden cake stand project and then click 'Make It'.


The project will load up on your screen and will show the number of mats needed to complete the project.
Click continue, select your Cricut Maker from the dropdown menu and then choose your material.
You can make the project using chipboard, basswood or a heavy cardstock.


Tape your material to your StrongGrip mat using masking tape along each of the sides.

Move the star wheels on the machine rollers to the edges so they don't leave traction marks on your material.
Don't forget to check that you've loaded in the Knife Blade too.

Now it's time start cutting! Load your mat into your Maker and click the 'C' (cut) button on the right-hand side of the machine to begin the cut.
Make sure your project has cut all the way through, and perform another cut pass if necessary before unloading the mat.


Once you're happy your the material has been cut all the way through, click the unload button on the Cricut Maker and carefully remove the masking tape from the basswood – you can then pop out the pieces of your cake stand.

Assemble the pieces of the stand together, placing the top circle on last. Glue into place, if desired.
Paint and seal the cake stand – this can be done before or after construction of the stand, whichever you prefer.
Leave the cake stand to dry completely before adding your cake.


