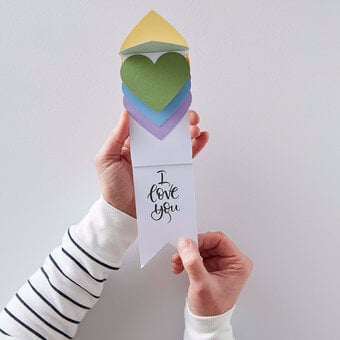
Your Cricut Explore Valentine's Card
Level
Intermediate
Time
1 hour
Budget
10 - 30
Do you have a special someone in your life who deserves something extra-special this Valentine's day? This clever little penny slider card could be just the thing, armed with a few handy templates from Cricut's Design Space and a plethora of cardstock you'll be up, up and away in next to no time!
You will need


How to make
You will also need:
Two, 1p pieces
Step-1

Step-2

Step-3
Step-4
Step-5
Step-6
Step-7

Step-8

Step-9

Step-10
Step-11
Step-12

Step-13

Step-14

Step-15

Craft with us at our workshops


Related Products

3 Easy Valentine's Sewing Projects
You Will Need * Snap Fasteners * Satin Ribbon * Metal Keyrings * Polydown Wadding (crib) 114 x 152cm * Heat 'n' Seal 43 x 93cm * Fat Quarters * Cotton Lace Ribbon * Scissors * Thread * Pins * ...
How to Make a Valentine's Waterfall Card
How To Make You Will Need * A4 Card - White, Red, Dark Yellow, Light Yellow, Sage Green, Dark Green, Pale Blue and Lilac * Metal Ruler * Craft Knife * Pencil * Heart Paper Punch * Tacky Glue * ...

How to Knit a Pair of Valentine's Day Socks
How to Make You Will Need * Women's Institute Petrol Home Grown DK Yarn 100g * Women's Grey Petrol Home Grown DK Yarn 100g * Pony Flair Circular Knitting Needles 40cm x 3mm * Pony Split Ring Stitch Markers 24 ...

How to Make a Heart Confetti Card
How to make Step 1 Print off and cut out a small envelope template. Draw around the template on to a sheet of white card and cut out using a craft knife and metal ruler. Assemble the envelope making sharp ...
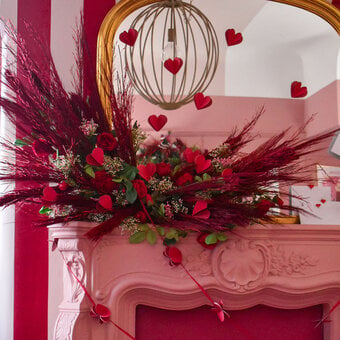
How to Decorate Your Home for Valentine's Day
Project and instructions by Tara Slinger, Our Layered Home. How to make Step 1 Open the wire netting and bend into a ‘bow like’ shape (or any shape you wish to create with your display). Secure the shape using small ...

Two Valentines Cards to Make For Him
How to make You will also need: Moustache Patterned Paper Pink Moustache Valentines Card:Step-1 Use a craft knife and metal ruler to cut a rectangle of moustache patterned paper 5 mm smaller than the dimensions of the blank card. Position ...