How to Crochet a Handbag Charm
You will need




You Will Need
* Knitcraft everyday DK Yarn
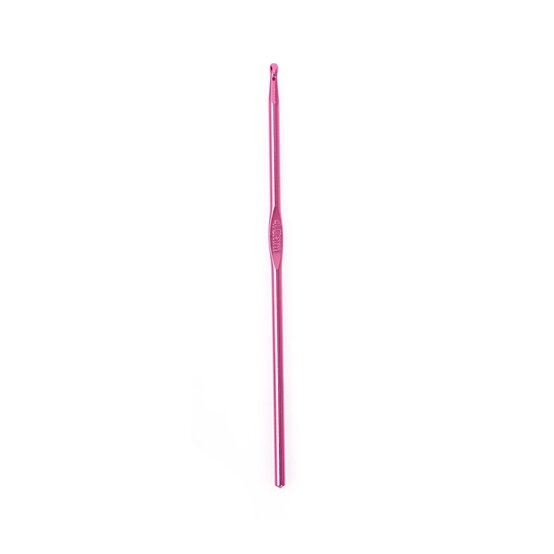
* 4mm Crochet Hook
* 2 Buttons
* Popper/Snap Clasp
* Needle and Thread
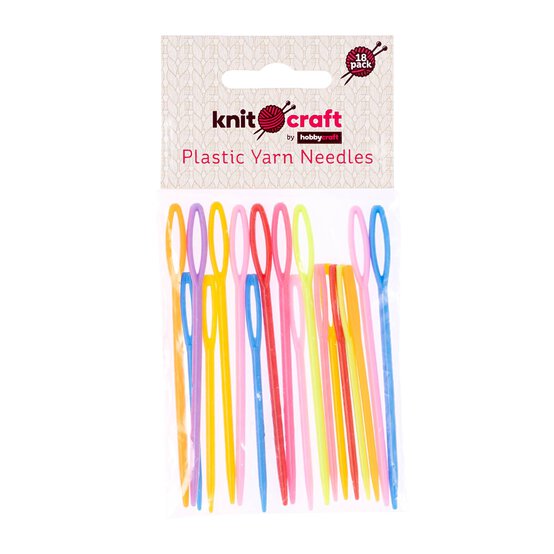
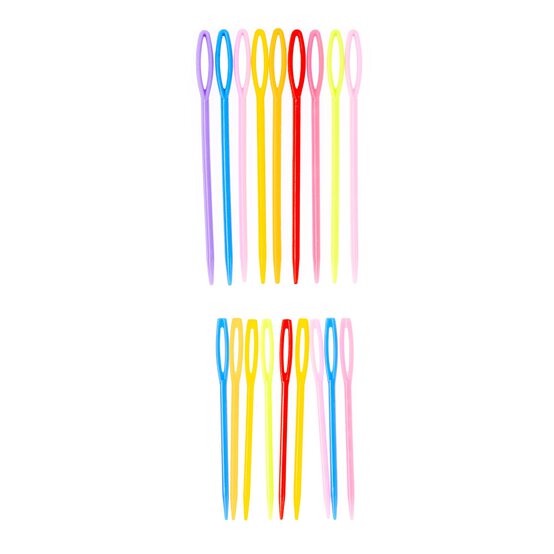
* Yarn Needle
* Scissors
Abbreviations - UK Crochet Terms
Ch - Chain
Dc - Double Crochet
St(s) - Stitch(es)
This is the top section of the charm.
Using 'Hot Pink' and 4mm hook, ch61
Row 1: 1dc in 2nd ch from hook and in each ch across. Ch1 and turn. (60dc)
R2 - 6: 1dc in each st across. Ch1 and turn. (60dc)
You should now have a rectangular strip that is 60 stitches long and 6 rows wide.
Fold the strip in half and slip stitch across the two short ends to turn the strip into a loop.
Fasten off and weave in ends.
This is the middle section of the charm.
Ch21.
R1: 1dc in 2nd ch from hook and in each ch across. (20dc)
R2: 1dc in each st across. (20dc)
Link this section through the previous section you made, and then connect the two short ends together by slip stitching across and making a loop.
Fasten off and weave in ends.
This section creates the fastening for the charm.
Ch51
R1: 1dc in 2nd ch from hook and in each ch across. (50dc)
R2: 1dc in each st across. (50dc)
Chain 8 at the end of the row, this creates the button loop, and slip stitch this into the first row on the same end of the section.
Fasten off.
You now have 3 sections of this project.
Adding the popper clasp
Attach the two parts of a popper/snap clasp to the appropriate ends of the crocheted fastening section.
The popper allows the charm to be opened and securely fastened around the item you want to carry.
On the top layer of the fastening, sew a button securely over the popper. The button acts as a decorative detail, while the popper provides the actual fastening mechanism.
Make sure the popper and button are sewn on securely, particularly if the charm will be used to carry items regularly.
Add a button onto the non-looped end to section 3 and fasten securely.
Finishing & Assembly
Weave in all loose ends using a yarn needle.
Check that all joins, the popper and the button are securely attached.
Thread section 1 and 3 through section 2 (the joining loop) to make each piece connected.
Attach the finished charm to your handbag using the crocheted loop.
To use the charm, place your scarf, cardigan or other lightweight item through the loop and secure the popper clasp.
The button sits on the top layer, giving the finished charm a decorative detail while the popper keeps the fastening securely closed.
Tip: This charm is best suited to lightweight items such as scarves, thin cardigans and lightweight layers. For heavier items, use a stronger yarn and reinforce all joins and fastenings.


