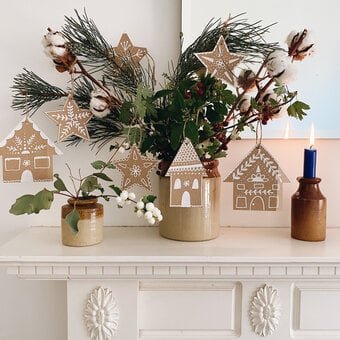
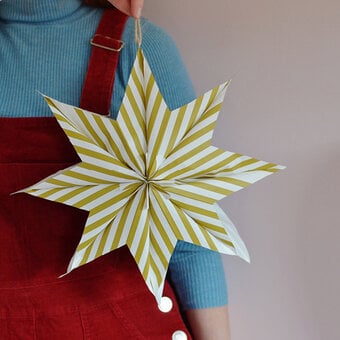
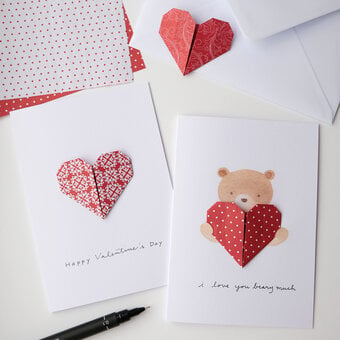
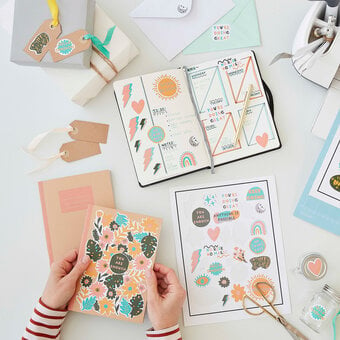
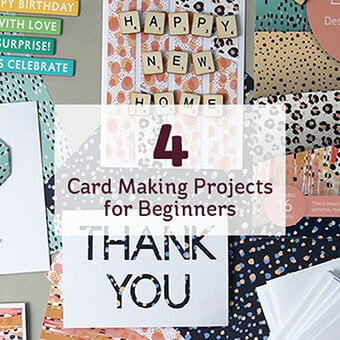
Papercraft Projects
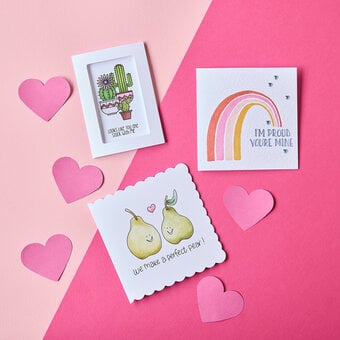
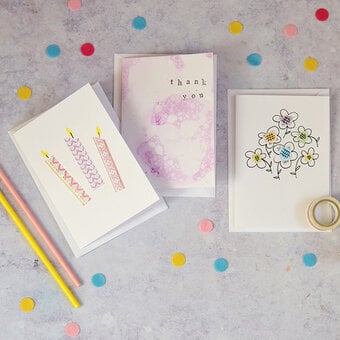
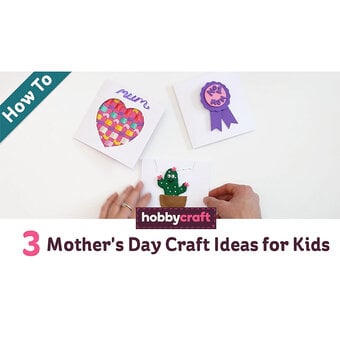
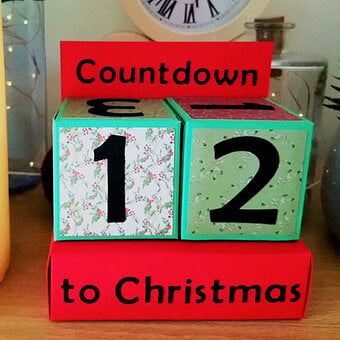
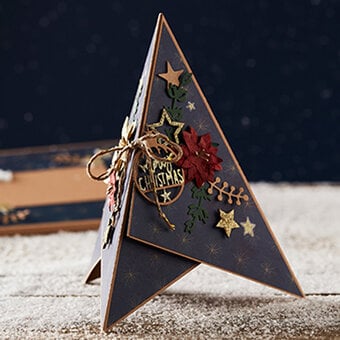
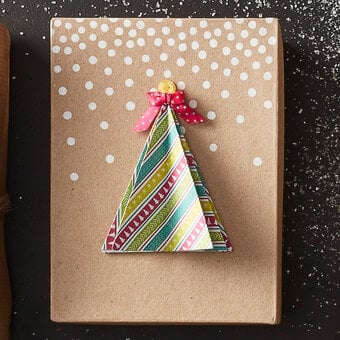
From handmade cards and beautiful scrapbook layouts to 3D papercraft projects that take things to the next level, our papercraft ideas show you all the things you can create with paper. You’ll discover wonderful DIY papercrafts for adults, as well as easy papercraft ideas for beginners and kids. There’s no better way to get started in craft, with fantastic gift inspiration on hand too.
Skip to Product Grid (Press Enter)
Filters
-
Papercraft (193)
-
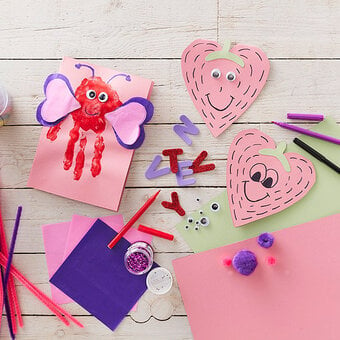
Kids (19)
-
Decor & Hobbies (12)
-
Cricut (26)
-
Gifting (2)
-
Meet The Maker (2)
-
Sewing (2)
- View more
-
Weddings (2)
-
Art (1)
-
Article (1)
-
Silhouette (1)
-
Siser (1)
-
Art - Free Downloads (1)
-
Art - Mixed Media (3)
-
Cricut - Papercraft (21)
-
Cricut - Vinyl (4)
-
Decor & Hobbies - Other (5)
-
Decor & Hobbies - Upcycling (3)
-
Digital Crafting - Sublimation (2)
- View more
-
Gifting - Gift Wrapping (1)
-
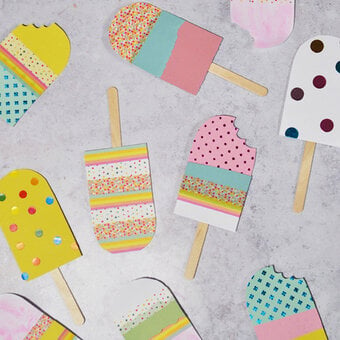
Kids - Craft Activities (4)
-
Occasions - Gift Ideas (2)
-
Occasions - Party (3)
-
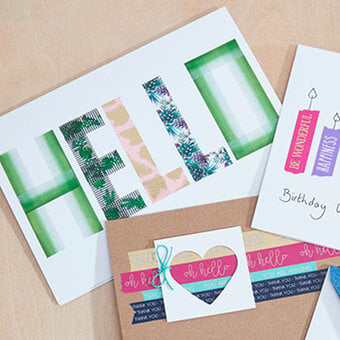
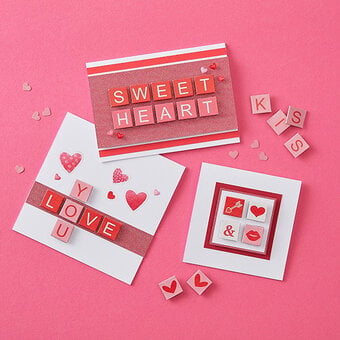
Papercraft - Card Making (106)
-
Papercraft - Die Cutting (5)
-
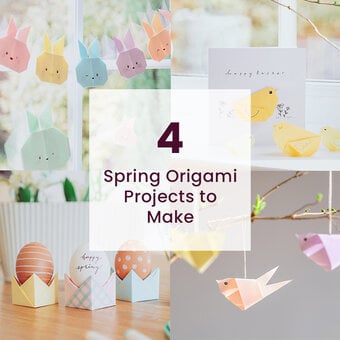
Papercraft - Origami (7)
-
Papercraft - Other (39)
-
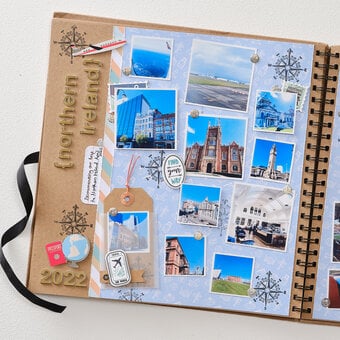
Papercraft - Scrapbooking (38)
-
Sewing - Cross Stitch (1)
-
Sewing - Fat Quarter Projects (1)
-
Weddings - Decorations (2)
-
Birthday (5)
-
Christmas (39)
-
Valentine's Day (22)
-
Mother's Day (16)
-
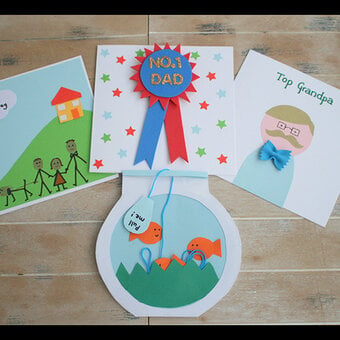
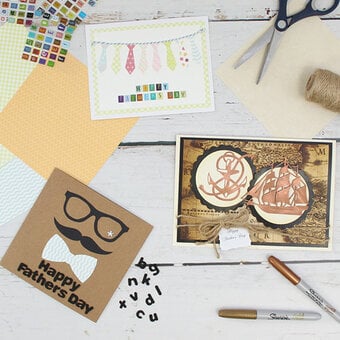
Father's Day (12)
-
Spring (3)
-
Newborn Baby (7)
- View more
-
Wedding (6)
-
Party (5)
-
Summer (5)
-
Advent (4)
-
Coronation (4)
-
Diwali (4)
-
Halloween (3)
-
Autumn (2)
-
Black History Month (1)
-
Earth Day (1)
-
Eid (1)
-
Hanukkah (1)
-
New Home (1)
-
New Year (1)
-
St Andrew's Day (1)
-
St David's Day (1)
-
Thank You (1)
-
Winter (1)
-
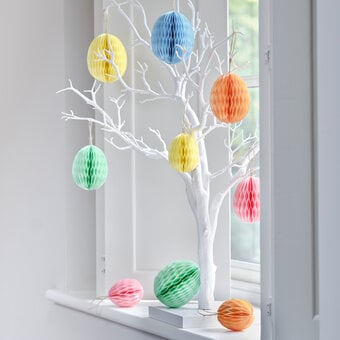
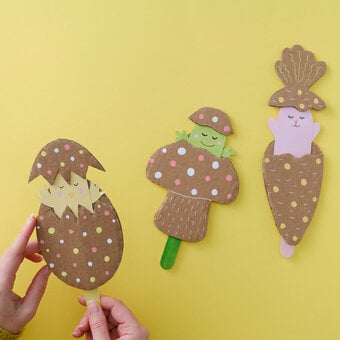
Easter (25)
-
Beginner (205)
-
Intermediate (45)
-
Advanced (7)
-
<£10.00 (108)
-
£10.00 - £30.00 (125)
-
£30.00+ (24)
-
1 hour (191)
-
1/2 day (61)
-
1+ days (5)
-
Gift Ideas (80)
-
Artisan (5)
-
Home Décor (23)
-
Advents (5)
-
Flora & Fauna (13)
-
Animals (4)
-
Wreath Making (4)
- View more
-
Clothing (2)
-
Sustainable Crafts (2)
-
Bunting (1)
-
Get Started In (1)
-
Pom Poms (1)
-
Space (1)
Viewing 1 - 48 of 263 Ideas
Viewing 1 - 48 of 263 Ideas


You've viewed 48 of 263 products
Related Products
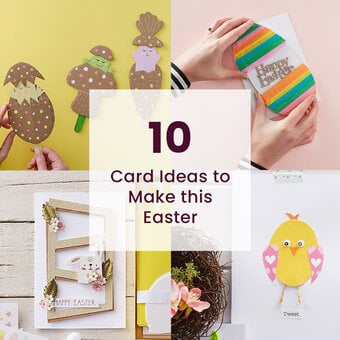
10 Card Ideas to Make this Easter
Project and instructions by Rose Chocolates. Projects by Hobbycraft Artisan: Vicky Boyns Find out more. FREE PATTERN Sirdar Sublime Baby Cashmere Merino Silk DK Ballerina WrapBrand: SirdarYarn: Sirdar Snuggly DKBalls of Yarn: 5Size of garment: 33 cm (12 inches)Needle size: ...
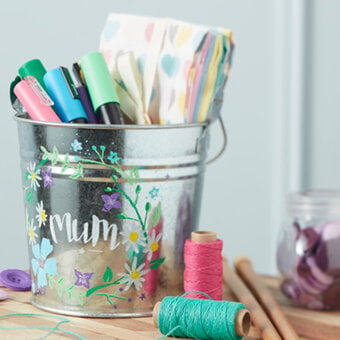
How to Make a Personalised Bucket Hamper
Projects by Hobbycraft Artisan: Vicky Boyns Find out more. FREE PATTERN Sirdar Sublime Baby Cashmere Merino Silk DK Ballerina WrapBrand: SirdarYarn: Sirdar Snuggly DKBalls of Yarn: 5Size of garment: 33 cm (12 inches)Needle size: 4 mm and 3.25 mmFREE PATTERN ...
Oops...
Sorry, we did not find any products that match the
selected filters. You can go back to previous results to
select something different.