How to Make an Autumn Wreath
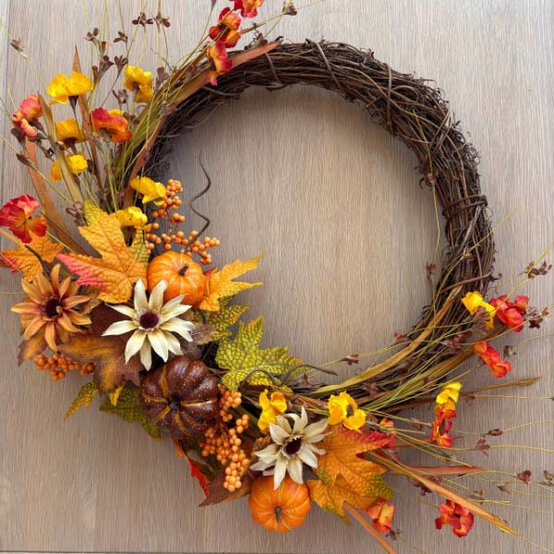
What better way to welcome autumn into your home than with a beautiful wreath!
There is so much to love about this colourful season, so why not decorate your home with autumn colours! Get started with this glorious wreath, perfect for hanging on your door.
Using wildflowers and a pumpkin spray, you can add seasonal touches that bring the warmth of this cosy season to life on your rattan base.
Project and instructions by Caitlin Parker
You will need

How To Make
You Will Need
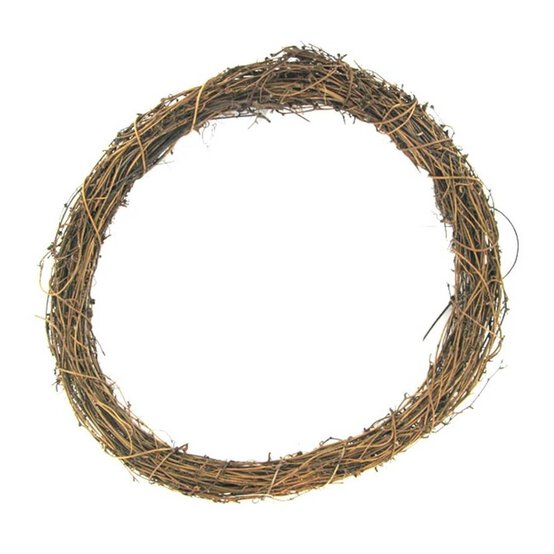
* Rattan Wreath
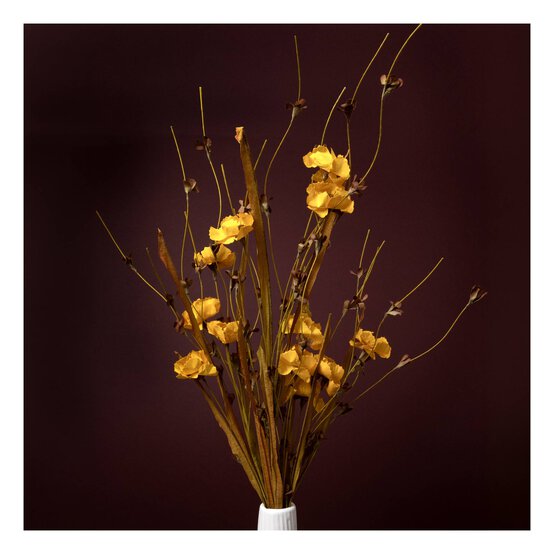
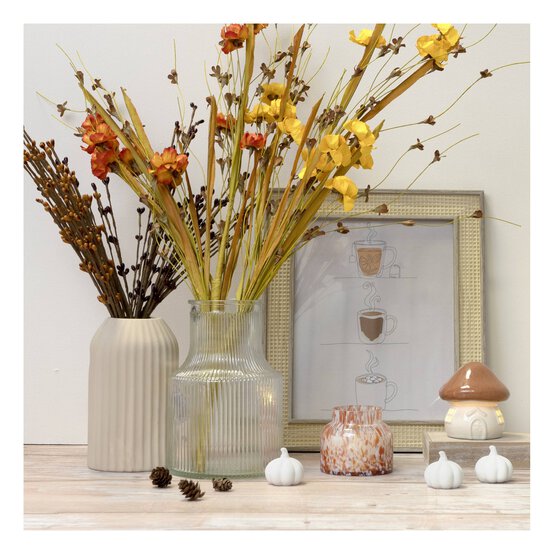
* Wildflower Picks - Red and Yellow
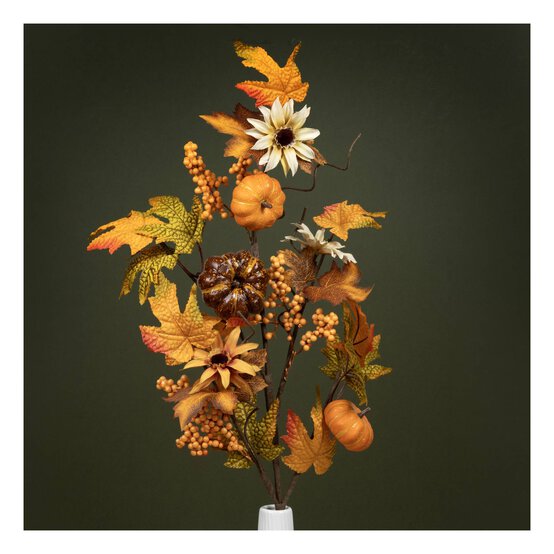
* Large Pumpkin Spray
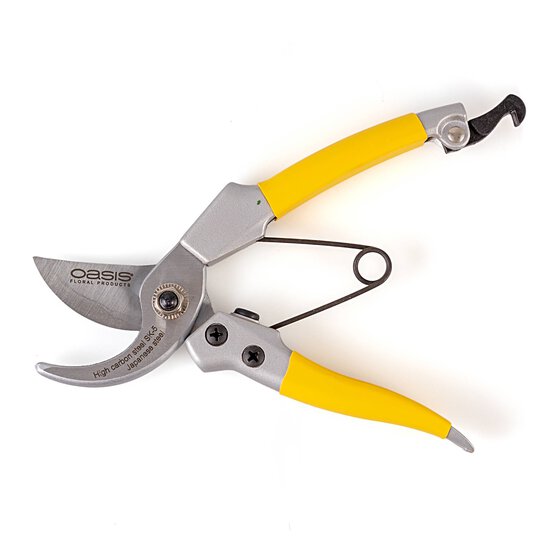
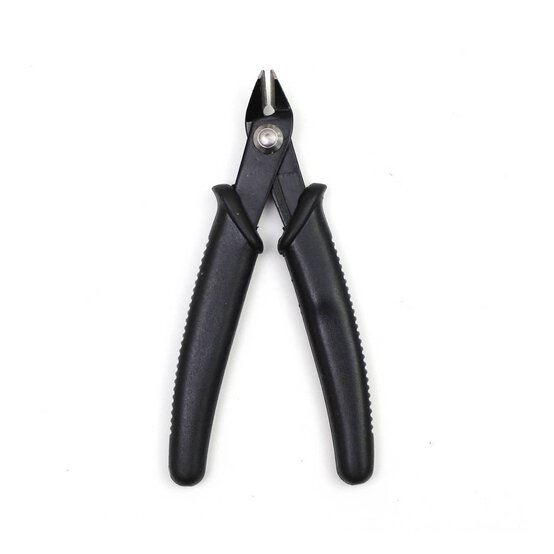
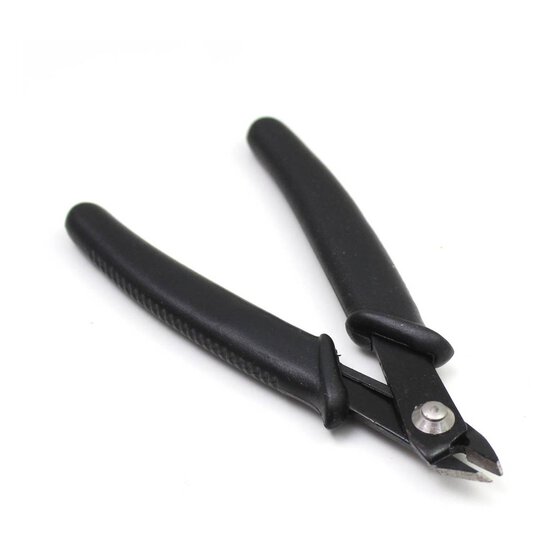
* Wire Cutter
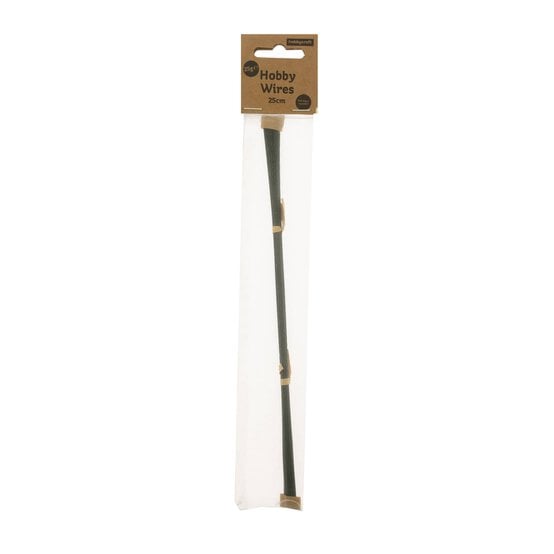
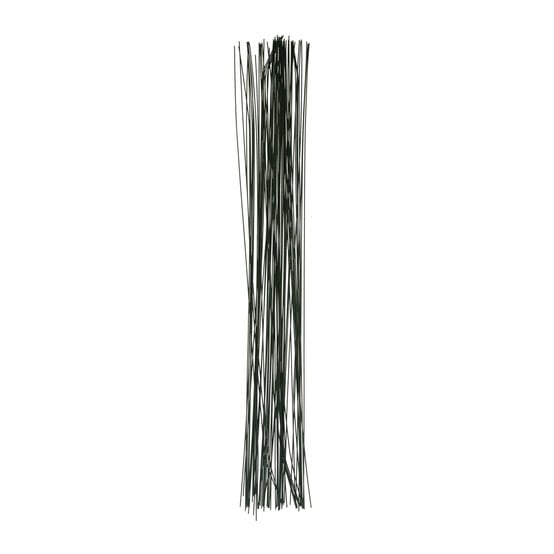
* Floral Wire
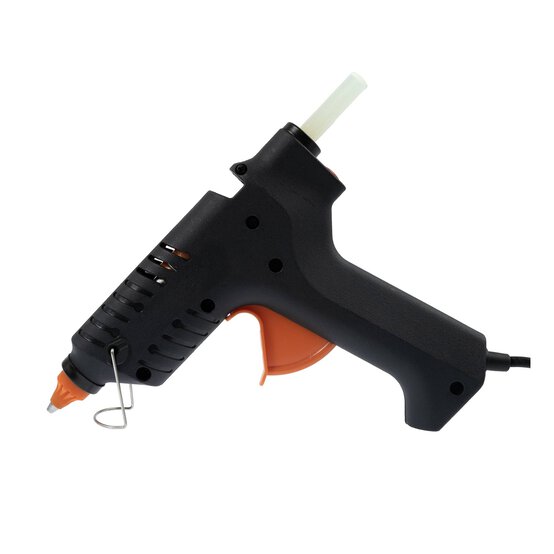
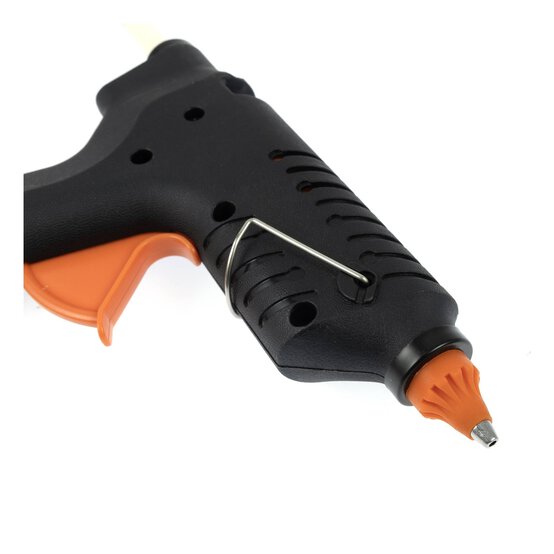
* Glue Gun
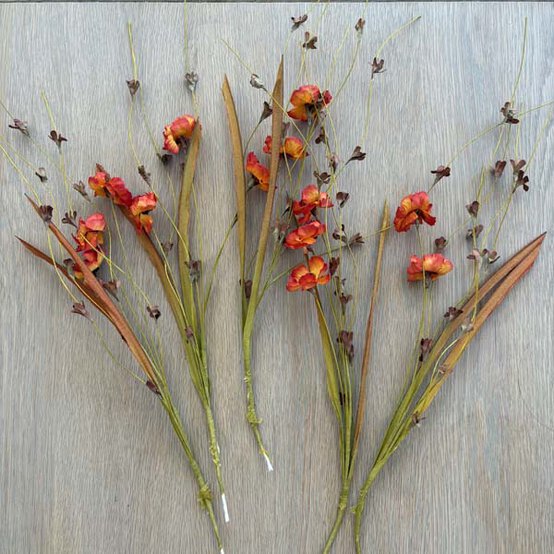
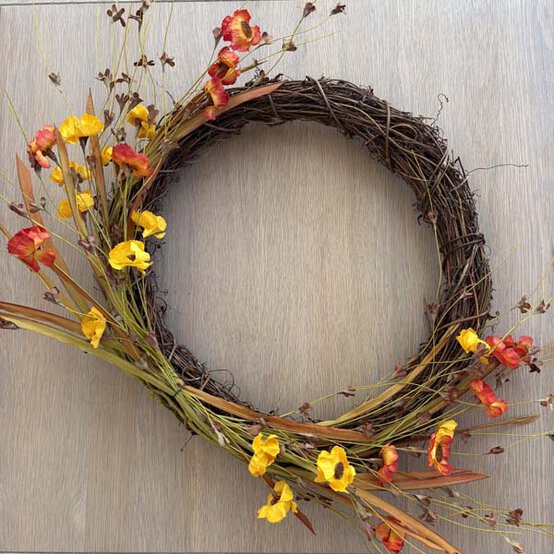
Start by separating the wildflower picks into five bunches. If you gently bend them, you’ll be able to see how they’re grouped together.
Leaving around a third of the wreath base exposed, attach a red wildflower cluster at the top and bottom of the wreath. These mark the furthest point the foliage will extend, so check you’re happy with how much of the base remains visible. Secure them using floristry wire or a glue gun.
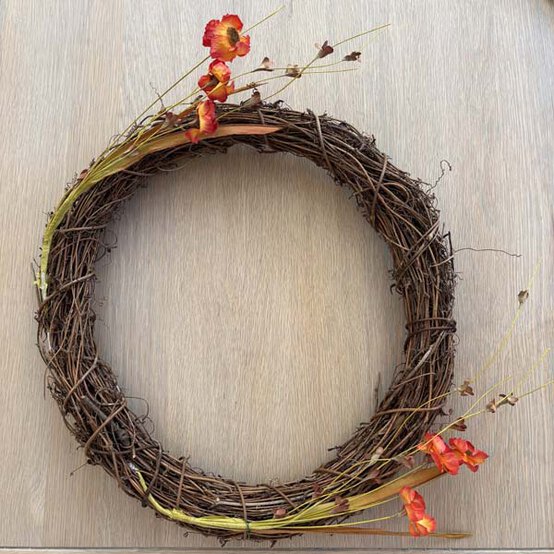
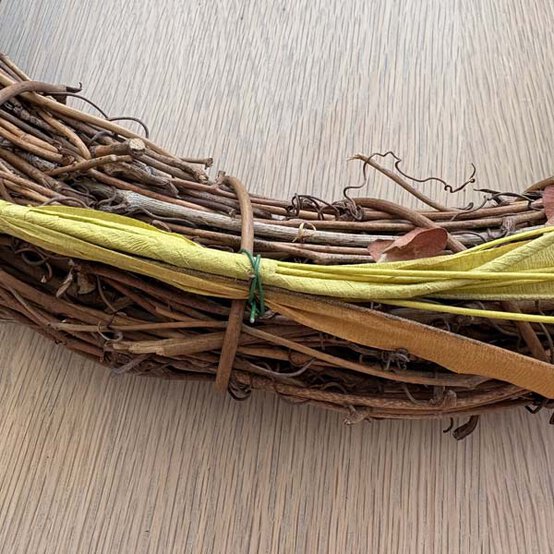
Working inwards, attach a yellow wildflower cluster to the left of each red cluster.
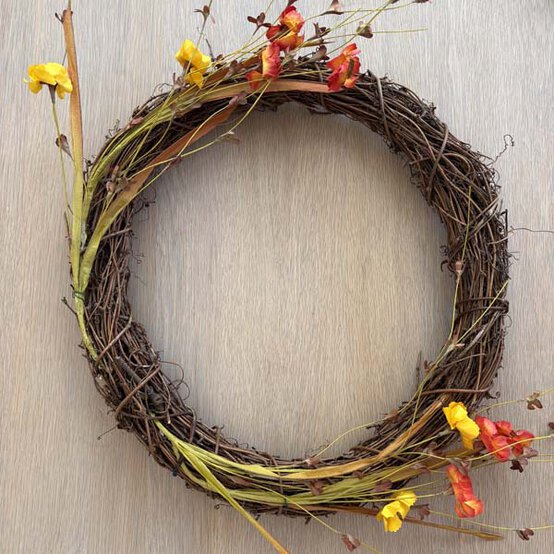
Continue this alternating pattern, adding two more clusters of red and yellow wildflowers as you work towards the focal point (opposite the exposed wreath base).
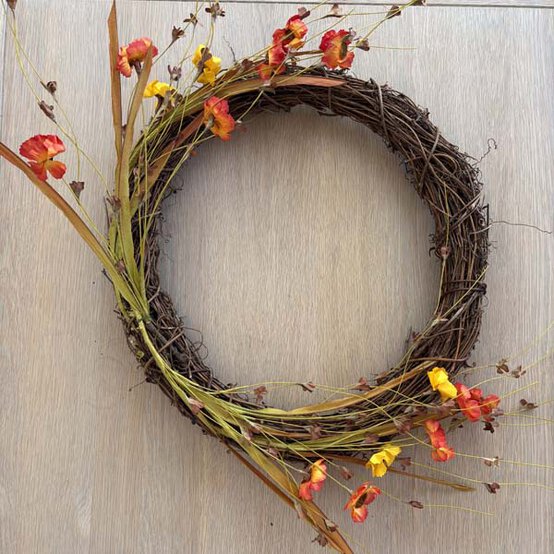
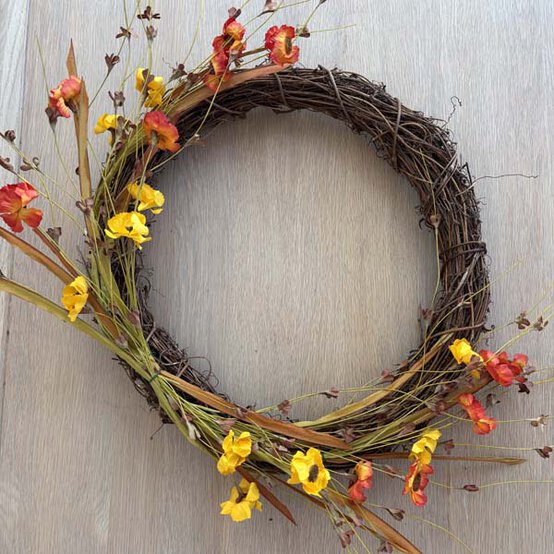
Use the remaining cluster of each colour to add fullness by securing them into the sides of the wreath rather than the front. This will help build volume without overcrowding the design.
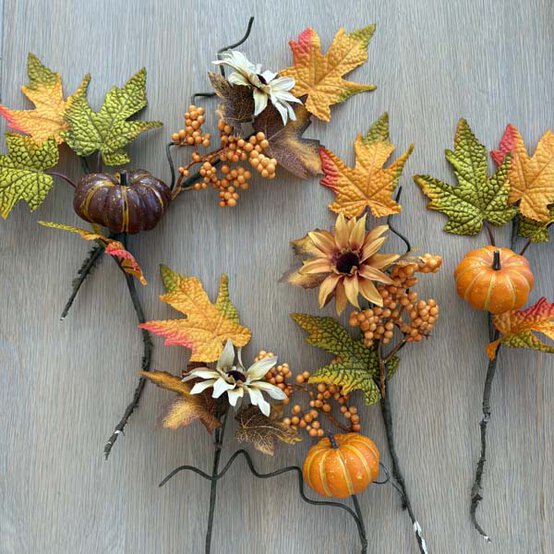
Separate the pumpkin leaf pick into segments, bending the stems to reveal how they’re grouped before cutting. You should end up with three flower segments and three with pumpkins. To make positioning easier, gently remove the pumpkins from their wires.
Starting with the flower clusters, attach them on either side of the focal point. Make sure each cluster points away from the focal point, and don’t worry if there are small gaps for now.
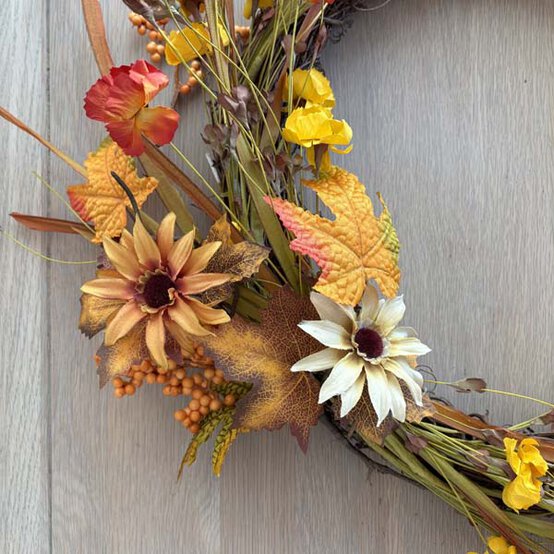
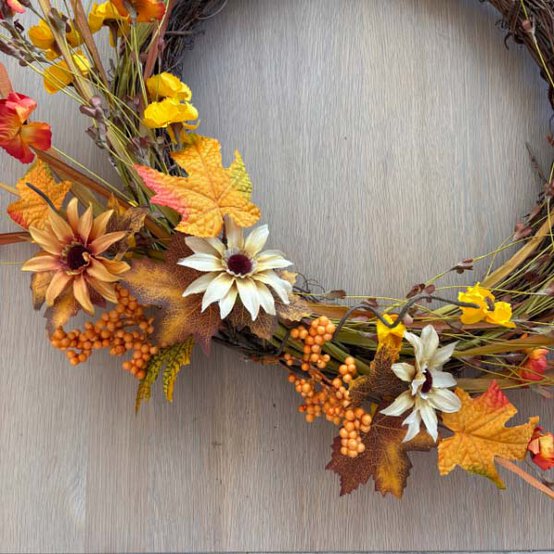
Take the first leaf cluster and attach it at the focal point, pointing away from the centre of the wreath.
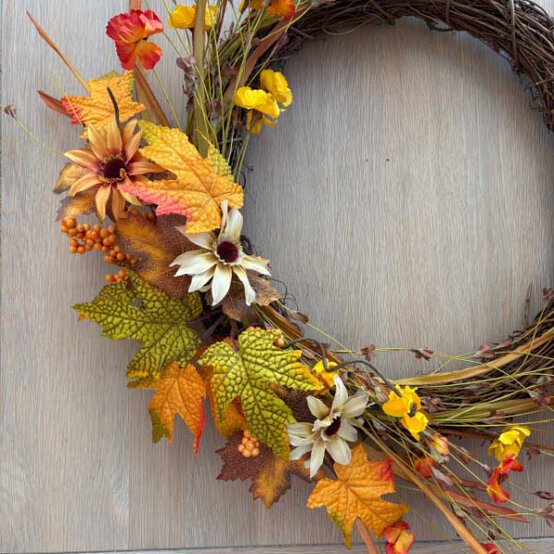
Attach the second leaf cluster opposite the first, this time facing in towards the centre of the wreath. For a more natural look, position these leaves behind the flowers added in step 7. You should now have just a small gap remaining at the focal point.
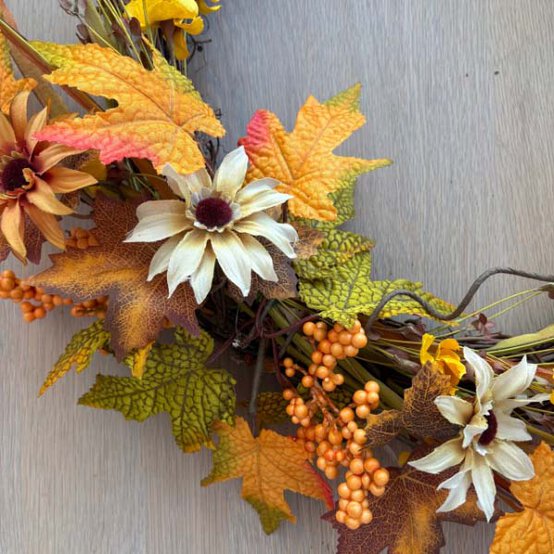
To fill this space, glue the brown pumpkin into the surrounding foliage.
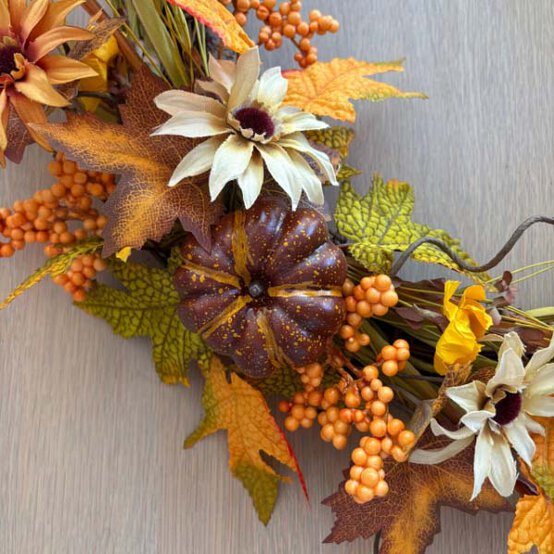
Glue one orange pumpkin above the brown one, facing in towards the centre of the wreath. Try to avoid lining the pumpkins up too neatly.
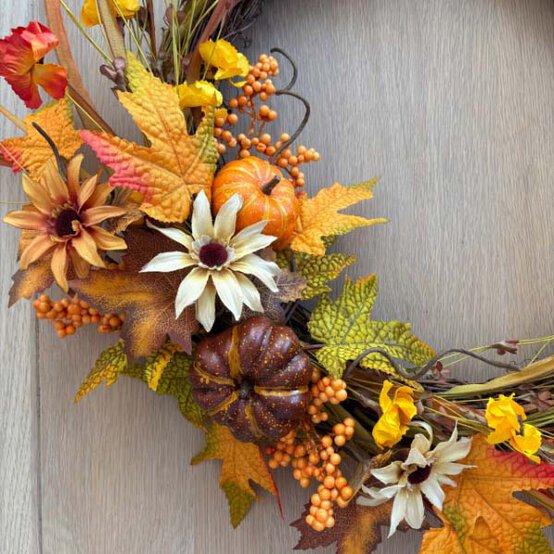
Glue the final orange pumpkin below the brown one, angling it slightly so it faces outwards.
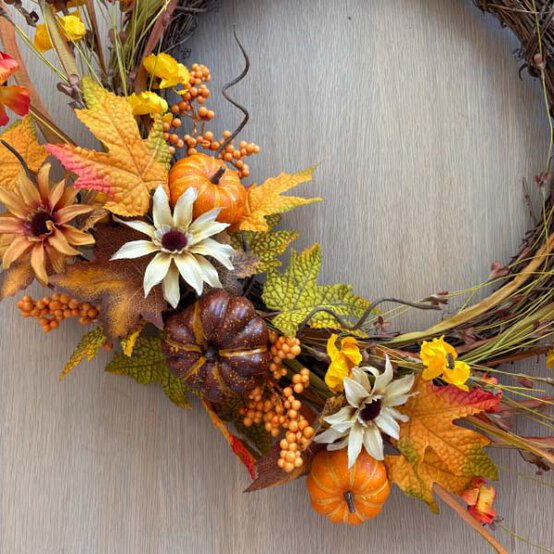
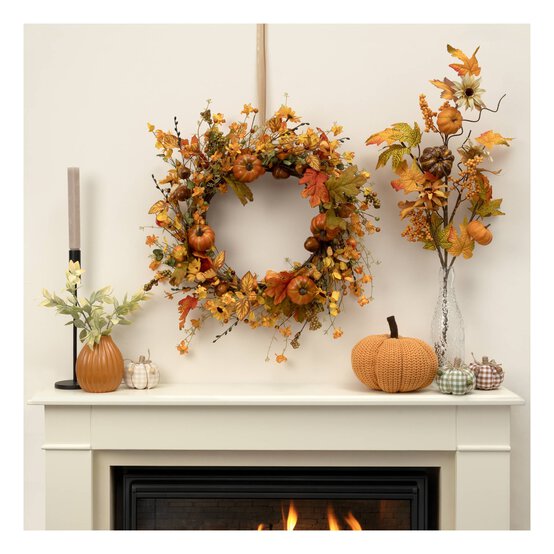
Your beautiful autumn wreath is now ready to hang.