How to Stitch a Halloween Embroidery Hoop
Spooky season calls for spooky décor! This Halloween-inspired embroidery hoop project helps you create an elevated, eerie touch to give your home a seasonal makeover for autumn and get everyone in the spirit.
Using beginner to intermediate embroidery stitches, this hoop is the perfect way to get creative this autumn. Stitch spiders, a witch’s cauldron and a fitting sentiment.
Project and instructions by Katherine Lucy Creates
You will need





How To Make
You Will Need
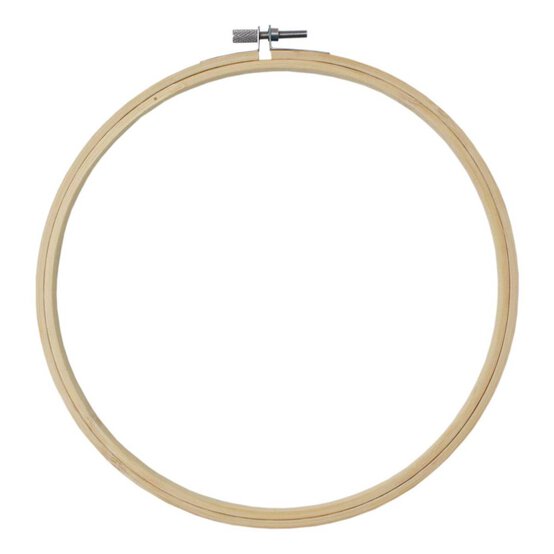
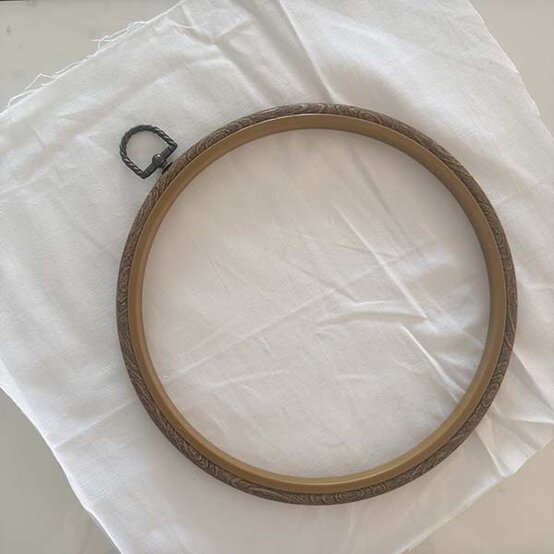
* 8" Embroidery Hoop
* White Cotton Fabric
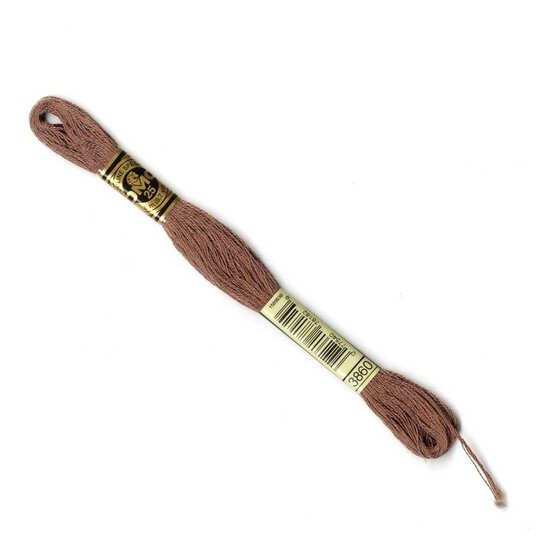
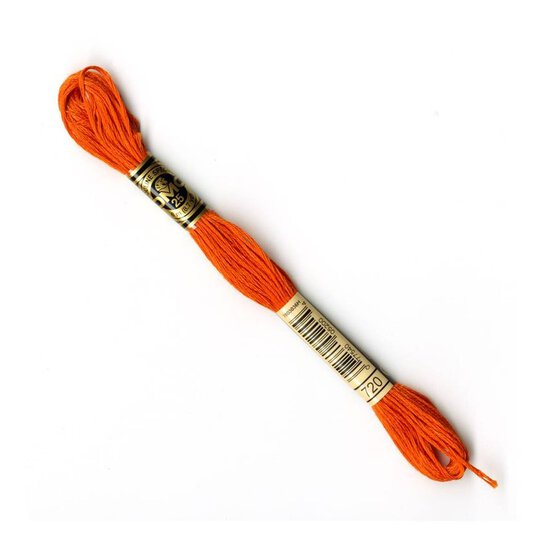
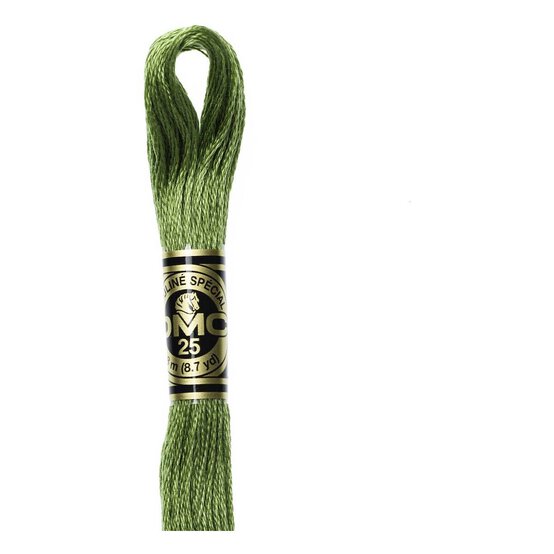
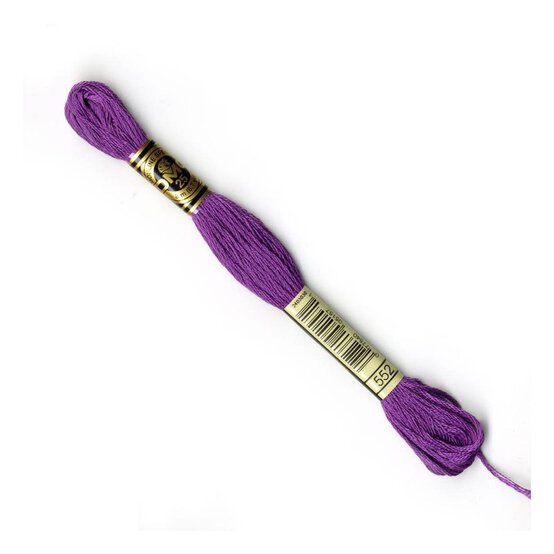
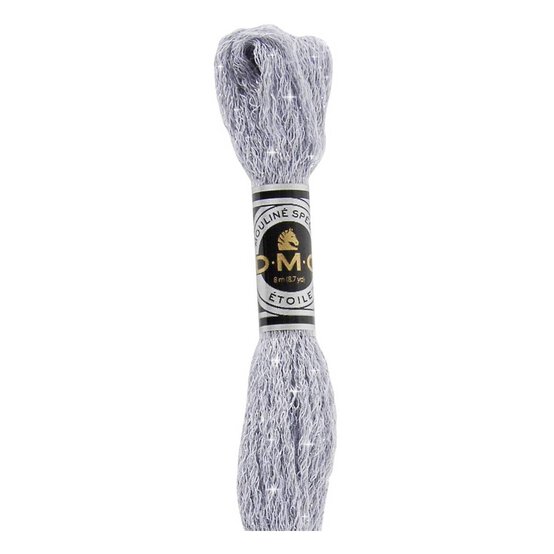
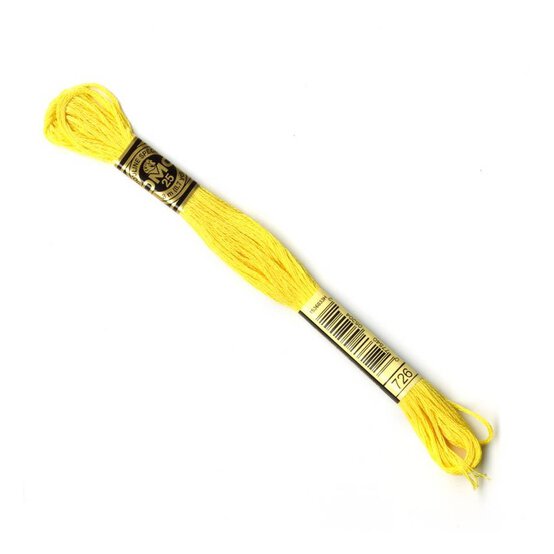
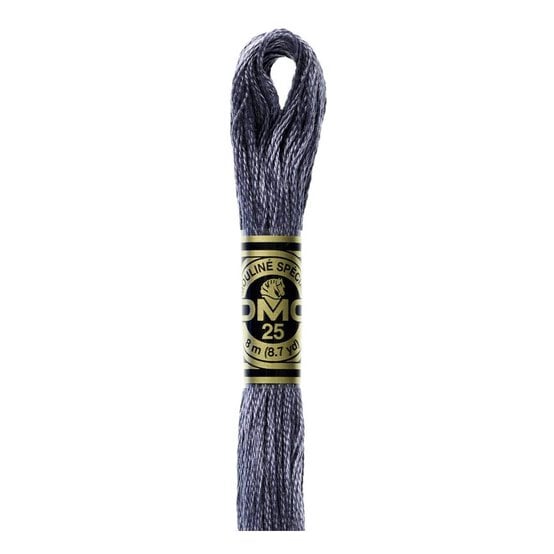
* DMC Embroidery Threads - Black (310), Brown (3860), Orange (720), Green (3347), Purple (552), Sparkly Grey (C318), Yellow (726), Grey (317)
* Fabric Scissors
* Embroidery Scissors
* Embroidery Needles Sizes 5 - 7
* Erasable Fabric Pen
* Iron
Download and print the embroidery template.
Cut a piece of fabric approx 12” x 12”, then use a good light source and an erasable fabric pen to trace the design onto the fabric.
lace into the 8” Hoop.
Gather all threads and needles.
For the majority of the stitches use 2 strands of the embroidery thread. The exception is the inner parts of the ivy leaves which uses 1 strand.
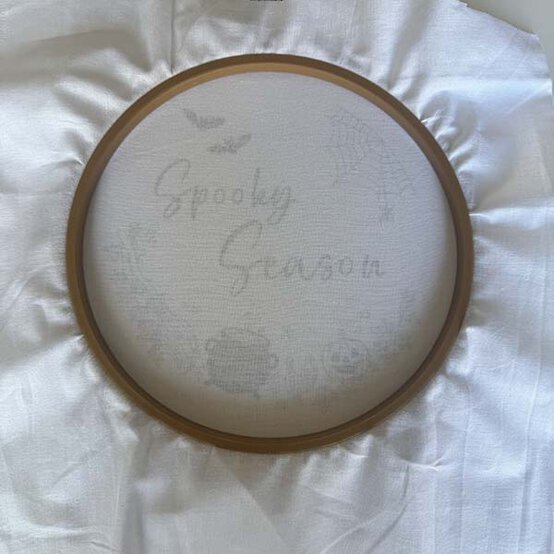
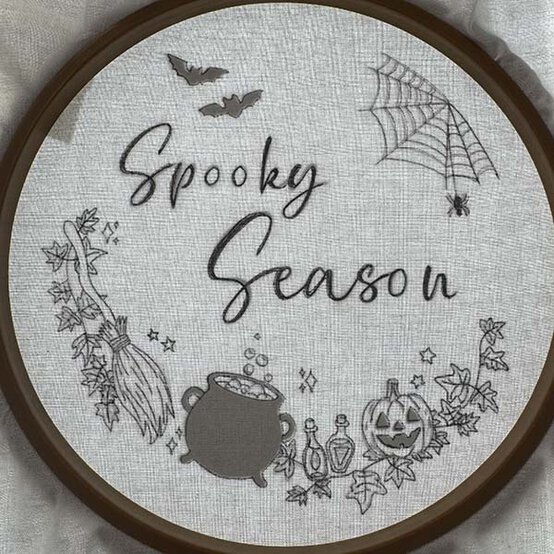
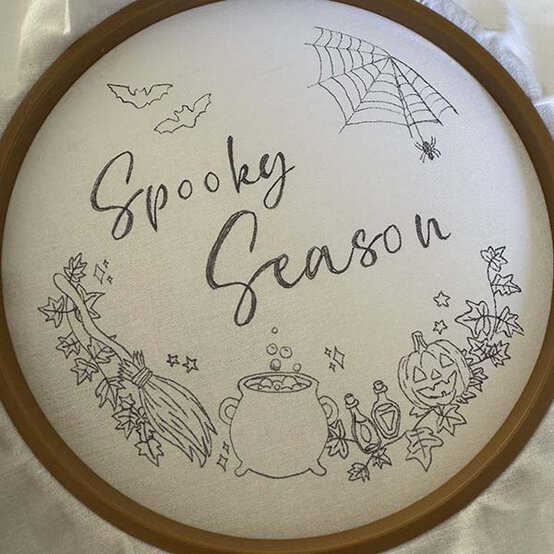
The lettering is sewn using chain stitch as follows:
1. Start at the base of the ‘S’, bringing the needle up through the fabric and back through a short distance along the line.
2. Bring the needle back up through the fabric a little further along the letter.
3. Thread the needle through the first stitch and insert through the fabric again.
4. Repeat until the letter is fully stitched.
5. Layer up the letters in the fuller parts by doing another row of chain stitch.
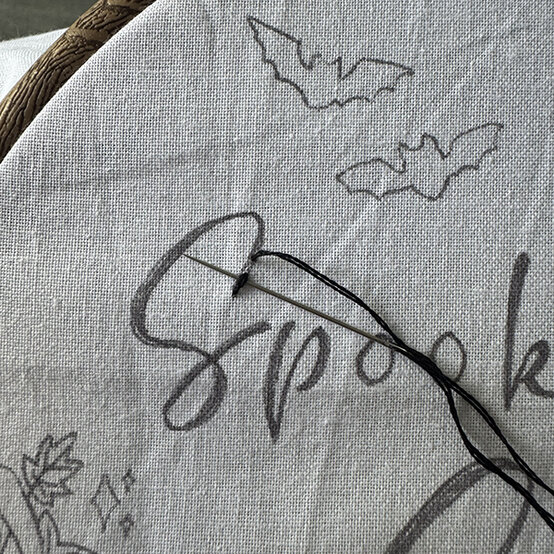
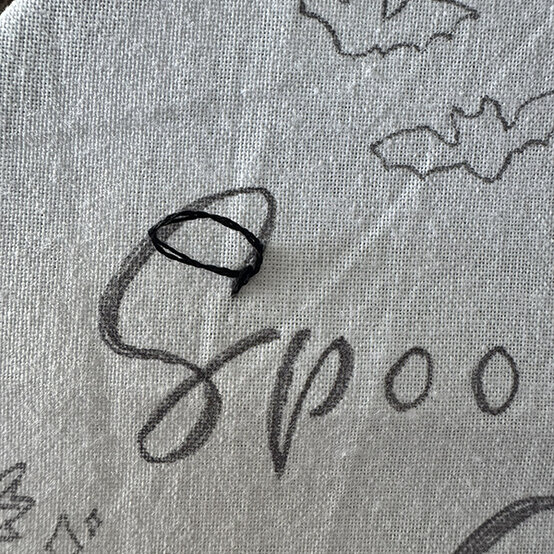
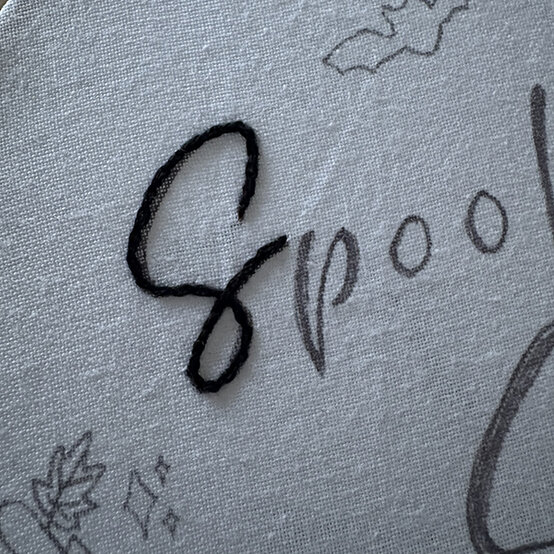
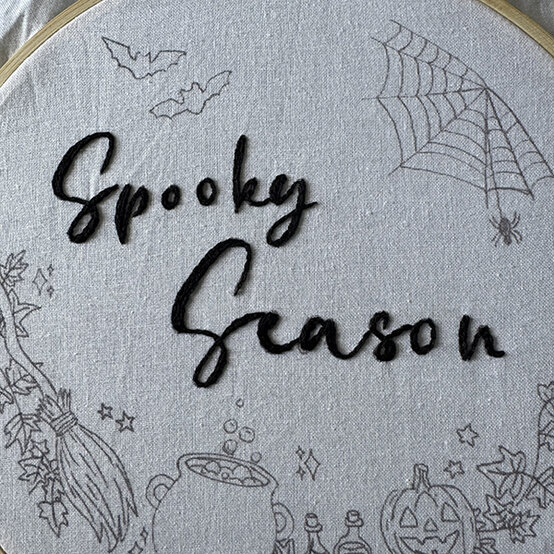
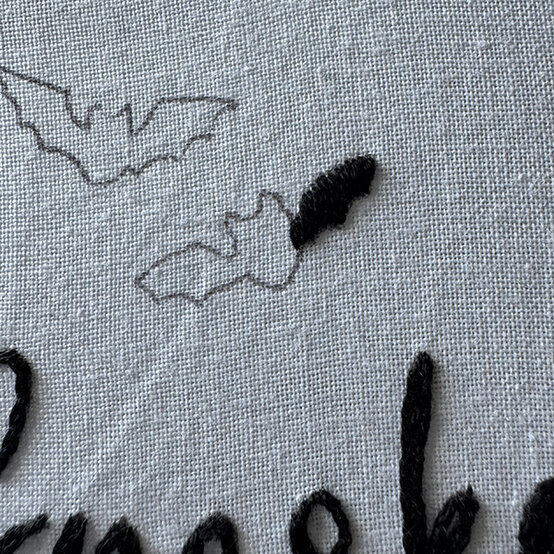
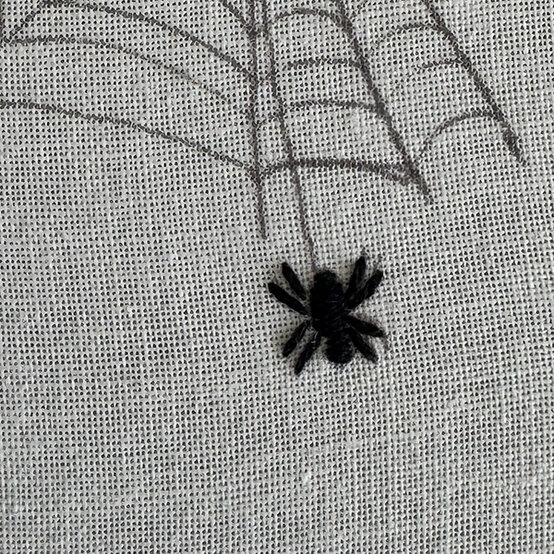
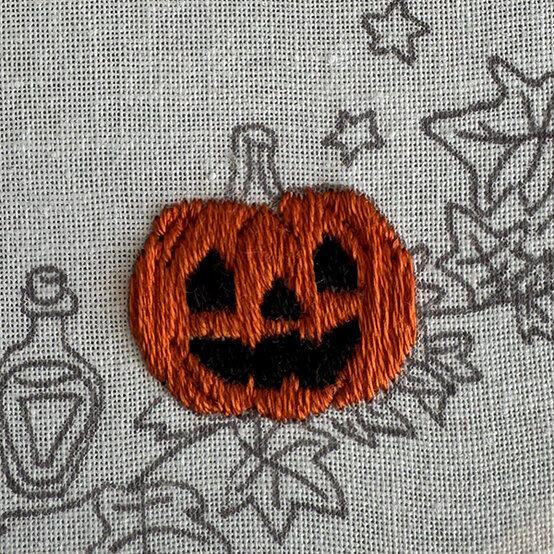
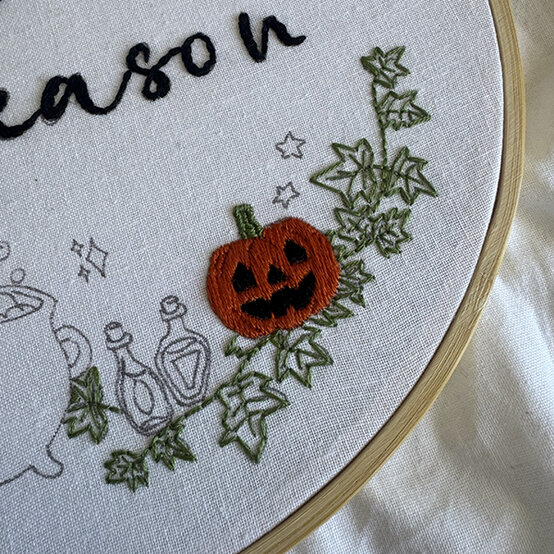
The bats, spider and pumpkin are sewn using a satin stitch as follows:
1. Bring the needle up at the centre of the bat and insert directly across.
2. Pull the thread all the way through.
3. Bring the needle back up, very close to the first stitch, again insert directly across.
4. Repeat until you have filled the centre, then repeat for the other bat.
5. Use the same technique for the spider but add single stitches for the legs.
6. Use again for the pumpkin, using the design lines as a guide for where to stitch.
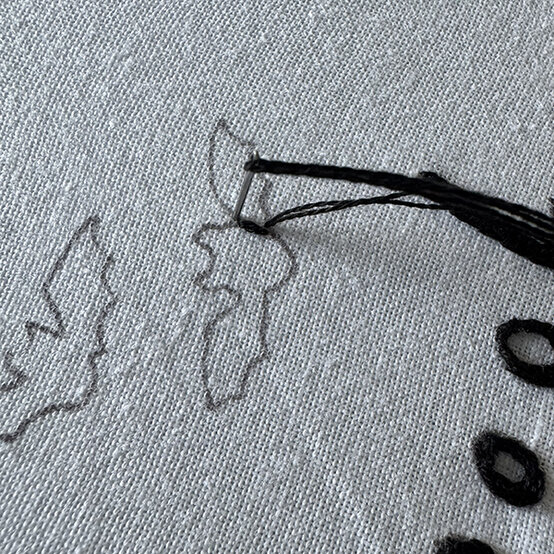
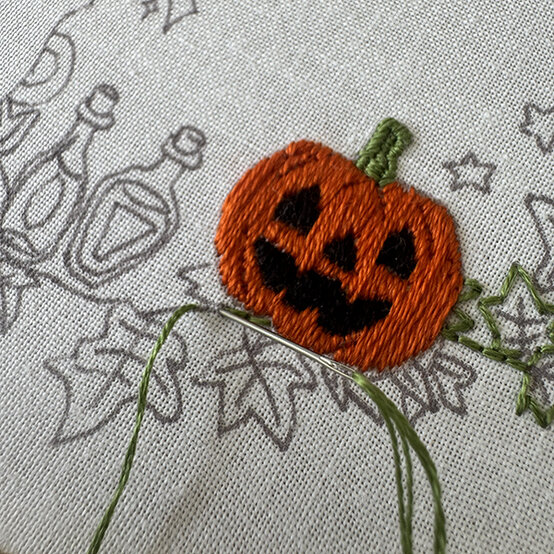
The ivy leaves are sewn using back stitch as follows:
1. Start at the base, bringing the needle up through the fabric and back through a short distance along the line.
2. Bring the needle back up the same distance above and insert back through so that the lines join.
3. Repeat along the line and complete the ivy leaves outline.
4. Add the inner detail using 1 strand of thread.
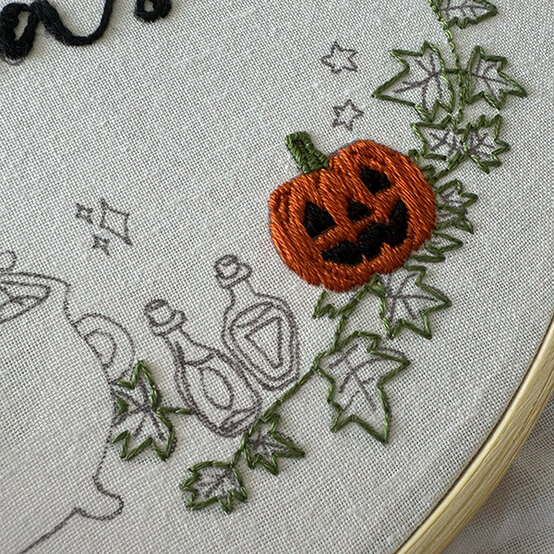
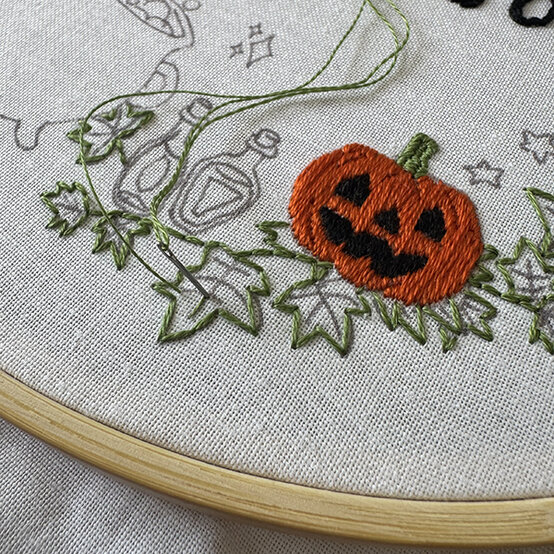
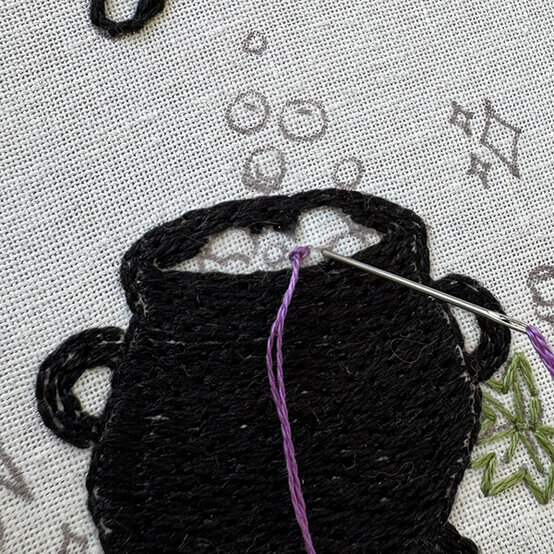
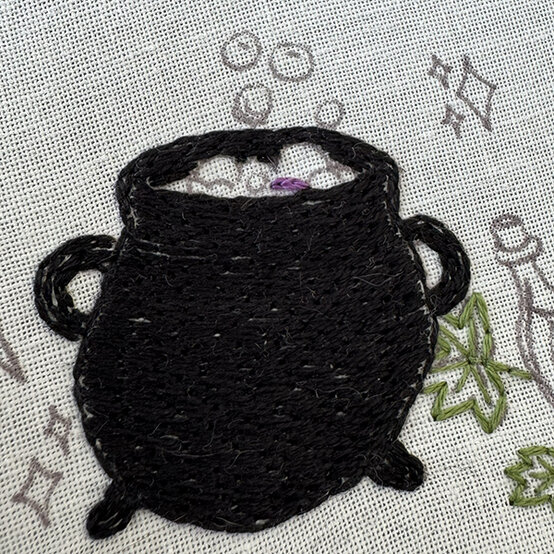
The cauldron is sewn using brick stitch as follows:
1. A fill version of back stitch, start with the cauldron handles and fill the design.
2. Complete the cauldron outline.
3. Continue to fill, working around the bubbles.
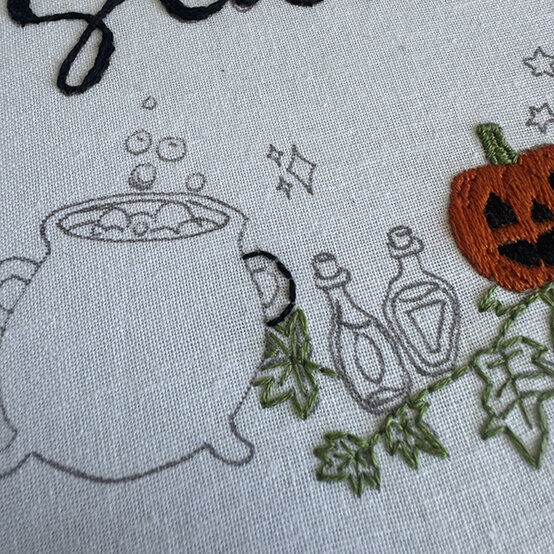
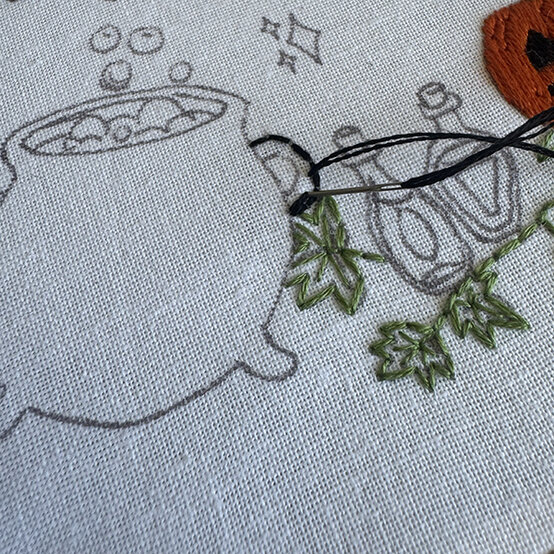
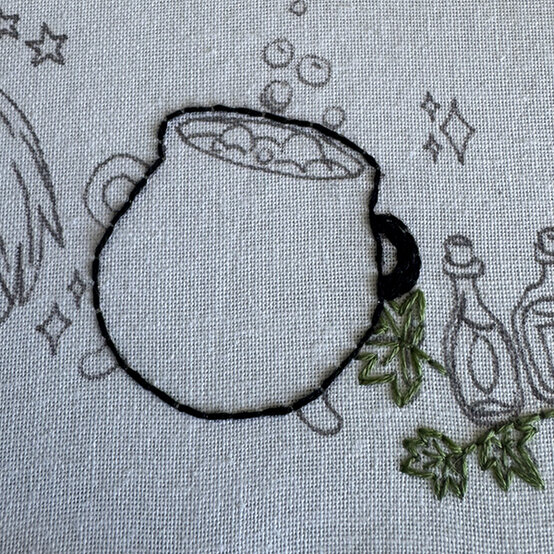
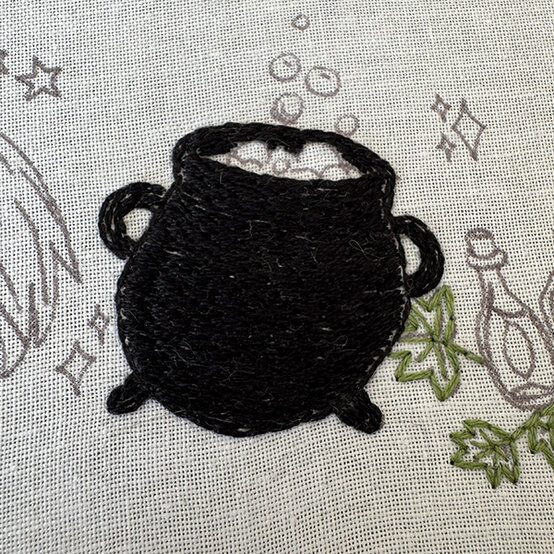
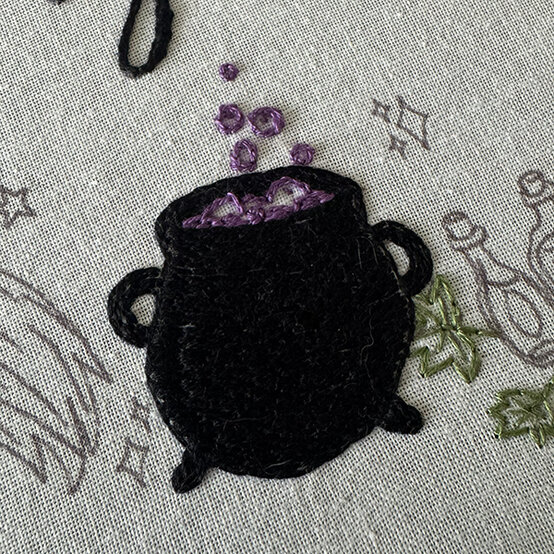
The cauldron bubbles are sewn using a split stitch as follows:
1. Bring the needle up and insert back through.
2. Bring the needle up through the middle of the first stitch, then insert back through.
3. Complete the lines of the bubbles.
4. Go back and the fill in the potion using the same stitch.
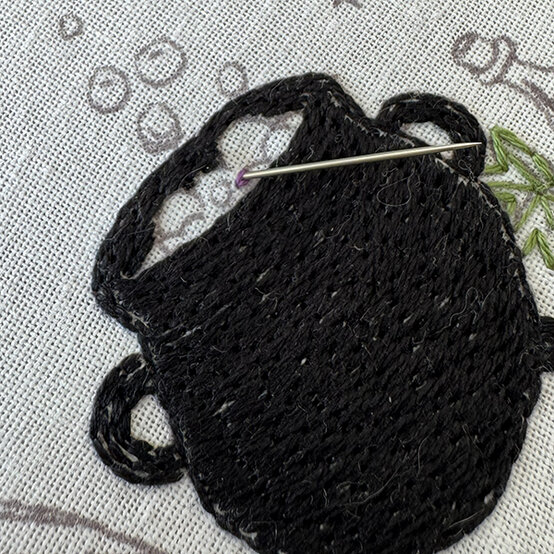
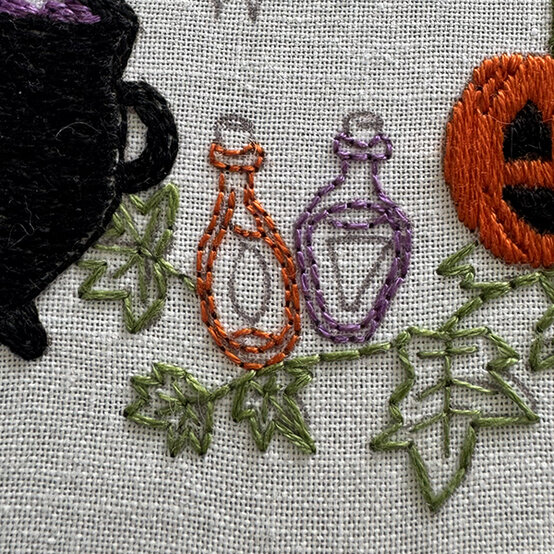
Use back stitch to complete the potion bottles.
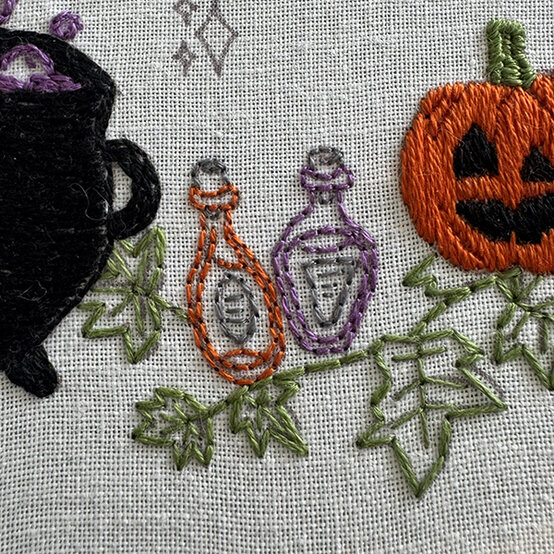
The stars are sewn using star stitch as follows:
1. With the needle, follow the lines of the star, working in diagonals using the images as a guide.
2. Continue working round the star until it is filled.
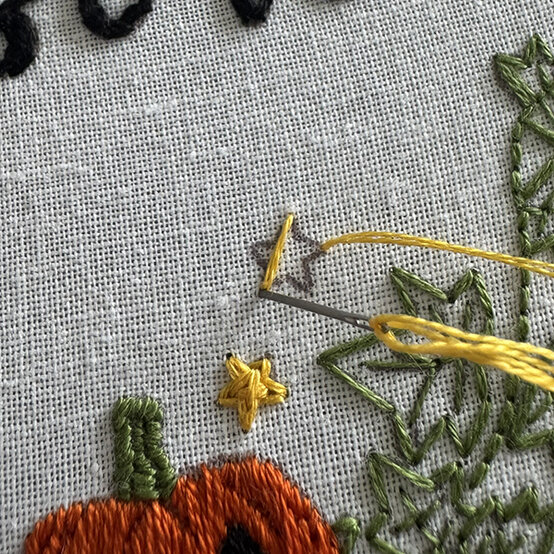
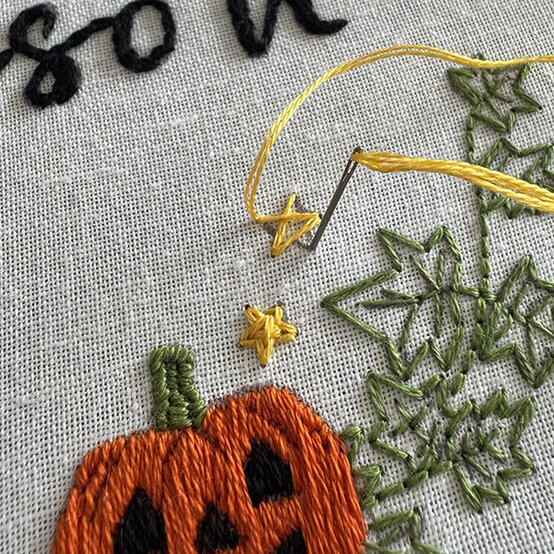
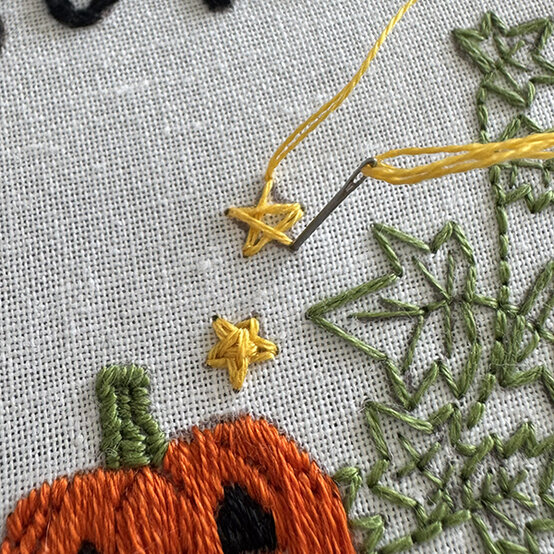
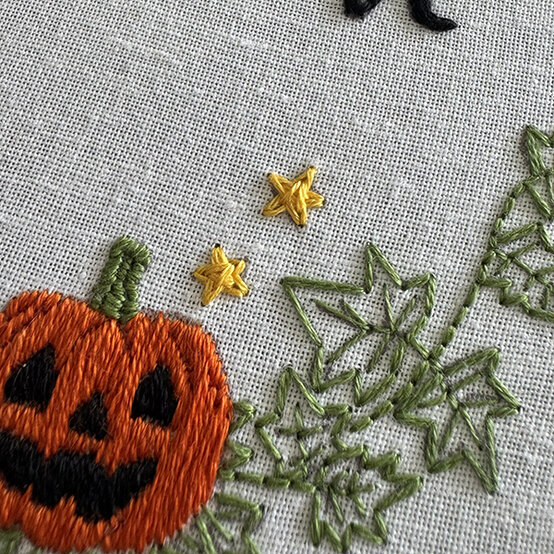
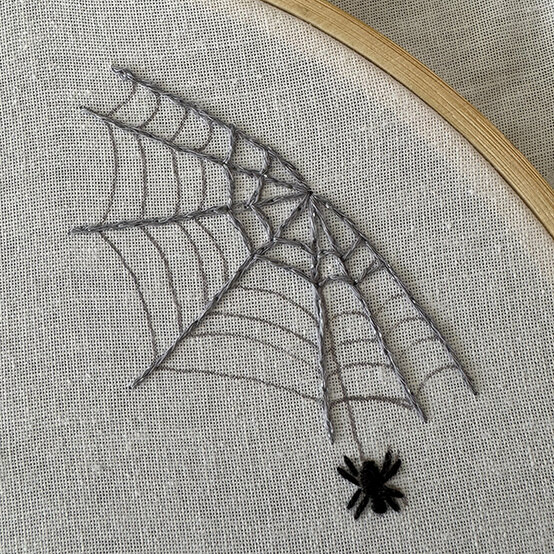
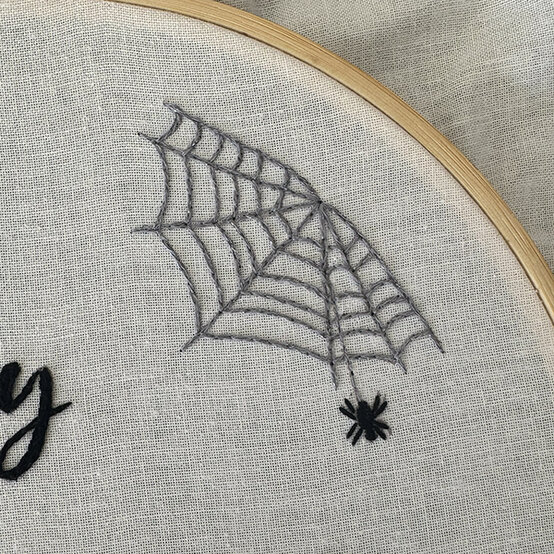
Use split stitch to complete the spiderweb.
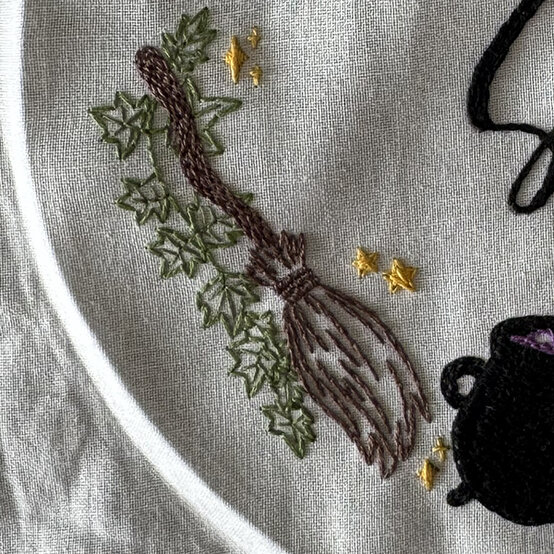
Use a combination of brick stitch (handle), satin stitch and split stitch to complete the broom, using the picture as a guide.
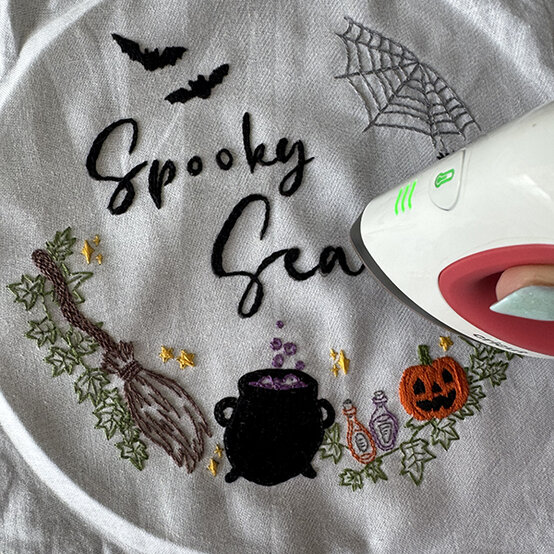
When all the stitches are complete, remove the pen marks, either by washing or with heat depending on the pen used.
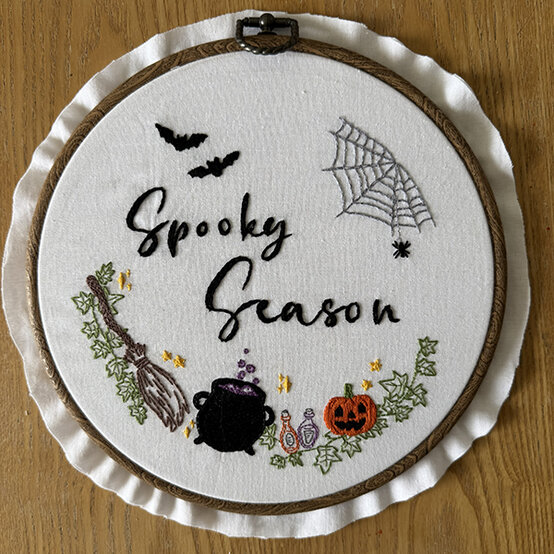
Remove from the hoop, Add another piece of the same size fabric behind.
Place back in the hoop and trim the excess fabric so that you have approx 1.5” around the hoop size.
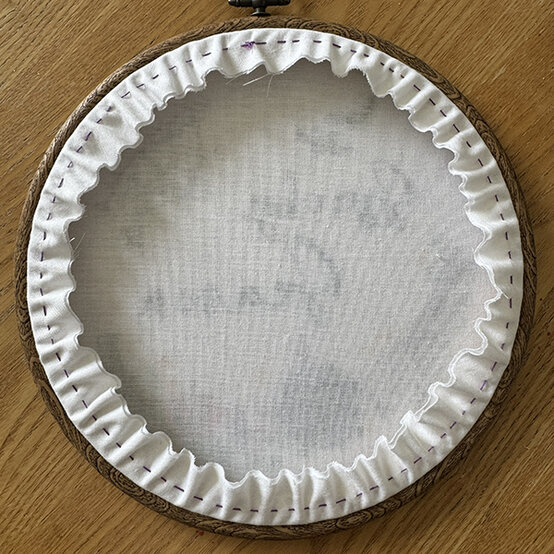
Add a running stitch all around the back of the hoop.
Pull the gather strands tight and tie off to finish the back of the hoop.
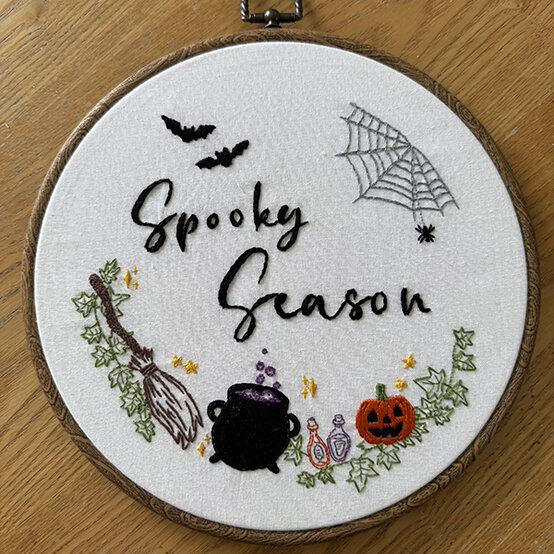
Your halloween embroidery is now complete!