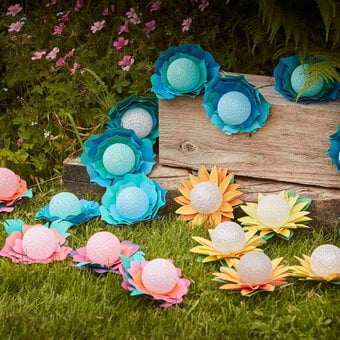
Papercraft Projects
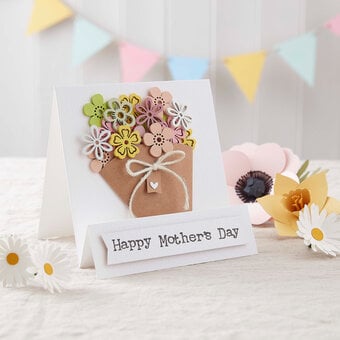
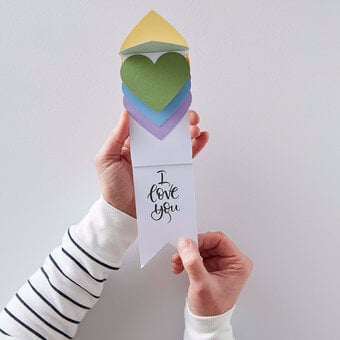
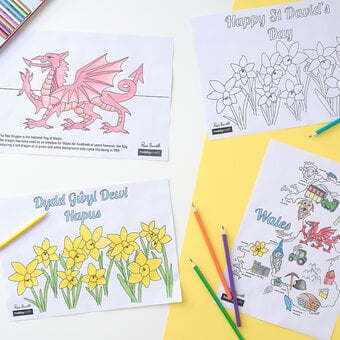
From handmade cards and beautiful scrapbook layouts to 3D papercraft projects that take things to the next level, our papercraft ideas show you all the things you can create with paper. You’ll discover wonderful DIY papercrafts for adults, as well as easy papercraft ideas for beginners and kids. There’s no better way to get started in craft, with fantastic gift inspiration on hand too.
Skip to Product Grid (Press Enter)
Filters
- Art - Free Downloads (1)
- Art - Mixed Media (3)
- Cricut - Papercraft (21)
- Cricut - Vinyl (4)
- Decor & Hobbies - Other (5)
- Decor & Hobbies - Upcycling (3)
- Digital Crafting - Sublimation (2)
- View more
- Gifting - Gift Wrapping (1)
- Kids - Craft Activities (4)
- Occasions - Gift Ideas (2)
- Occasions - Party (4)
- Papercraft - Card Making (101)
- Papercraft - Die Cutting (6)
- Papercraft - Origami (7)
- Papercraft - Other (39)
- Papercraft - Scrapbooking (38)
- Sewing - Cross Stitch (1)
- Sewing - Fat Quarter Projects (1)
- Weddings - Decorations (2)
- Birthday (5)
- Christmas (39)
- Valentine's Day (21)
- Father's Day (12)
- Summer (5)
- Mother's Day (12)
- Diwali (4)
- View more
- Spring (3)
- Autumn (2)
- St David's Day (1)
- Newborn Baby (7)
- Party (6)
- Wedding (6)
- Advent (4)
- Coronation (4)
- Halloween (3)
- Black History Month (1)
- Earth Day (1)
- Eid (1)
- Hanukkah (1)
- New Home (1)
- New Year (1)
- St Andrew's Day (1)
- Thank You (1)
- Winter (1)
- Easter (25)
Viewing 1 - 48 of 259 Ideas
Viewing 1 - 48 of 259 Ideas


You've viewed 48 of 259 products
Related Products

Cricut: How to Make Celebration Bunting
Project & Instructions by Hobbycraft Artisan: Becky Wallace Find out more. How to Make You Will Need * Cricut Machine * Cricut EasyPress * Canvas Bunting * Black PU Iron-On Vinyl * Tassel Maker * Pom Pom Maker 4 Pack ...

Meet the Maker: Founder of Crafter's Companion
We all know that you're a papercraft pro! Tell us a bit about your other crafting passions. I've always been crafty as I come from a crafty family! My Mam enjoyed cake decorating, cross-stitching, candle-making, salt dough and many other ...
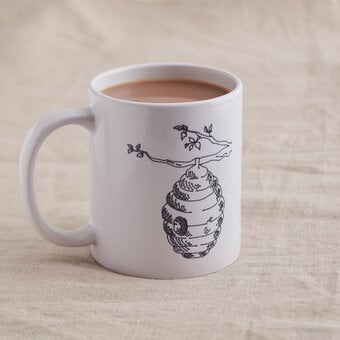
Cricut: How to Create a Mug with Infusible Ink Pens
You Will Need * Cricut Machine * Cricut Brayer and Remover * Cricut StandardGrip Mat * Mug Blanks * Infusible Ink Basic Pens * Cricut Heat Resistant Tape * 2 Sheets of A4 Laser Copy Paper * Cricut design space ...

Donna Williams - Artisan
Donna Williams Find more of my work on. Donna's Makes Travel or Cosmetic Bag I created these to celebrate the post-lockdown freedom to travel again. I used chocolate and gold Cricut Glitter Iron-On. View More Wooden Box This was created ...

How to Make a Stencilled Anniversary Card
How to make You Will Need Design A: * White Cards and Envelopes 6 x 6 Inches * Mixed Media Stencil (Heart) * Hobbycraft Clear Embossing Ink Pad * Papermania Tinsel Gold Embossing Powder * Hobbycraft Tracing Paper Pad A4 ...
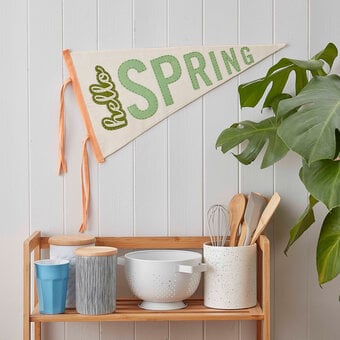
Cricut: How to Make a Pennant Flag
How to Make You Will Need * Cricut Machine * Cricut FabricGrip Mat * Rotary Blade and Housing * Cricut Brayer and Remover Set * Sewing Machine * Sewing Essentials * Cotton Calico Fabric Pack 152cm x 2m * Cricut ...
Oops...
Sorry, we did not find any products that match the
selected filters. You can go back to previous results to
select something different.