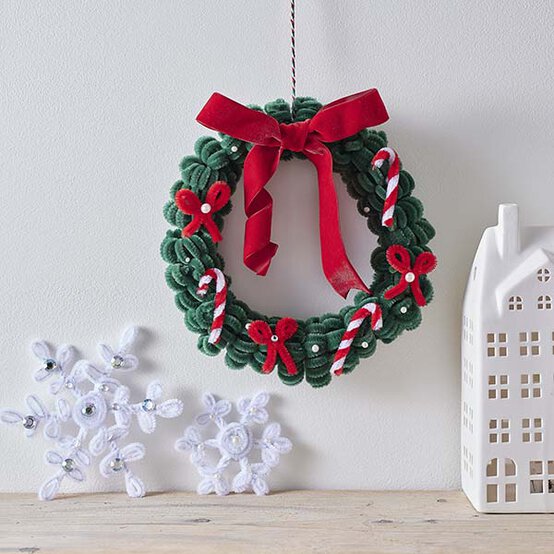
3 Pipe Cleaner Christmas Crafts
Looking for a simple Christmas activity? Why not create these cute decorations using pipe cleaners! This fun and festive craft is perfect for decorating to add a touch of Christmas cheer to your home.
Follow the step-by-step instructions to discover how easy and fun it is to make these unique, handmade decorations.
Project and instructions by Amy Buchanan
You will need


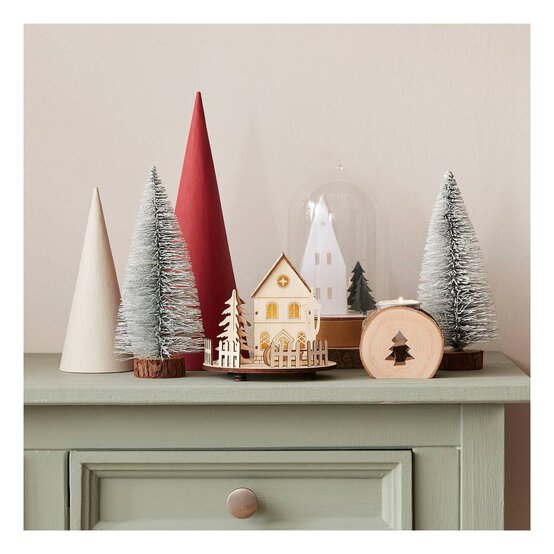




How To Make
You Will Need
Small Christmas Tree
* 40 x Green Pipe Cleaners
* 1 x Red Pipe Cleaner
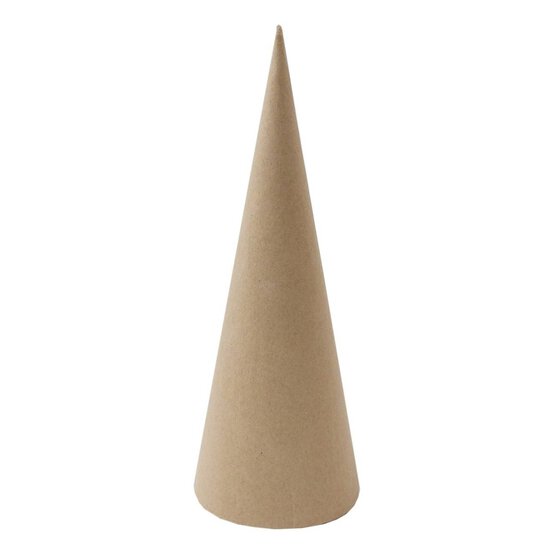
* 22cm Mache Cone
* Glue Gun
Large Christmas Tree
* 100 x Green Pipe Cleaners
* 3 x Red Pipe Cleaners
* 35cm Mache Cone
* Glue Gun
Snowflake
* 7 x White or Grey Pipe Cleaners
* Gems
* Glue Gun
Wreath
* 98 x Green Pipe Cleaners
* 4 x Red Pipe Cleaners
* 1 x White Pipe Cleaner
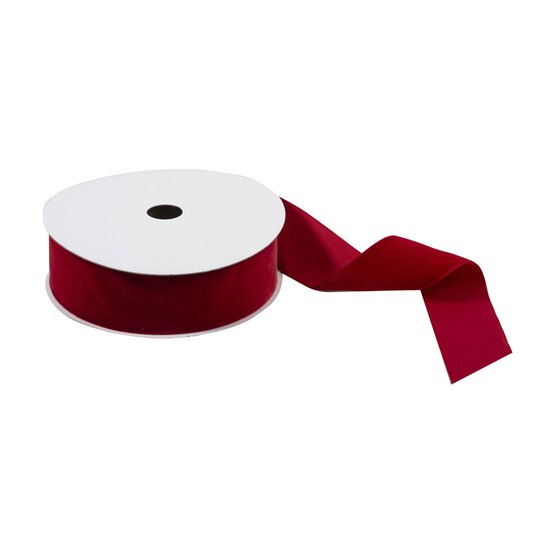
* Red Ribbon
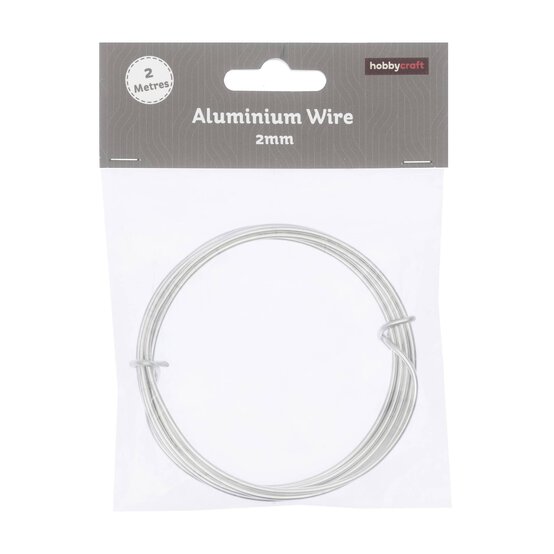
* 2mm Wire (Optional)
* Glue Gun
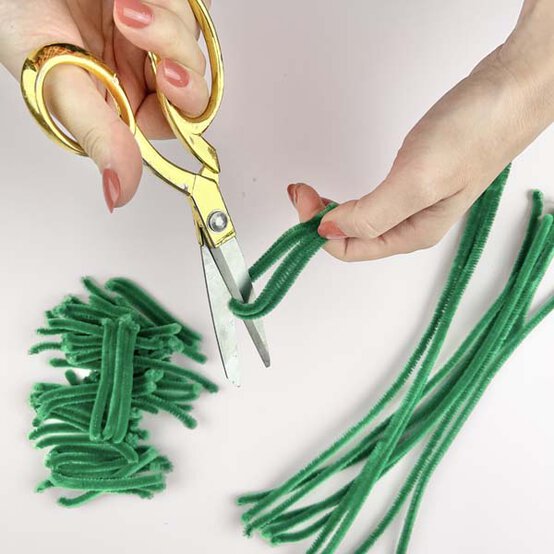
Cut the green pipe cleaners.
- For the small tree, cut each pipe cleaner into 4 equal pieces.
- For the large tree, cut each pipe cleaner into 2 equal pieces.
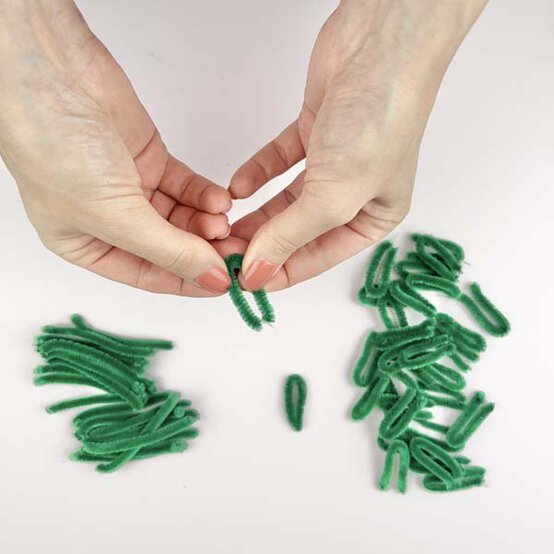
Fold each pipe cleaner piece in half to form a loop.
Optional: Paint the cone green and leave to dry. This will help the cone blend in with the pipe cleaners, giving your finished tree a fuller, more polished look.
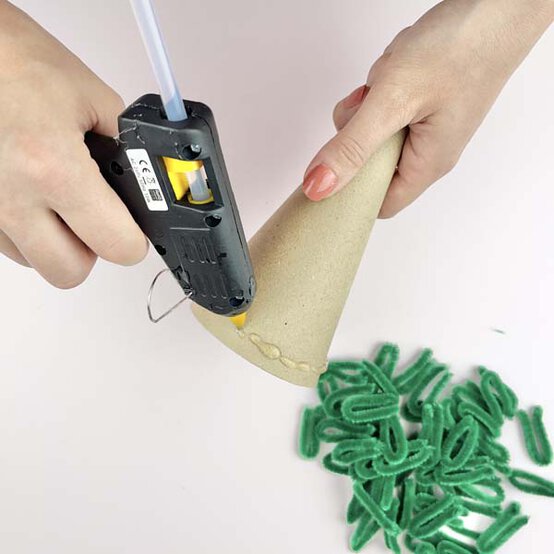
Using a hot glue gun, apply a strip of glue to the mache cone.
Press the looped pipe cleaners into the glue, placing them close together. You will need to do this in sections.
Continue gluing the looped pipe cleaners in rows until the entire cone is covered. You should have approximately 10–12 rows in total.
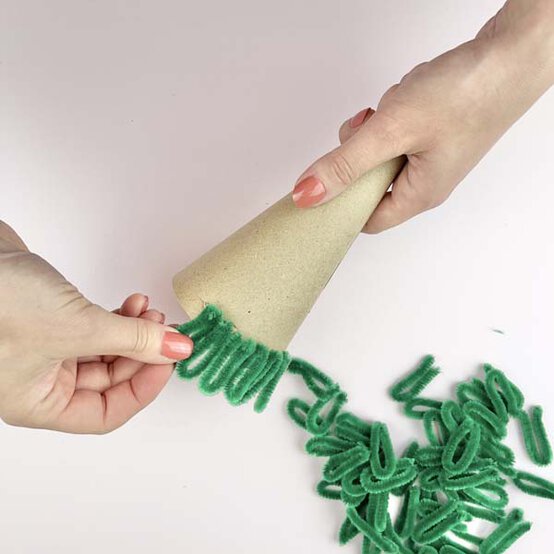
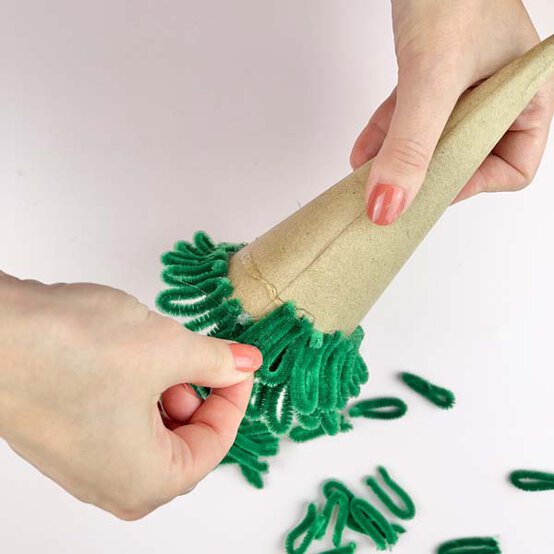
Gently bend and fluff the pipe cleaner loops to create a full, tree-like shape.
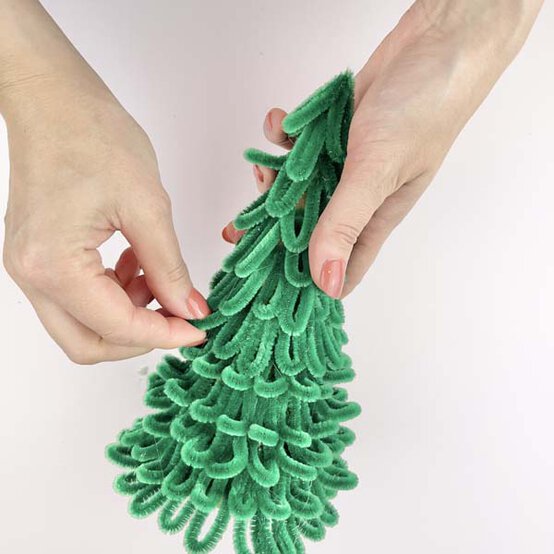
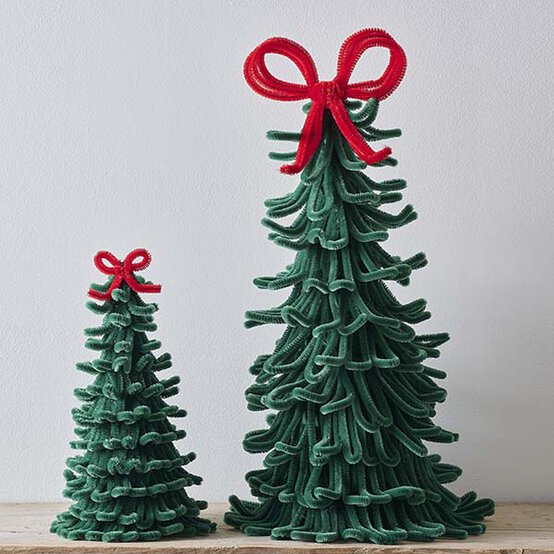
Take a red pipe cleaner and form a loop at one end. Twist the pipe cleaner to secure it.
Form a matching loop with the other end and twist to secure, creating a bow shape.
Glue the finished bow to the top of the tree.


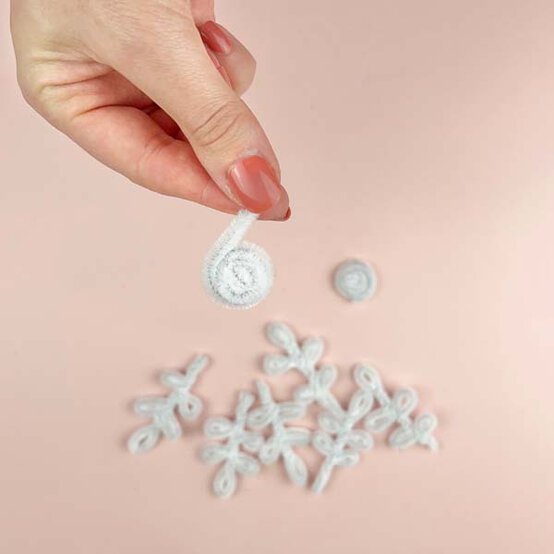
Take a white pipe cleaner and bend it in half. Make a small loop at the curved end and twist to secure.
Create a second loop on the left-hand side using the same method, and then a third loop on the right-hand side.
Twist the two straight ends together a few times, leaving approximately 1cm of twisted stem below the loops.
Then make another loop on either side again, so you have a total of 5 loops.
Finally, twist the ends together.
Repeat all steps with a further 5 pipe cleaners, so you you have a total of 6 snowflake pieces.




Cut another white pipe cleaner in half and coil both pieces into small spirals.
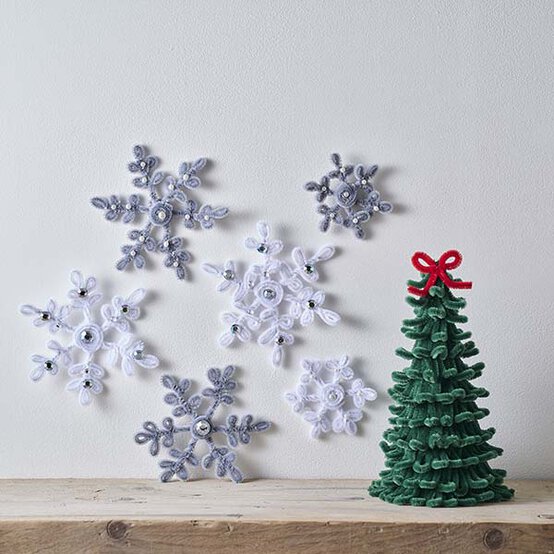
Apply hot glue to one spiral and arrange all 6 snowflake pieces onto it.
Glue the second spiral on top to enclose and hold everything in place.
Decorate with gems to create a sparkling snowflake effect.

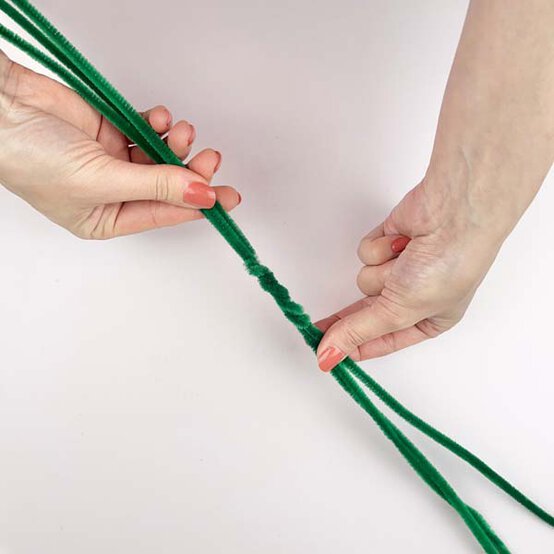
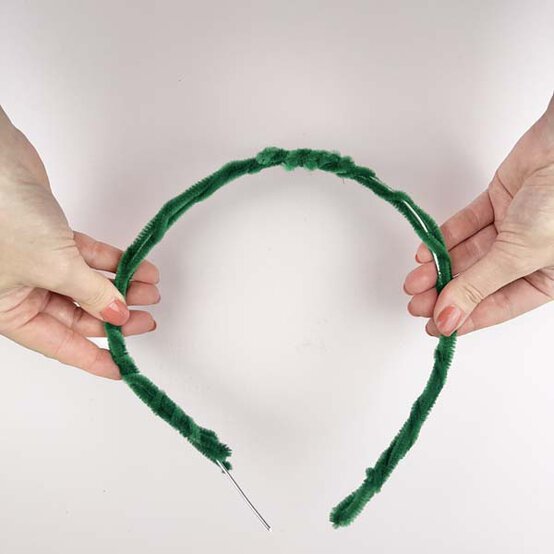
Take two groups of 3 green pipe cleaners and twist the ends together to create one long piece.
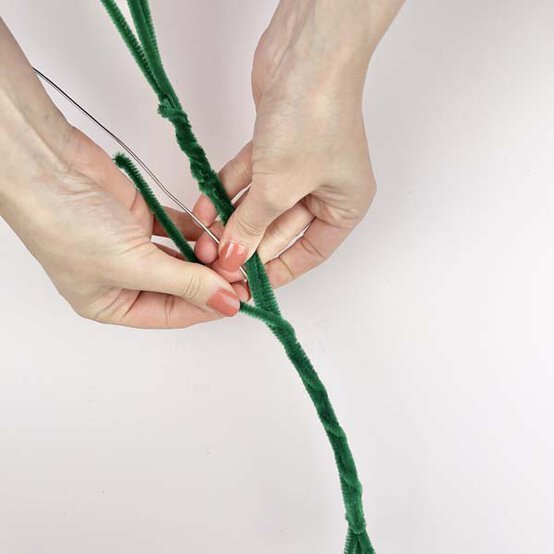
Optional: For a sturdier wreath, place a length of 2 mm wire alongside the pipe cleaners. Wrap another green pipe cleaner around the entire length to secure everything together.
Do not form the wreath into a closed circle yet.
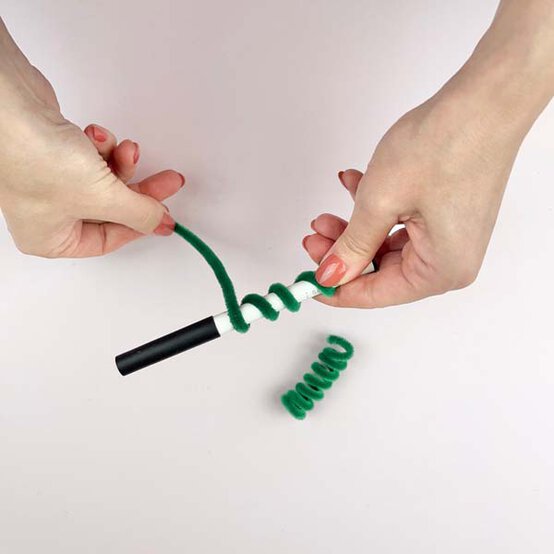
Wrap 2 green pipe cleaners around a pen to create two spring shapes.
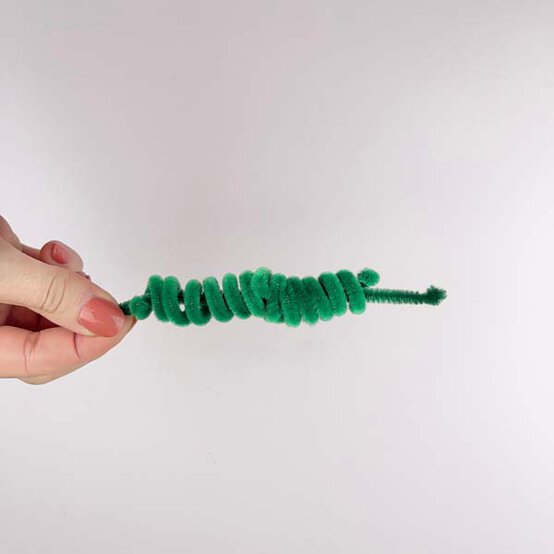
Cut another green pipe cleaner in half. Thread the two springs onto one half.
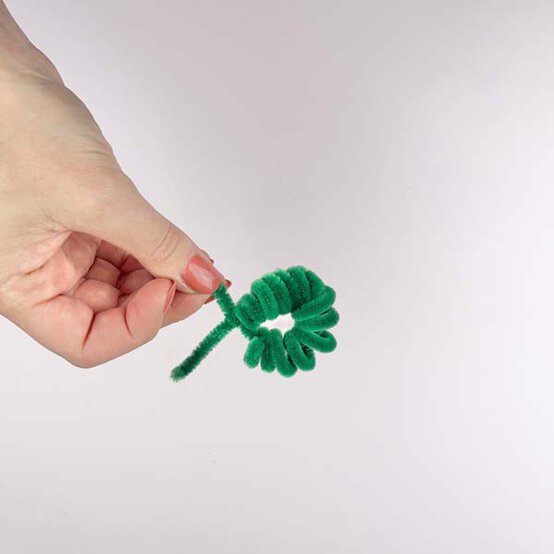
Bend the pipe cleaner into a circle and twist the ends together to secure.
Tuck the ends into the springs. Gently move everything around until they are evenly spaced.
Repeat to make 30 mini wreaths in total.
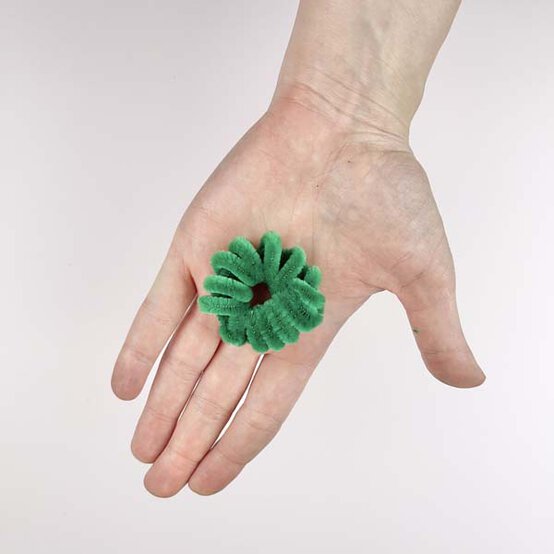
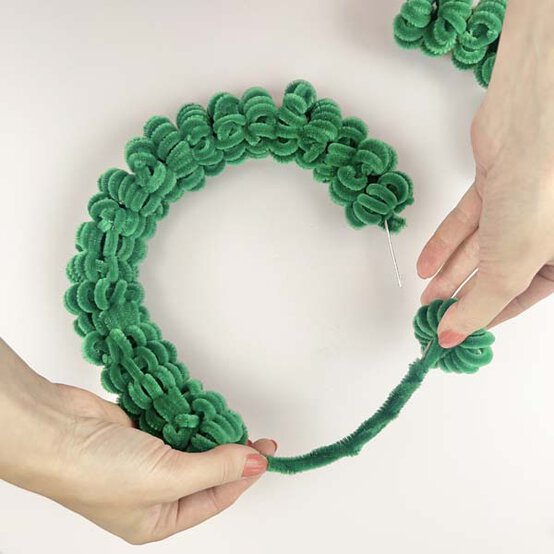
Thread the 30 mini wreaths onto the wreath base.
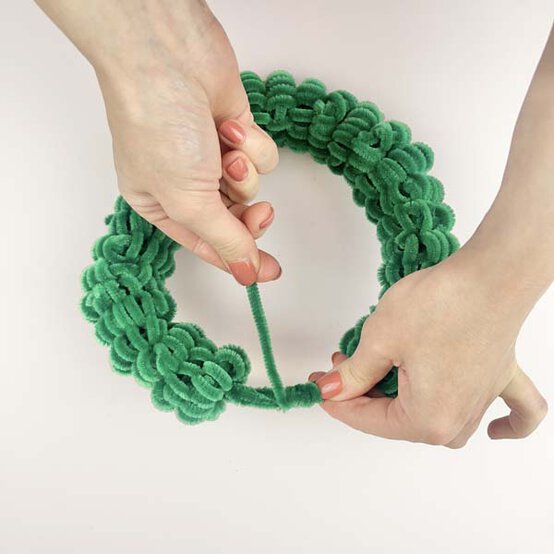
Bend the base into a completed circle and secure the ends together by wrapping another green pipe cleaner around the join.
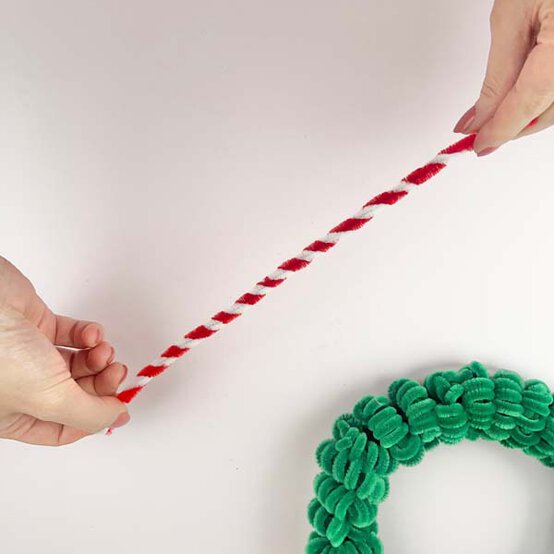
To make the candy canes, twist one red and one white pipe cleaner together. Cut into 3 equal pieces.
Bend the top of each piece to create a candy cane shape.
To create the bows, cut a red pipe cleaner in half. Form a loop with one end and twist to secure. Repeat with the other end to create a bow.
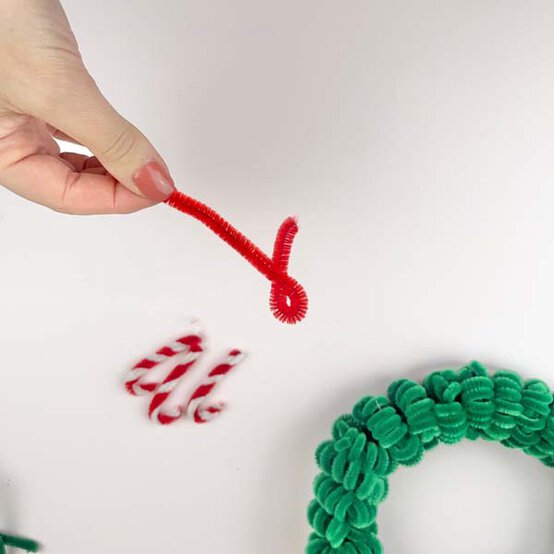
Use a hot glue gun to attach the candy canes and bows to the wreath.
Add on some gems to create a little extra sparkle.
Finish by gluing a ribbon bow to the top.