Cricut: How to Make Paper Pumpkins
This super-simple paper pumpkin project is ideal for Cricut beginners. You can have yourself a whole collection of pumpkins in no time at all!
We've used cardstock to create these 3D pumpkins, but you can also use felt sheets and even vellum – the choice is yours! Simply click on the project link below to get started.
Project and instructions by Aisha Cluitt
Cricut Design Space Project Link: Paper Pumpkins
Please note: This project contains paid-for content from the Cricut Design Space app. Screen reference images are taken from the desktop version of Design Space. This project has been created using the Cricut Maker; however, it can be recreated on the Cricut Explore digital cutting machines.
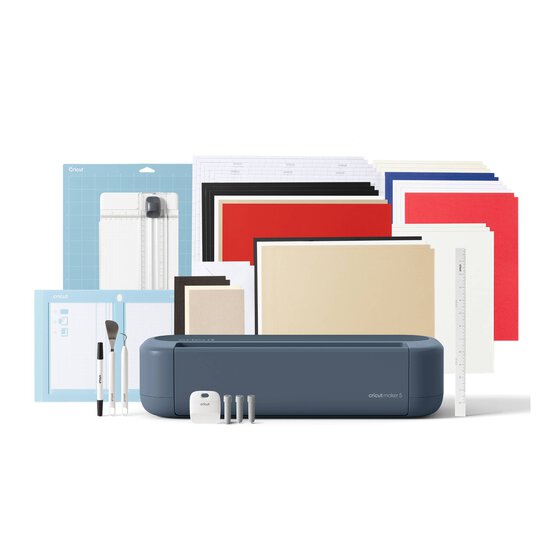
You will need
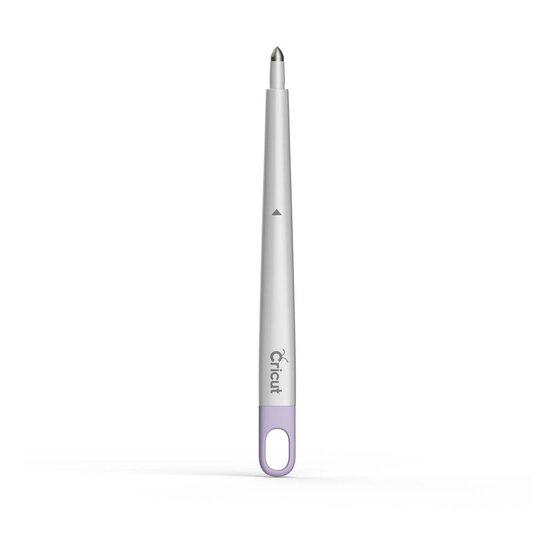
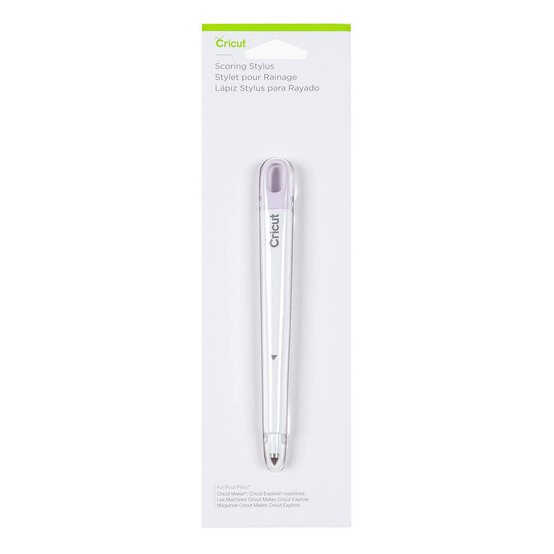
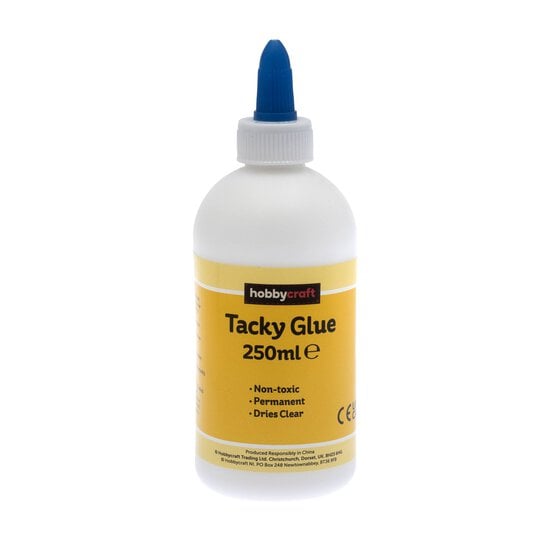
How To Make
You Will Need
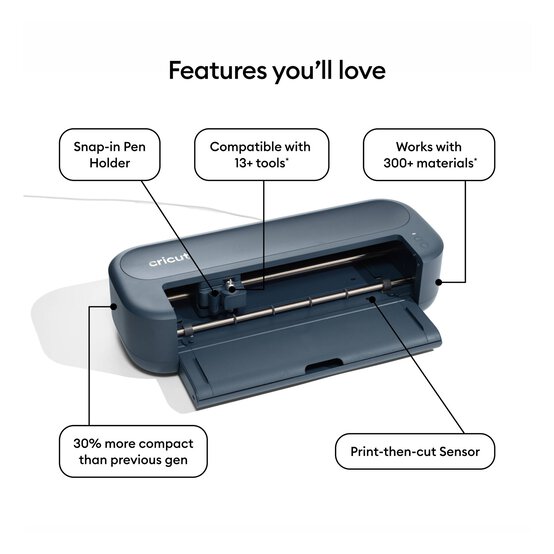
* Cricut Machine
* Cricut Basic Tools
* Cricut LightGrip Cutting Mat
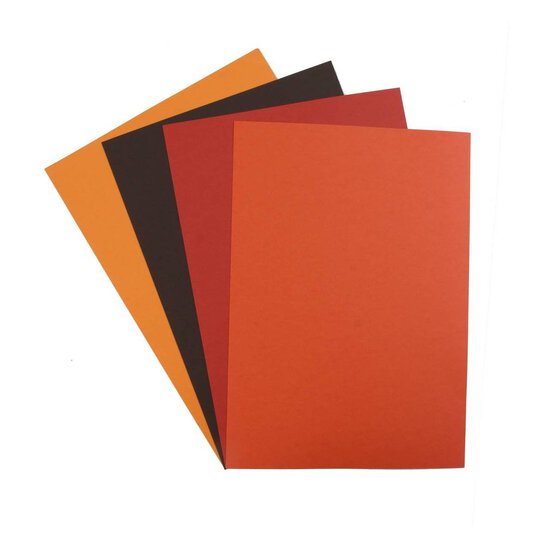
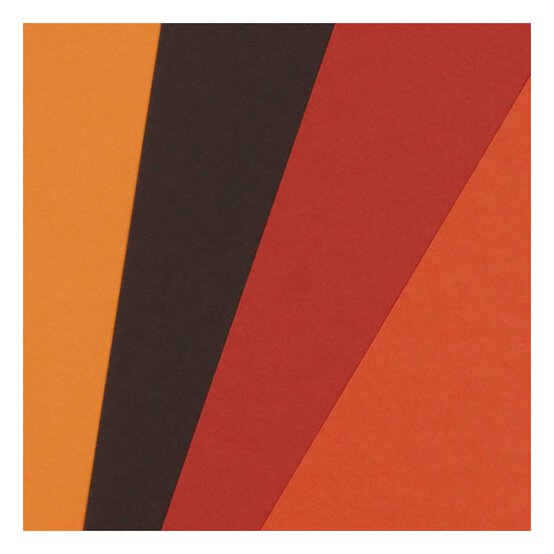
* Cardstock in Autumn Colours
* Tacky Glue
Start by opening the project in the Cricut Design Space app using the project link at the top of this post, or alternatively use this link - https://design.cricut.com/landing/project-detail/62b38496af197bd2b048e2e8
To access the project, copy and paste the link into your browser, you will be directed to a Cricut landing page, select 'Open' followed by 'Open Cricut Design Space Application'.
The app will open (you may be prompted to log in) and the project overview screen will appear.
Select 'Customise'


Once through to the Canvas screen, re-size each of the pumpkin sets as desired.
Top Tip: Ensure each colour 'set' of pumpkins remains grouped so that all the components for each pumpkin are the same size; each pumpkin is made up of five pieces

Once happy with the size of the pumpkin sets, click 'Make It'.
You will then be taken through to the mat previews screen, ensure everything is present and correct then click 'Continue'.


Add tacky glue to one half of one of the pumpkin pieces, leave the glue to set for 15 seconds and then adhere the piece to another of the pumpkin halves.
Continue working in this way until all the pieces in the pumpkin set have been secured.


