How to Make Air Dry Clay Hearts
Level
Beginner
Time
1 hour
Budget
10 - 30
Saving some pennies on your big day is at the top of most brides lists when it comes to planning their wedding. These simple and super easy air dry clay hearts make perfect favours for guests as you can use rubber stamps to imprint each guests name or initials acting as place settings at the same time! Alternatively they would look beautiful hung up to add a personal touch to your wedding venue, the list of what you can do with these air dry clay hearts really is endless.
You will need


How to make
*It is important that once you have used the products to make the clay hearts, they are no longer used for making anything edible*
Step-1
Step-2

Step-3

Step-4
Step-5

Step-6

Step-7
Step-8
Step-9
Step-10

Step-11

Craft with us at our workshops


Related Products

How to Make a Clay Diya Lamp
You Will Need * Air Drying Clay * Acrylic Paint * Stick on Gems * Paintbrush * Clay Tools (or a Plastic Knife) * LED Tealights Step 1 Unwrap the clay and portion out how much you think you’ll need ...

How to Make a Yarn Bowl with Air Drying Clay
Project by Hobbycraft Artisan: Amy Clarke Find out more. How to make You Will Need * Air Drying Clay * Acrylic Paint in White, Blue and Black * Paint Brushes * A Bowl (Measuring approximately 15cm diameter) * A Second ...
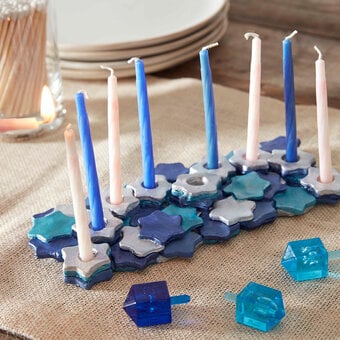
How to Make a Menorah from Air Drying Clay
Step 1 Prepare a flat wooden or cardboard surface and make sure that you have a cup of water handy. Open the Das pack and take out a quarter of it. Using the rolling pin, roll out a rectangle of ...

How to Make Clay Mushrooms
This fantastic mushroom air drying clay project is a great way to enjoy some box frame DIY, helping you transform simple craft materials into an eye-catching work of art. It’ll make a great gift or a fun project for little ...

23 Handmade Gift Ideas for Any Occasion
How to Make a Organic Cotton Crochet Bag This is a great weekend bag to take out to brunch or for drinks with friends, making it the perfect gift to make for a loved one! View project View More How ...

How to Make Plant Pinch Pots
How To Make You Will Need * Air Drying Clay * Clay Tools * Acrylic Paint * Paintbrushes * Decoupage Medium Step 1 Divide your clay into three pieces. Wrap up two of the pieces to prevent them from drying ...