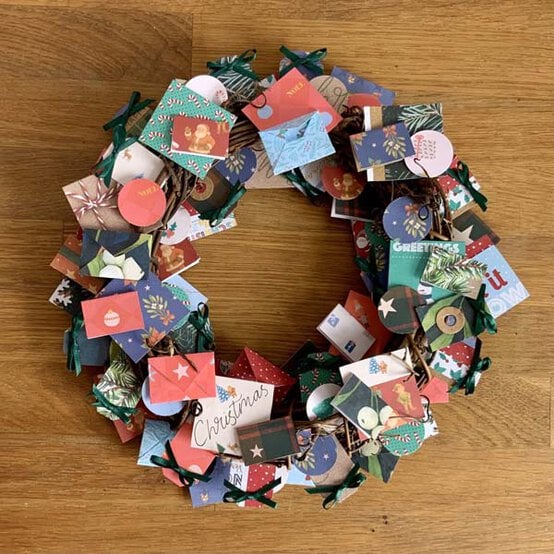
How to Make a Christmas Papercraft Wreath
Got lots of old Christmas cards stashed away taking up space but can't bring yourself to get rid of them? Why not upcycle them into a colourful wreath and enjoy them year after year!
Using a rattan base and a hot glue gun, this wreath is super simple to create but will be sure to bring joy for years to come!
Project and instructions by Sue Smith.
You will need




How To Make
You Will Need
* A Selection of Old Christmas Cards, Tags and Wrapping Paper
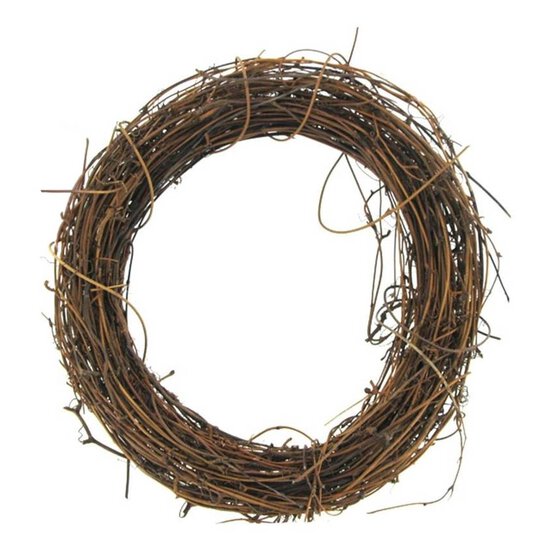
* Rattan Wreath Base
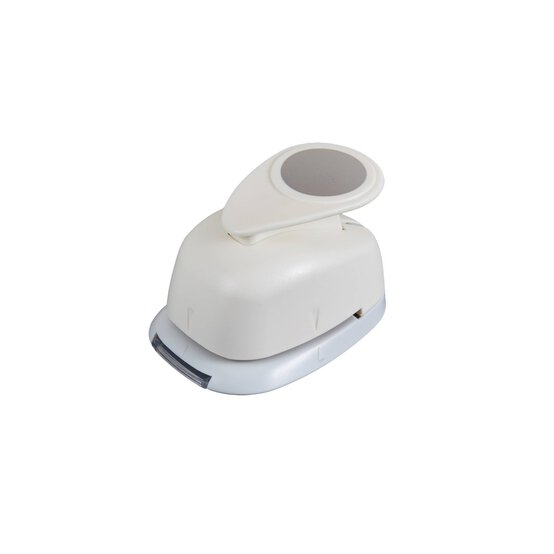
* Circle Craft Punch
* Green Ribbon
* Glue Gun
* Foam Pads
* Card
* Ruler
* Pencil
* Scissors or Craft Knife and Cutting Mat
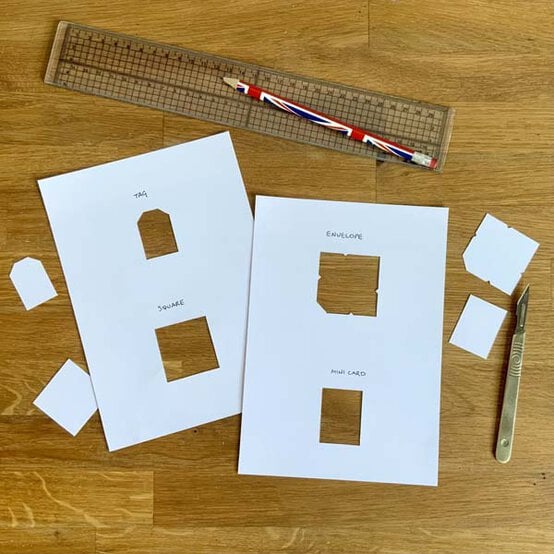
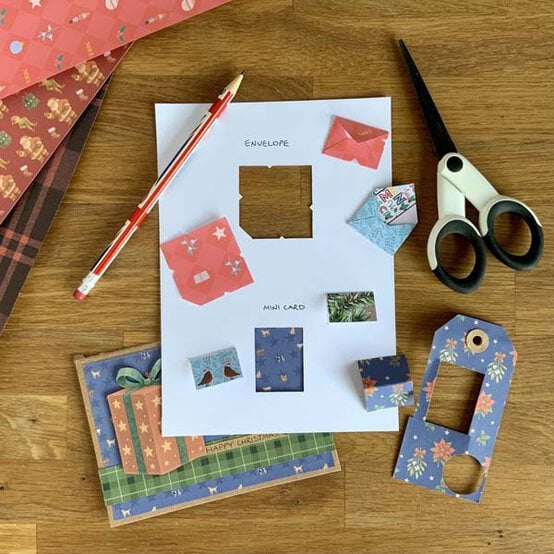
Begin by printing off the supplied template, and transfer the four shapes onto spare white card. Carefully cut out the centre pieces making a window for each shape.
Tear off the back panel from all of the old Christmas cards you wish to use.
Punch several circles from the various card fronts and tags. Ensure you have a selection of different colours and patterns.
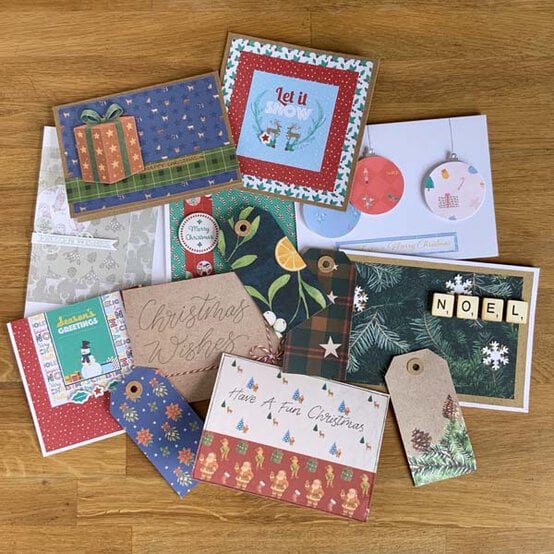
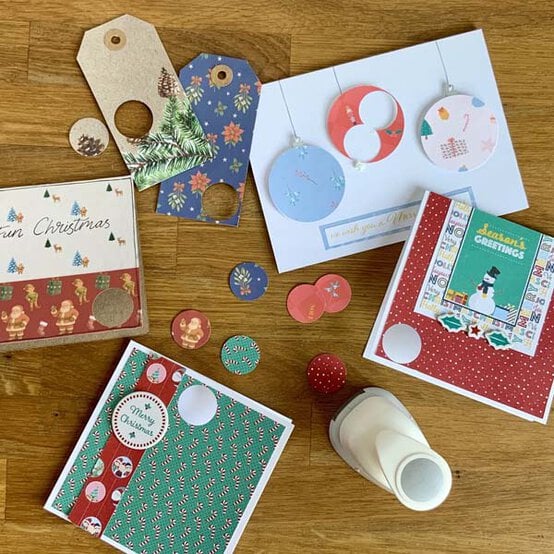
Use the square template window to place over other areas of the card fronts and tags, draw round with a pencil. Cut out each square using scissors or a craft knife.
Repeat for the tag template window, creating a selection of squares and little tags.
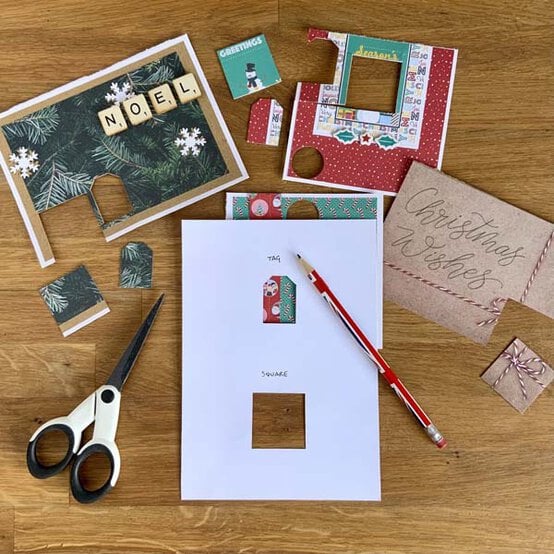
The mini envelopes are ideal for using with wrapping paper or thin tags. Draw around the envelope template window, cut out and fold along the fold lines shown. Add a tiny amount of tacky glue to hold in place.
Draw around the mini card template window and cu out to create little top fold mini cards.
Create several tiny bows from the green satin ribbon, cutting the tails at an angle. These will be used to add to the tags. Keep the bows to one side as they can be glued in place later on.
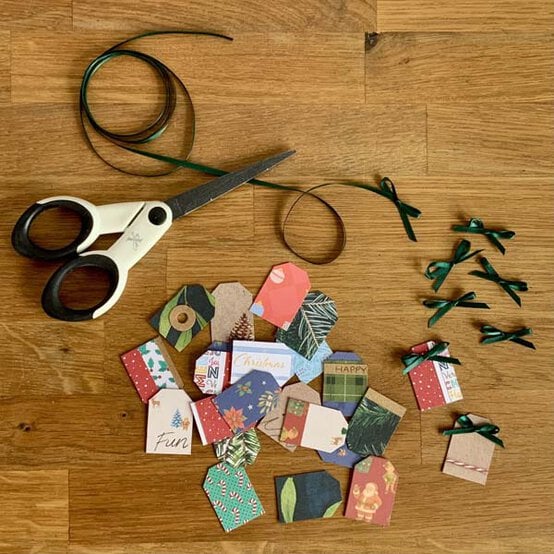
You should now have a selection of different shapes cut out from your various supplies.
Using a hot glue gun, begin gluing your shapes to the wreath. Start by gluing some of the squares onto the back of the wreath at different angles.
Position them around the outer edge of the wreath as well as the inner section. Mix up the colours and patterns to create a good balance.
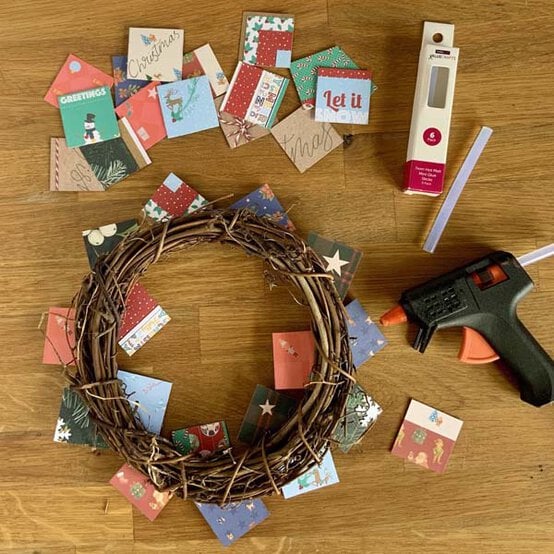
Glue the rest of the squares to the front of the wreath.
Next glue the tags, interspersing them amongst the squares and around the sides of the wreath base.
Once the tags are attached, glue the tiny bows onto them to finish them off.
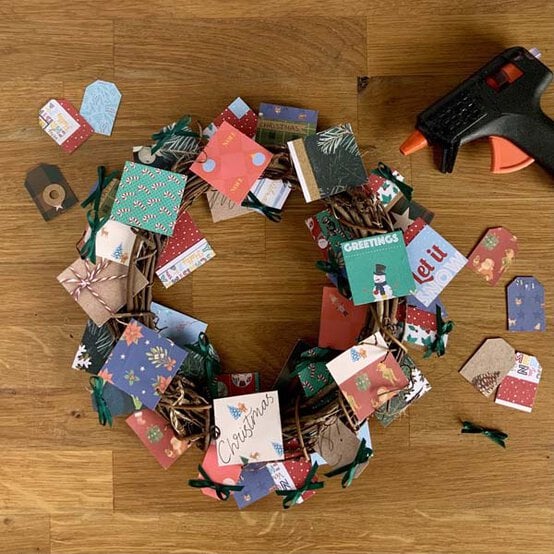
Glue the mini cards and envelopes in various places around the wreath, including on top of the larger squares.
Add a foam pad to the inside of each mini card to keep them semi closed and neat.
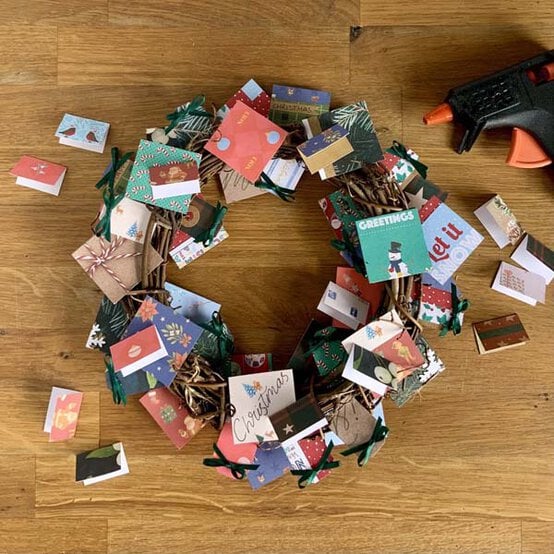
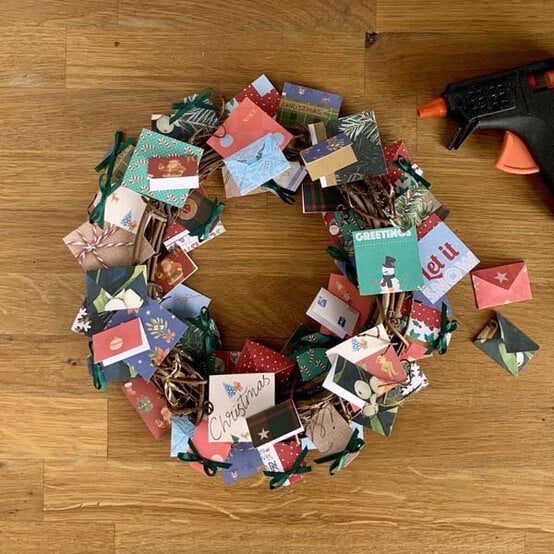
Fill in any remaining gaps with the punched circles to complete the design.
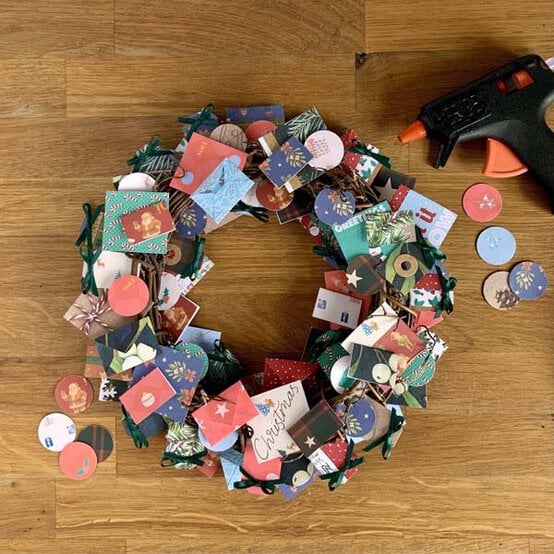
The completed wreath should look nice and full with a variety of colours, shapes and patterns. Hang to admire!