
Autumn Craft Ideas
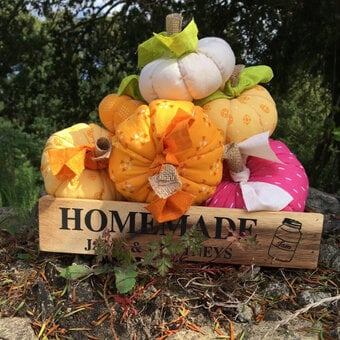
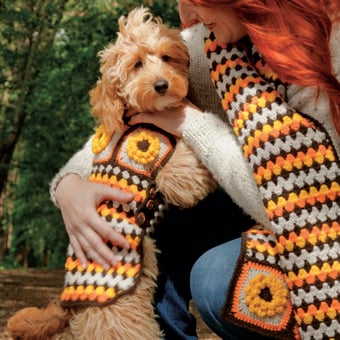
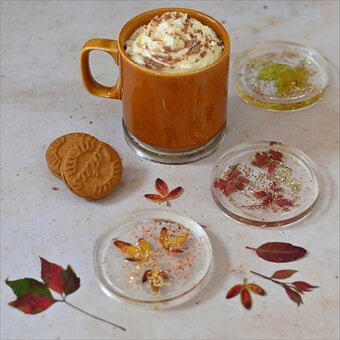
The leaves are falling and the warm tones of autumn are coming out! Browse our favourite autumn craft ideas, from beautiful autumn wreath designs to easy autumn crafts for kids. As the outdoor fun comes to an end, there’s no better time to warm up your home with beautiful DIY autumn décor – find crochet projects, sewing projects, baking projects and much more.
Skip to Product Grid (Press Enter)
Filters
- Art - Free Downloads (1)
- Art - Mixed Media (1)
- Art - Pencil Drawing (1)
- Art - Resin (1)
- Baking - Biscuit Baking (1)
- Baking - Candy and Sweet Making (2)
- Cricut - Papercraft (1)
- View more
- Cricut - Vinyl (3)
- Crochet - Accessories (4)
- Crochet - Amigurumi (3)
- Crochet - CAL (2)
- Crochet - Home Décor (7)
- Crochet - Other (2)
- Decor & Hobbies - Clay Making (2)
- Decor & Hobbies - Fabric Dyeing (1)
- Decor & Hobbies - Other (5)
- Decor & Hobbies - Upcycling (1)
- Decor & Hobbies - Wreath Making (7)
- Digital Crafting - Laser Cutting (1)
- Digital Crafting - Sublimation (2)
- Kids - Craft Activities (5)
- Knitting - Accessories (3)
- Knitting - Clothing (2)
- Knitting - Cushions & Blankets (1)
- Knitting - Home Décor (1)
- Knitting - Other (2)
- Latch Hook (1)
- Macramé (2)
- Papercraft - Other (1)
- Punch Needle (3)
- Sewing - Embroidery (3)
- Sewing - Fat Quarter Projects (1)
- Sewing - Other (1)
- Sewing - Quilting (2)
- Weaving (1)
- Weddings - Decorations (1)
Viewing 1 - 48 of 80 Ideas
Viewing 1 - 48 of 80 Ideas


You've viewed 48 of 80 products
Related Products

How to Make a Craft Roll Nativity Scene
How To Make You Will Need * A Small Box + Selection of Cardboard Tubes * Acrylic Paint - Beige and Various Skin Tones * Felt Sheets in Various Colours * Pipe Cleaners in Various Colours * Black Paper * ...

How to Make a Sustainable Recycled Autumn Wreath
How to Make You Will Need * Green Cotton Ribbon * Green Organdie Ribbon * 8-10 Brown Paper Bags * Cardboard * Two Plates to Draw Around * Glue Gun * Scissors * Craft Knife * Twine Step 1 Find ...

Glowforge: How to Make an Autumn Wreath
Project by Hobbycraft Artisan: Katherine Printall Find out more. How to make You Will Need * Access to a Glowforge * Glowforge Proofgrade Draftboard * Hobbycraft Acrylic Paint in Flame, Amber, Lichen Green and Mid Grey * Tacky glue * ...

2 Quick and Easy Kids Valentine's Day Cards
How To Make You Will Need Love Bug Card * A4 Card * Kids Acrylic Paint - Red * Tissue Paper - Pink and Purple * Scissors * PVA Glue * Googly Eyes * Purple Felt Tip Strawberry Card * ...

Top 40 Animal Crafts for Kids
How to Make Paper Plate Whale by Krokotak View project View More Toilet Roll Dinosaurs by Kate for the Craft Train View project View More Fork Lion by Michelle for Crafty Morning View project View More Pom Pom Animals by ...

4 Quick Christmas Projects to Make with Kids
You Will Need * Pom Poms * Pipe Cleaners * Felt Sheets * Silver Jingle Bells * White Paper Plates * Acrylic Paint * DK Yarn * Scrap Corrugated Cardboard * Cardboard Box * Headband * Glue * Scissors * ...
Oops...
Sorry, we did not find any products that match the
selected filters. You can go back to previous results to
select something different.