How to Make Blackberry Jam
Anyone that's mad on toast, cakes and scones will love this handmade blackberry jam as a gift. Print labels and tags on your computer, or hand stamp them for that rustic look. Attach with string, bows or raffia for a gorgeous homemade touch.
You will need


How To Make
You Will Need
* 450g Jam Sugar
* 450g Granulated Sugar
* 150ml Freshly Squeezed Lemon Juice
* 950g Fresh Blackberries
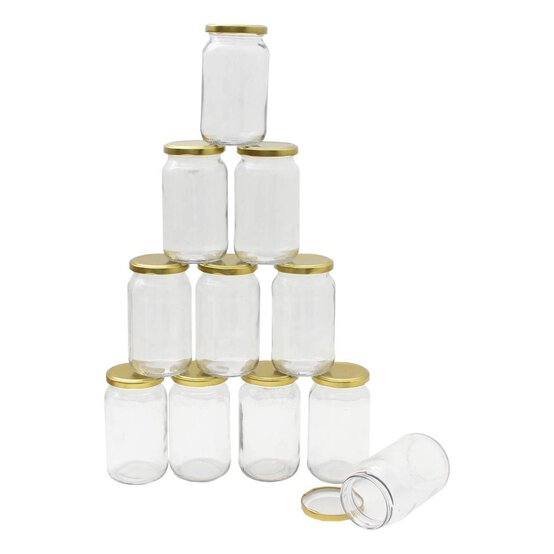
* Jam Jars
* Wax Paper Discs
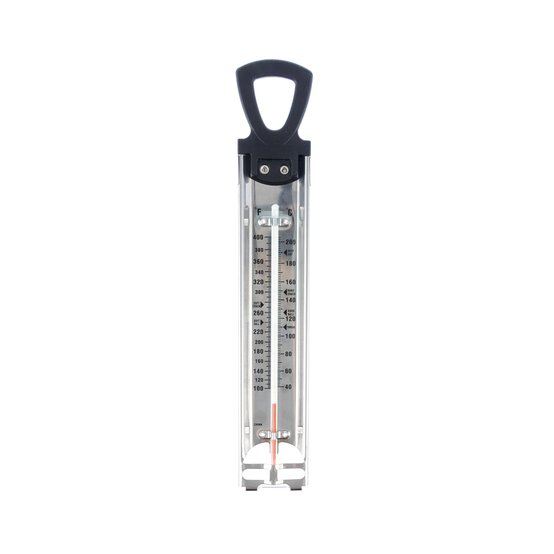
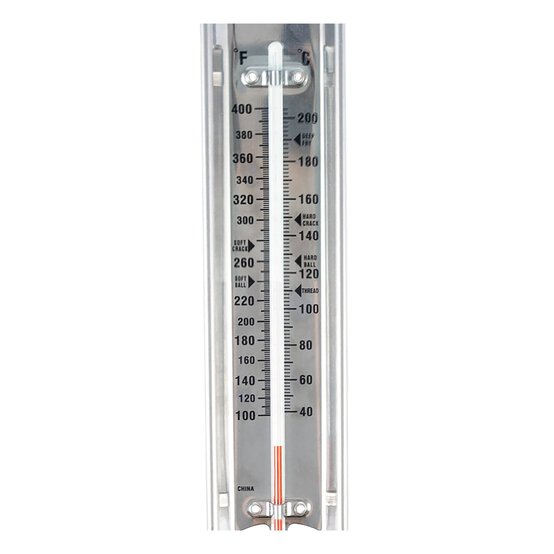
* Jam Thermometer
* Funnel
* Preserving Pan
* Long Wooden Spoon
* Pestle and Mortar
Wash your blackberries. Measure out 225g of the blackberries and 225g of the granulated sugar and pour into the preserving pan. Using a pestle, pound the blackberries into a pulp.
Gently simmer the pulp mixture for five to six minutes on a gentle heat stirring continuously. The pulp will act as a syrupy juice, which in turn allows the rest of the fruit to macerate and boil in.
Pour the remaining blackberries, sugars and lemon juice into the pan and stir gently until combined. Turn the heat up full and let the jam boil for a further 12 minutes, stirring regularly.
After about 12 minutes the jam will reach what's called the setting point, when it goes from being a liquid to something that more resembles jam. This should be at around 105°C.
Top Tip
If you don't have a jam thermometer, a great trick to test if the jam has cooked for long enough is to pour a drop on to a chilled serving spoon or plate, leave it for around one minute and then poke it with your finger or the back of a teaspoon. If the jam feels firm(ish) and it crinkles slightly as you poke it, it's ready. If it's too runny, give it another couple of minutes on the stove.
The jam jars will need to be sterile before you pour the jam into them. An easy way to do this is to pop them into a warm oven for ten minutes. Alternatively, you could boil them in a pan of boiling water for a couple of minutes. Once the jars have been sterilised and are still warm you can use the funnel to decant the jam from the preserving pan into the jars.
As soon as you've filled the first jar with jam, moisten (with a little water) one of the wax paper discs and place it on the rim of the jar with the wet side facing up. This will act as a further barrier against bacteria that will spoil your jam when it's stored.
When the disc is in place, secure the lid tightly and allow to cool. Repeat this process with the other three jars.
Store your jars of jam in a cool, dark spot.


