How to Make Punch Needle Winter Trees
Create the ultimate winter display for your home with these punch needle trees.
They will look amazing on your mantlepiece this winter and you can create your own winter wonderland in just a weekend.
Tutorial by Caroline Colam @carolinejanecreative
You will need


How to make
Knitcraft Everyday DK in Mint x 2
WI Premium Acrylic in Cream x 1
Knitcraft Grey Everyday Chunky
Gutermann Cream Sew All Thread 250m (414)
Cream Polyester Felt Sheet A4
Milward Adjustable Punch Needle 5mm
Wooden Canvas Stretcher Bar 42cm x 4
Masking Tape
Wipe Off Fabric Marker
Cream Cotton Binca 9 Count Needlecraft Fabric 70cm x 80cm
8mm Staples
Toy Stuffing
Staple Gun


Slot the four sides of the stretcher frame together. Stretch the foundation fabric over the frame (click here for step by step instructions on how to do this).
If you are creating single trees you may wish to stretch the fabric in a smaller supergrip hoop.

Download and print out the templates. Attach them to the back (the inside) of the frame using masking tape.
Allow a 1.5” margin around each piece. Place the frame in front of a light source, such as a window or a light box, and trace the pieces using the fabric marker.

Set the needle to position C. Pass the wire end of the threader through the outside hole in the tip of the needle and down the shaft until the wire sticks out at the base.
Select the relevant yarn for the tree you wish to create and thread it through the threader (Use 2 strands of yarn when punching with DK yarn and 1 strand when punching with chunky yarn).
Using the white tab, pull the yarn up through the shaft and the hole in the tip of the needle. Ensure you have a yarn tail of about 10cm from the tip of the needle.

Place your needle at the corner of the section you are starting to punch. Push the tip of the needle, at a slight angle, all the way through the foundation fabric so the bottom of the handle shaft touches the fabric. Ensure the yarn tail remains on the side you are punching from. Bring the needle up and out slightly, then glide it across for about 1cm, before pushing the needle back in.
Punch stitches to create the outline of the section. Continue punching stitches until the whole section is full. The flat stitches on this side will be the back of your piece.

On your last stitch in a section, keep your needle pushed in and with your other hand, pinch the yarn at the tip of your needle on the looped side and gradually pull your needle through to the back. Snip the yarn so you now have 2 yarn tails on this side.

Variations:
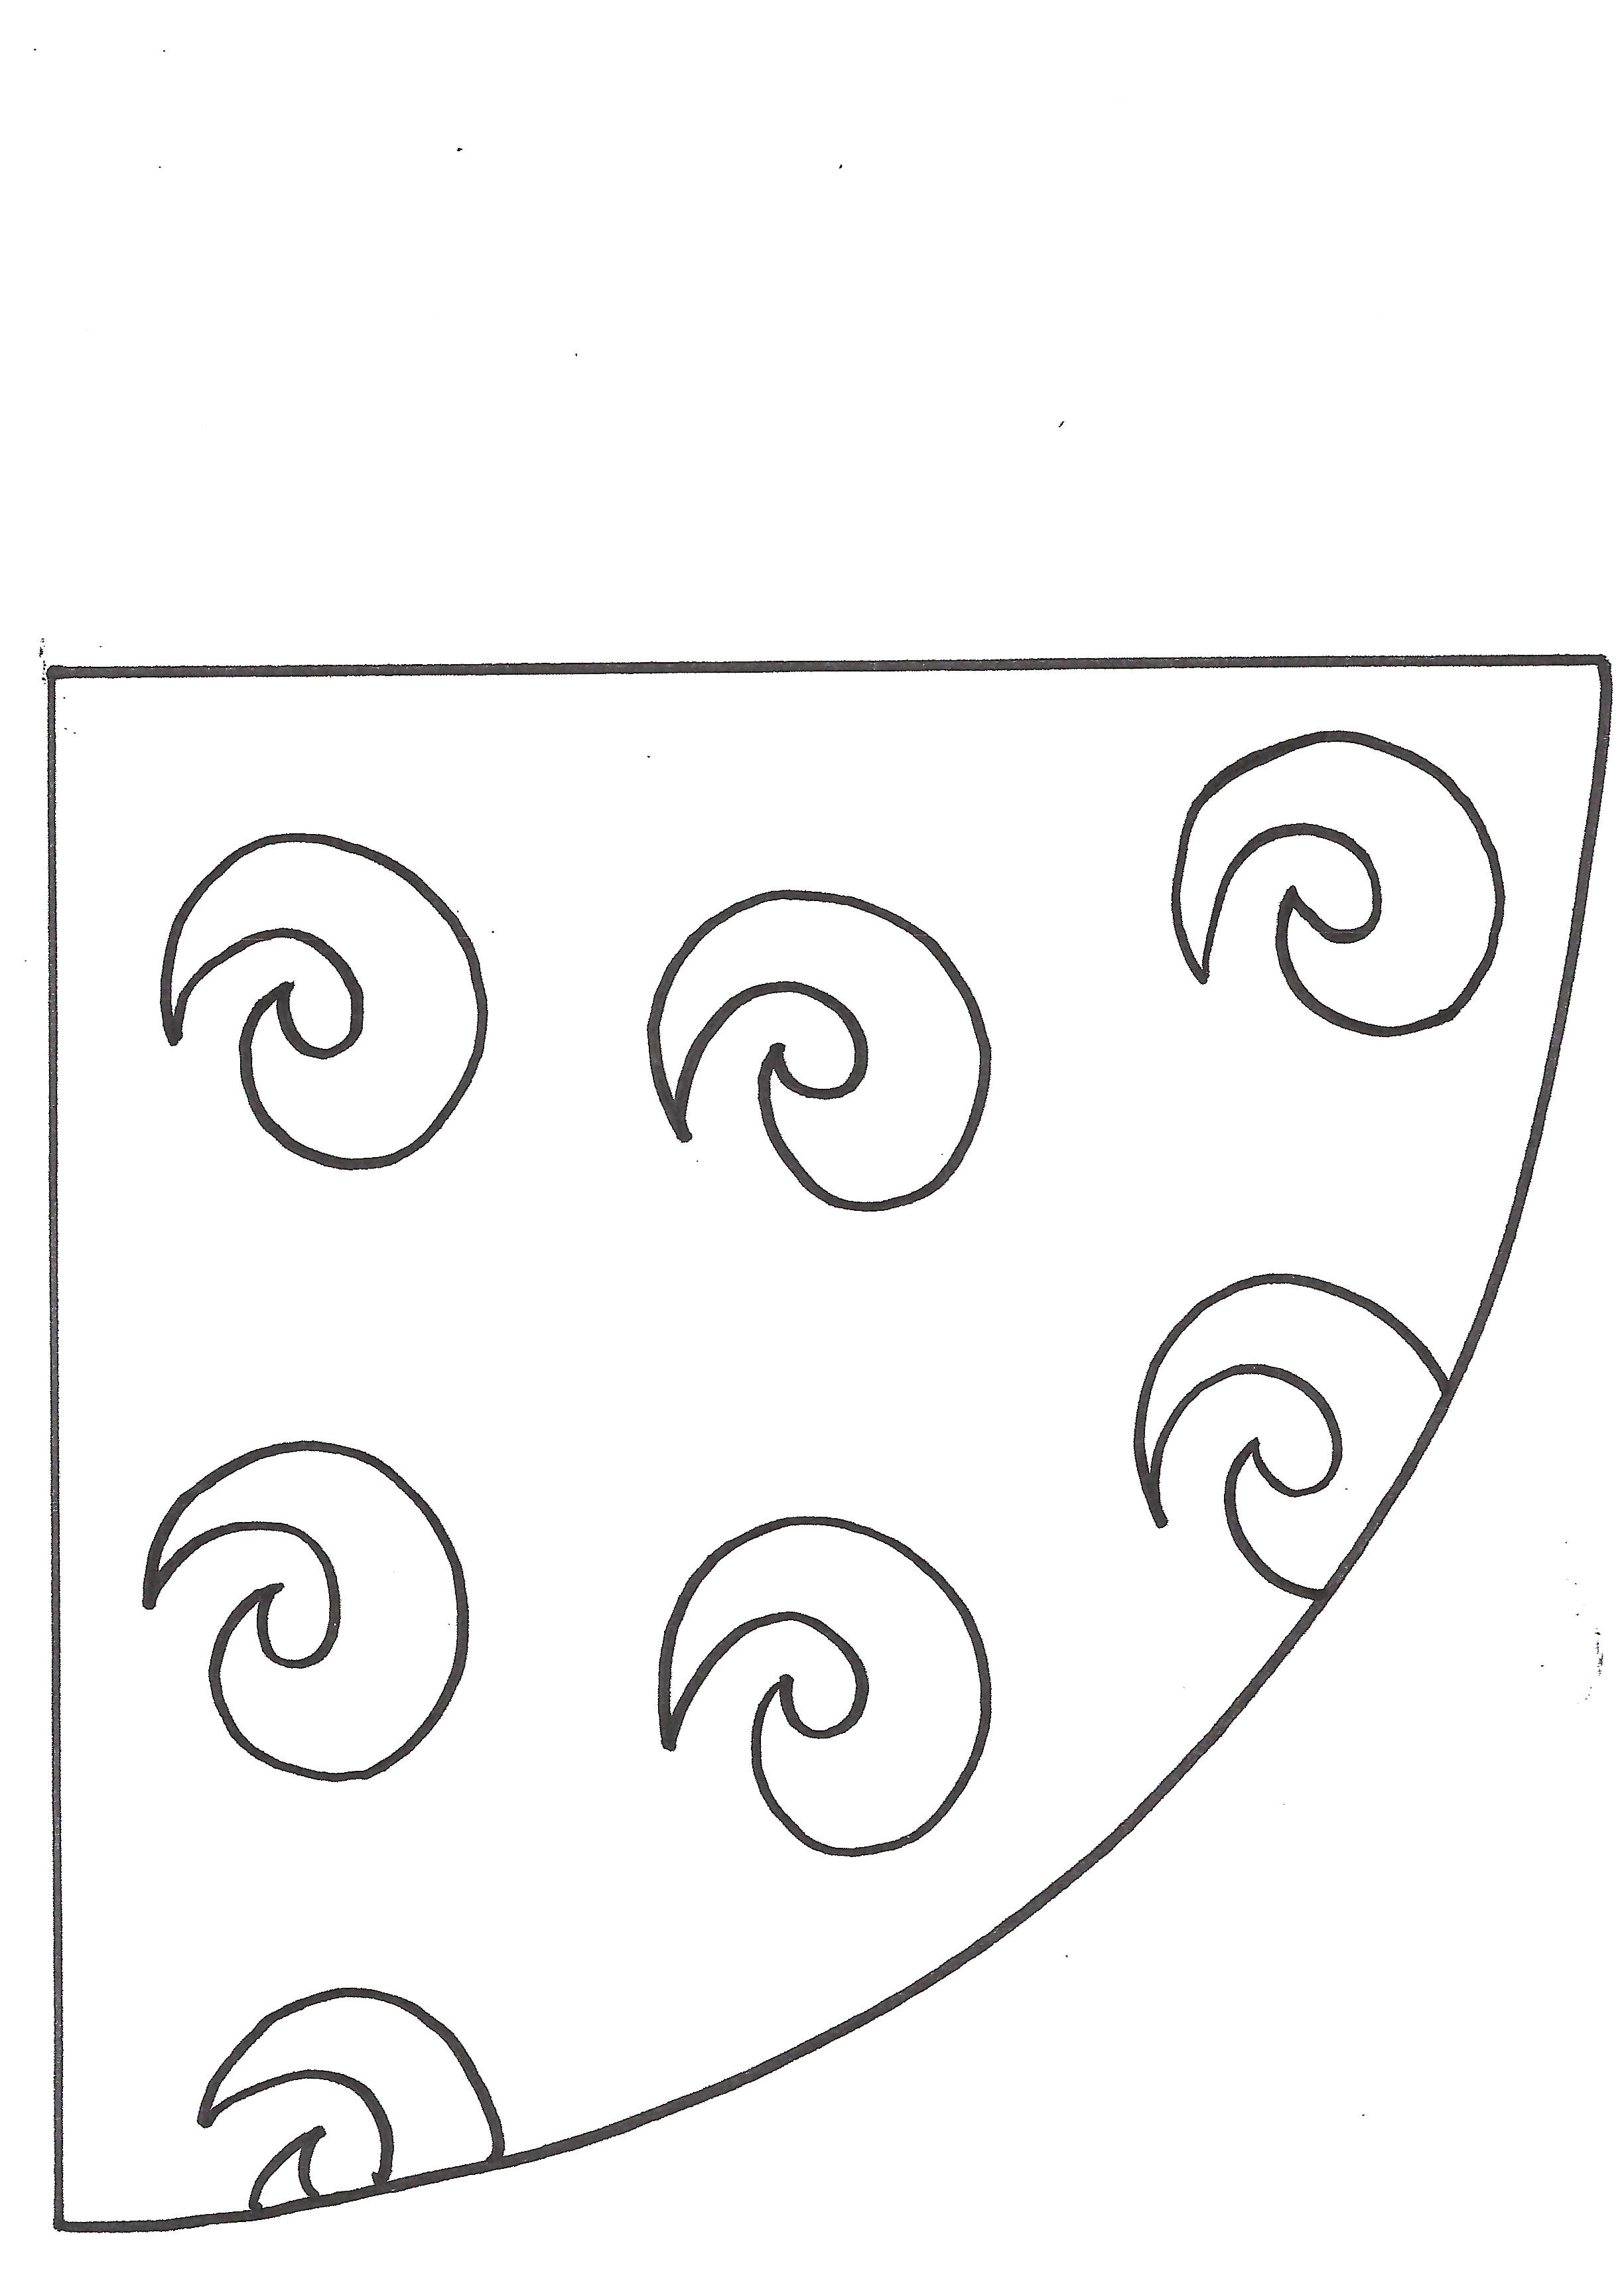
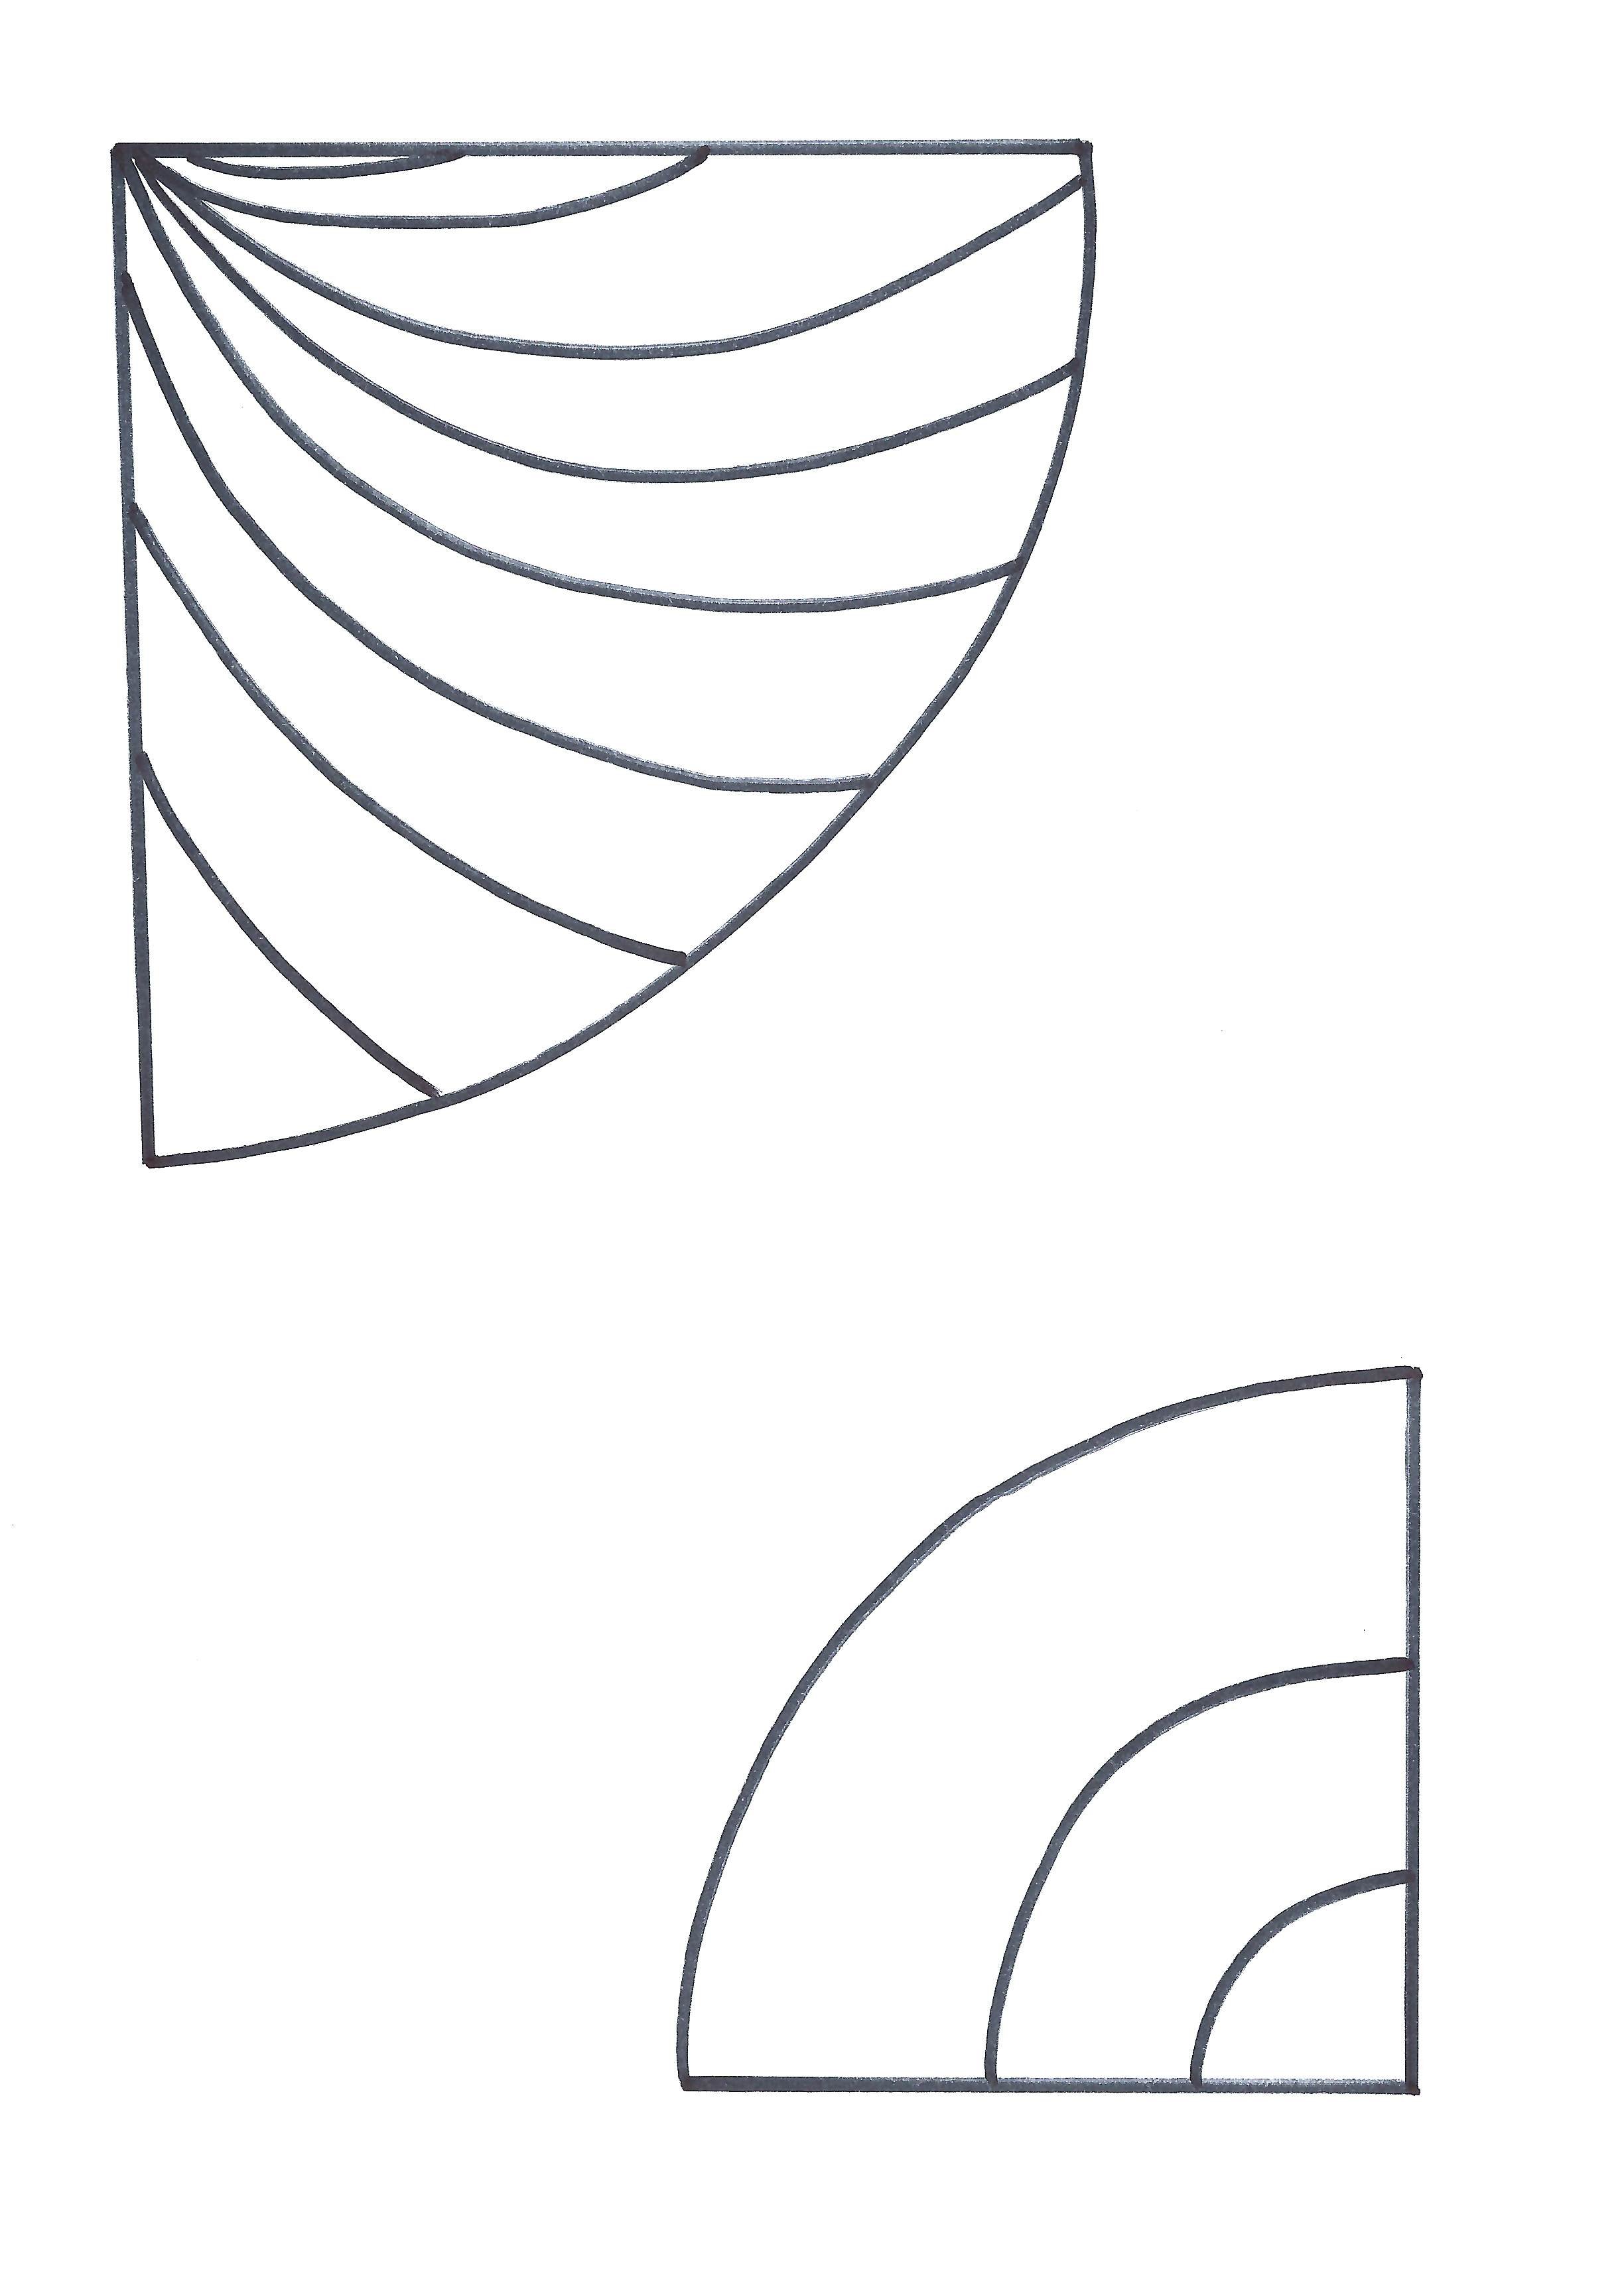
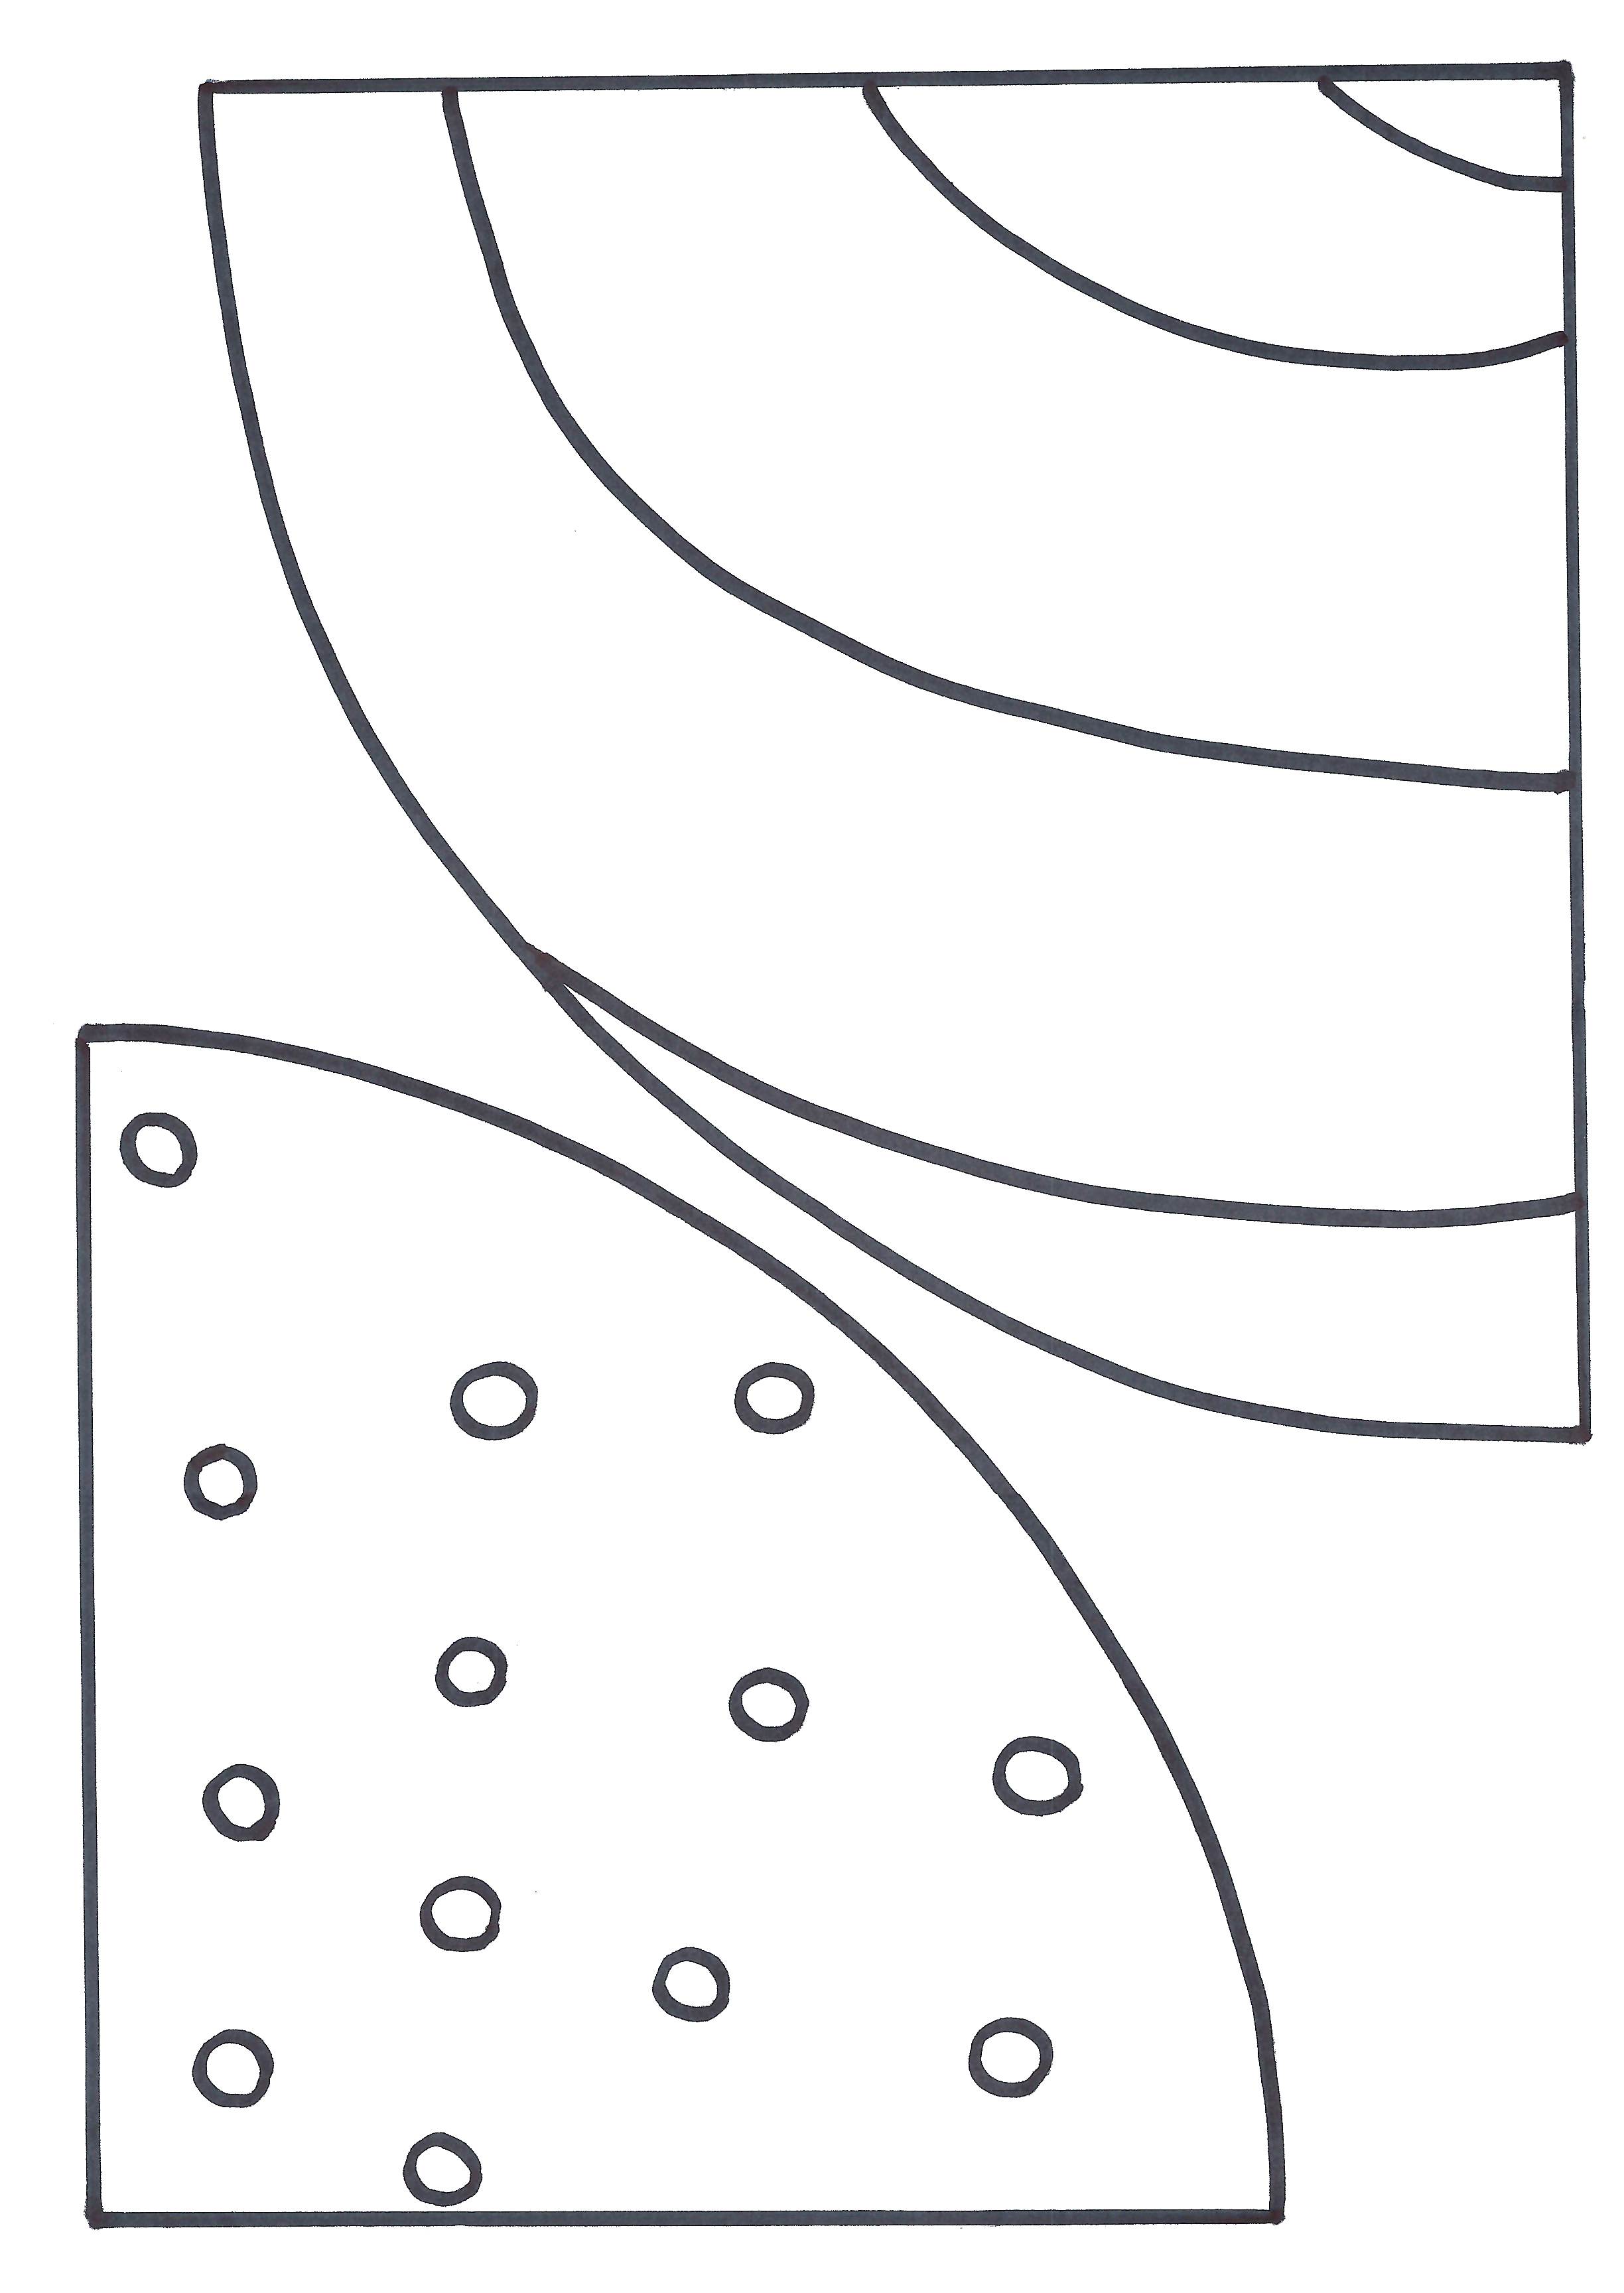
For the dotty tree start by punching 9 stitches (therefore 9 loops on the front) in each of the dot sections. Complete the tree by punching the outline, gradually working towards the centre, punching around the dots as you reach them.
For the spiral tree set your needle to A and punch 2 rows of stitches along the spiral lines. Change the needle setting to B and punch the rest of the tree.
For the largest tree set your needle to setting B and punch the swirls first. Change the needle to C and punch the rest of the shape.


When you have punched all the sections of your tree(s) use the tip of your needle or scissors and neaten the lines where different colours meet by gently separating the stitches.

Remove the pieces from the stretcher frame or hoop and cut them out allowing for an extra 1.5” around each piece.


Use the circular tree base templates to cut 5 circles from the cream felt. Stuff the tree and glue around the edge of it’s base. Attach the circles and once dry, trim the excess felt.

Craft with us at our workshops


Related Products


