Scrapbook Page Layouts - Hints, Tips and Tricks
I've always got my camera in my hand – as I suspect many of you do, whether it be your phone or a DSLR – the problem is I take all of these photos and then they end up sat on my computer, sitting idle not doing anything.
In the New Year I vowed to get some of my favourite images printed to create scrapbook page layouts that could be used either for scrapbooks or framed. Having only previously used Project Life starting out with a blank 12 x 12 inch sheet of paper was quite daunting, but after some research and deciding on what items I wanted to include everything came together relatively easily.
You will need


Page layouts can be created in any size, 12 x 12 inches is the most common, and provides sufficient space for you to be able to annotate the page and add any additional memorabilia. If you're intending to add a lot of three-dimensional components it's a good idea to use ring bound sketchbooks which allow for expansion, but you can use bound notebooks such as Smashbooks too.
Planning is key when creating page layouts. Start by looking at what patterned and plain cardstock compliments your chosen images, then lay the components out on the page. Once happy with the composition it's time to start securing everything in place. It's always worth taking a quick reference image before removing all of the elements so you have something that you can work from – there's nothing worse than spending the best part of an hour working on your layout then sticking it down and not being happy with it.
For all of my layouts I have stuck with one 'theme' including no more than three images (dependant on size), providing me with plenty of space for anything else that I might like to include and stopping the page from becoming too crowded.
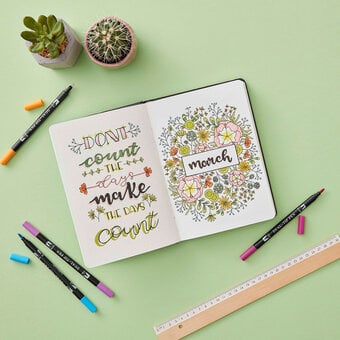
Layering vellum over cardstock works well if you want to mute the colour ever so slightly. Annotations can also be applied to it allowing you to still see the what's going on behind. Rub on's work particularly well on vellum.
Title pages are a great way of breaking up scrapbooks and marking the start of a new chapter; this could be in the form of a new month, vacation or even a life event. Papermania's Capsule Geometric Neon envelope bags are perfect for housing collected tickets, or even resolutions for the month, using alphabet stickers and die cut elements within the Capsule Geometric Neon Ultimate pack to further decorate and annotate the pages.
There are lots of different options when it comes to printing your images. Personally I prefer to print my images on a matt paper, but it's always worth asking at the printers what options are available and also the print sizes on offer. If, when you get your prints back, they're not quite the size and crop you'd envisaged don't be afraid to use a paper trimmer to cut them down.
Top Tip!…Polaroid style frames are a good way of framing and highlighting certain areas of an image.
Essential Pieces of Kit
-
Double sided tape – Until a couple of years ago I used to stick everything down with my faithful Pritt Stick but found that after a few months half of what I'd stuck down would come loose. Since using double sided tape I've not looked back, it's super quick to use and there's no hanging around waiting for it to dry.
-
Foam pads – Another craft stash essential, perfect for giving important elements on the page prominence by bringing them into the foreground
- Tacky glue – If you like to use fabrics and ribbons on page layouts (let's be honest who doesn't!), double sided tape won't be quite strong enough, that's where tacky glue comes in.
Top Tip!…Use sparingly!
-
Paper trimmer – Essential for perfectly straight pictures and other page elements.
-
Alphabet stickers/Stamps – If you're not a fan of your own handwriting alphabet stickers and stamps are a great alternative. Available in a variety of fonts and sizes they are best used for titles and subtitles.
-
Selection of plain and patterned cardstock – No page layout would be complete without cardstock, it's always worth keeping a variety of different card and paperstocks to hand, if they don't get used on your page layouts they can be used for numerous other projects (i.e. card making, gift tags, paper cutting etc).
-
Embellishments – In my opinion you can never have too many embellishments, from buttons to tags, washi tape to stickers they're all worth keeping a good stock of.

Craft with us at our workshops


Related Products