Sewing Projects
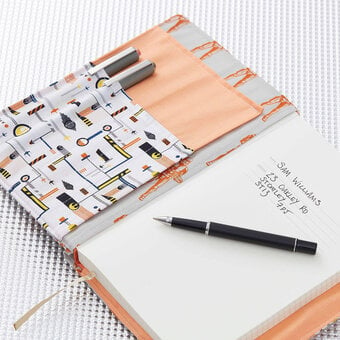
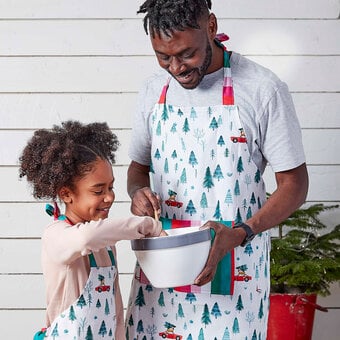
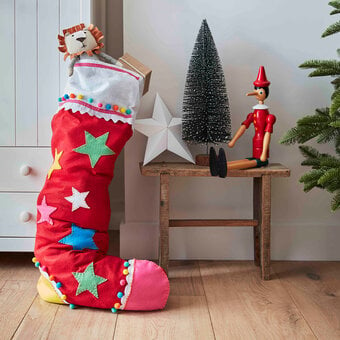
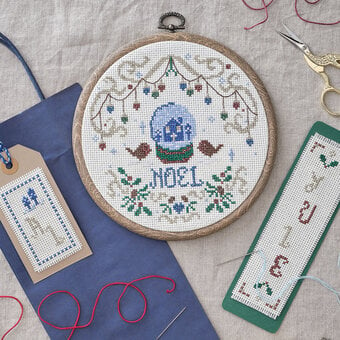
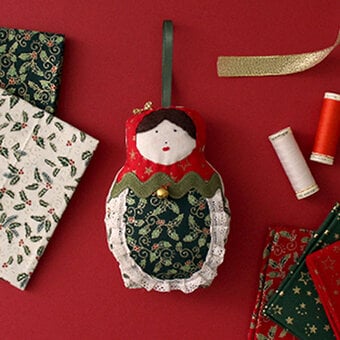
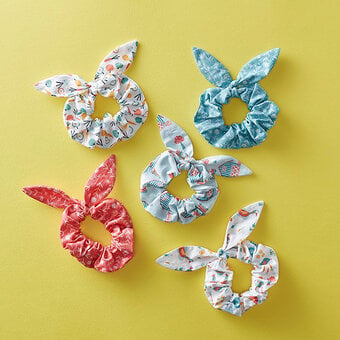
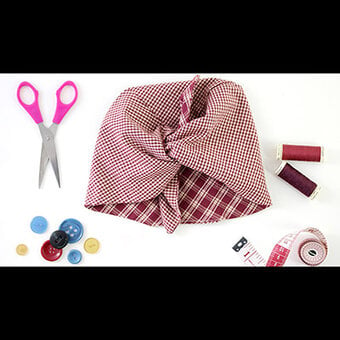
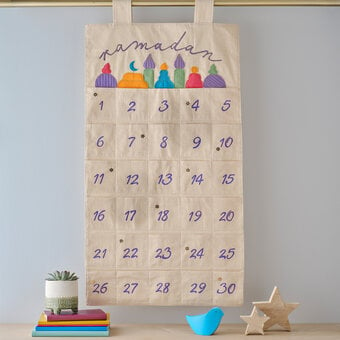
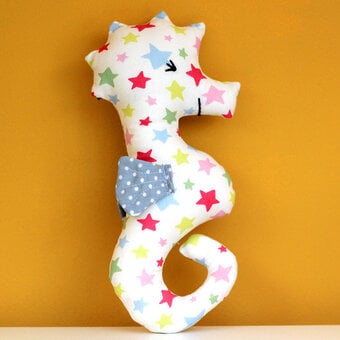
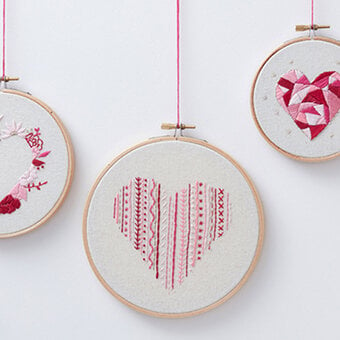
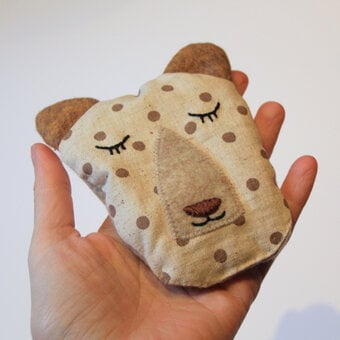
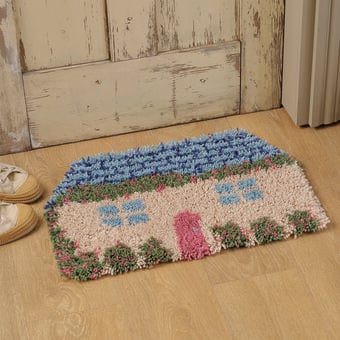
Discover a wonderful world of sewing ideas, from easy embroidery projects to machine sewing techniques and simple sewing gift ideas! We’ve got fantastic sewing ideas for beginners, as well as DIY sewing projects that are designed with sustainability in mind. There’s a project for everyone, with step-by-step guides available for each of the unique sewing patterns and projects featured.
Skip to Product Grid (Press Enter)
Filters
-
Sewing (281)
-
Decor & Hobbies (15)
-
Knitcraft (15)
-
Kids (2)
-
Meet The Maker (3)
-
Article (2)
-
Cricut (1)
- View more
-
Weddings (1)
-
Beginner (206)
-
Intermediate (92)
-
Advanced (5)
-
1 hour (157)
-
1/2 day (112)
-
1+ days (34)
-
£10.00 - £30.00 (216)
-
<£10.00 (53)
-
£30.00+ (32)
-
Art - Free Downloads (1)
-
Artisan (1)
-
Cricut - Sewing (1)
-
Decor & Hobbies - Clay Making (1)
-
Decor & Hobbies - Needle Felting (4)
-
Decor & Hobbies - Other (2)
-
Decor & Hobbies - Upcycling (4)
- View more
-
Latch Hook (6)
-
Occasions - Gift Ideas (1)
-
Occasions - Party (1)
-
Punch Needle (1)
-
Sewing - Bargello (4)
-
Sewing - Cross Stitch (2)
-
Sewing - Cushion Making (18)
-
Sewing - Dressmaking (13)
-
Sewing - Embroidery (50)
-
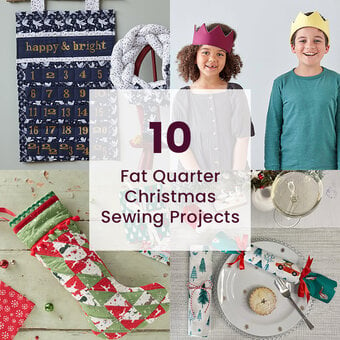
Sewing - Fat Quarter Projects (76)
-
Sewing - Learn to Sew (6)
-
Sewing - Needle Felting (2)
-
Sewing - Other (48)
-
Sewing - Quilting (28)
-
Sewing - Soft Toy Making (10)
-
Weaving (11)
-
Artisan (20)
-
Home Décor (80)
-
Gift Ideas (14)
-
Clothing (16)
-
Animals (10)
-
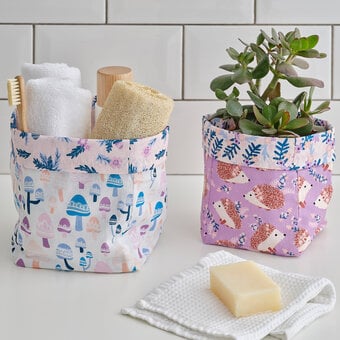
Sustainable Crafts (7)
-
Bunting (11)
- View more
-
Get Started In (5)
-
Flora & Fauna (4)
-
Costume Ideas (2)
-
Pom Poms (2)
-
Rainbow (2)
-
Space (2)
-
Advents (1)
-
Colouring-in Sheets (1)
-
Home Dècor (1)
-
Pets (1)
-
Birthday (1)
-
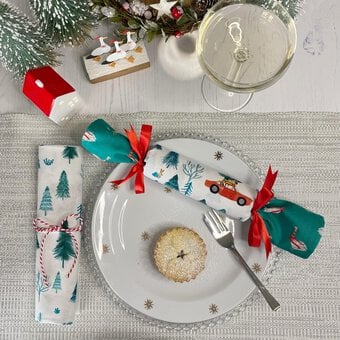
Christmas (39)
-
Spring (5)
-
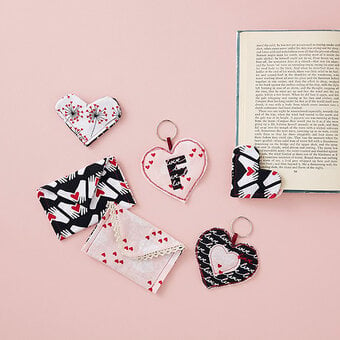
Valentine's Day (5)
-
Newborn Baby (11)
-
Eid (1)
-
Summer (25)
- View more
-
Autumn (9)
-
Halloween (5)
-
Winter (4)
-
New Home (3)
-
Pride (3)
-
Black History Month (2)
-
Coronation (2)
-
Earth Day (2)
-
New Year (2)
-
St David's Day (2)
-
Advent (1)
-
Father's Day (1)
-
Hanukkah (1)
-
International Women's Day (1)
-
Lunar New Year (1)
-
Sport Events (1)
-
Wedding (1)
-
Easter (14)
Viewing 1 - 48 of 324 Ideas
Viewing 1 - 48 of 324 Ideas


You've viewed 48 of 324 products
Oops...
Sorry, we did not find any products that match the
selected filters. You can go back to previous results to
select something different.